
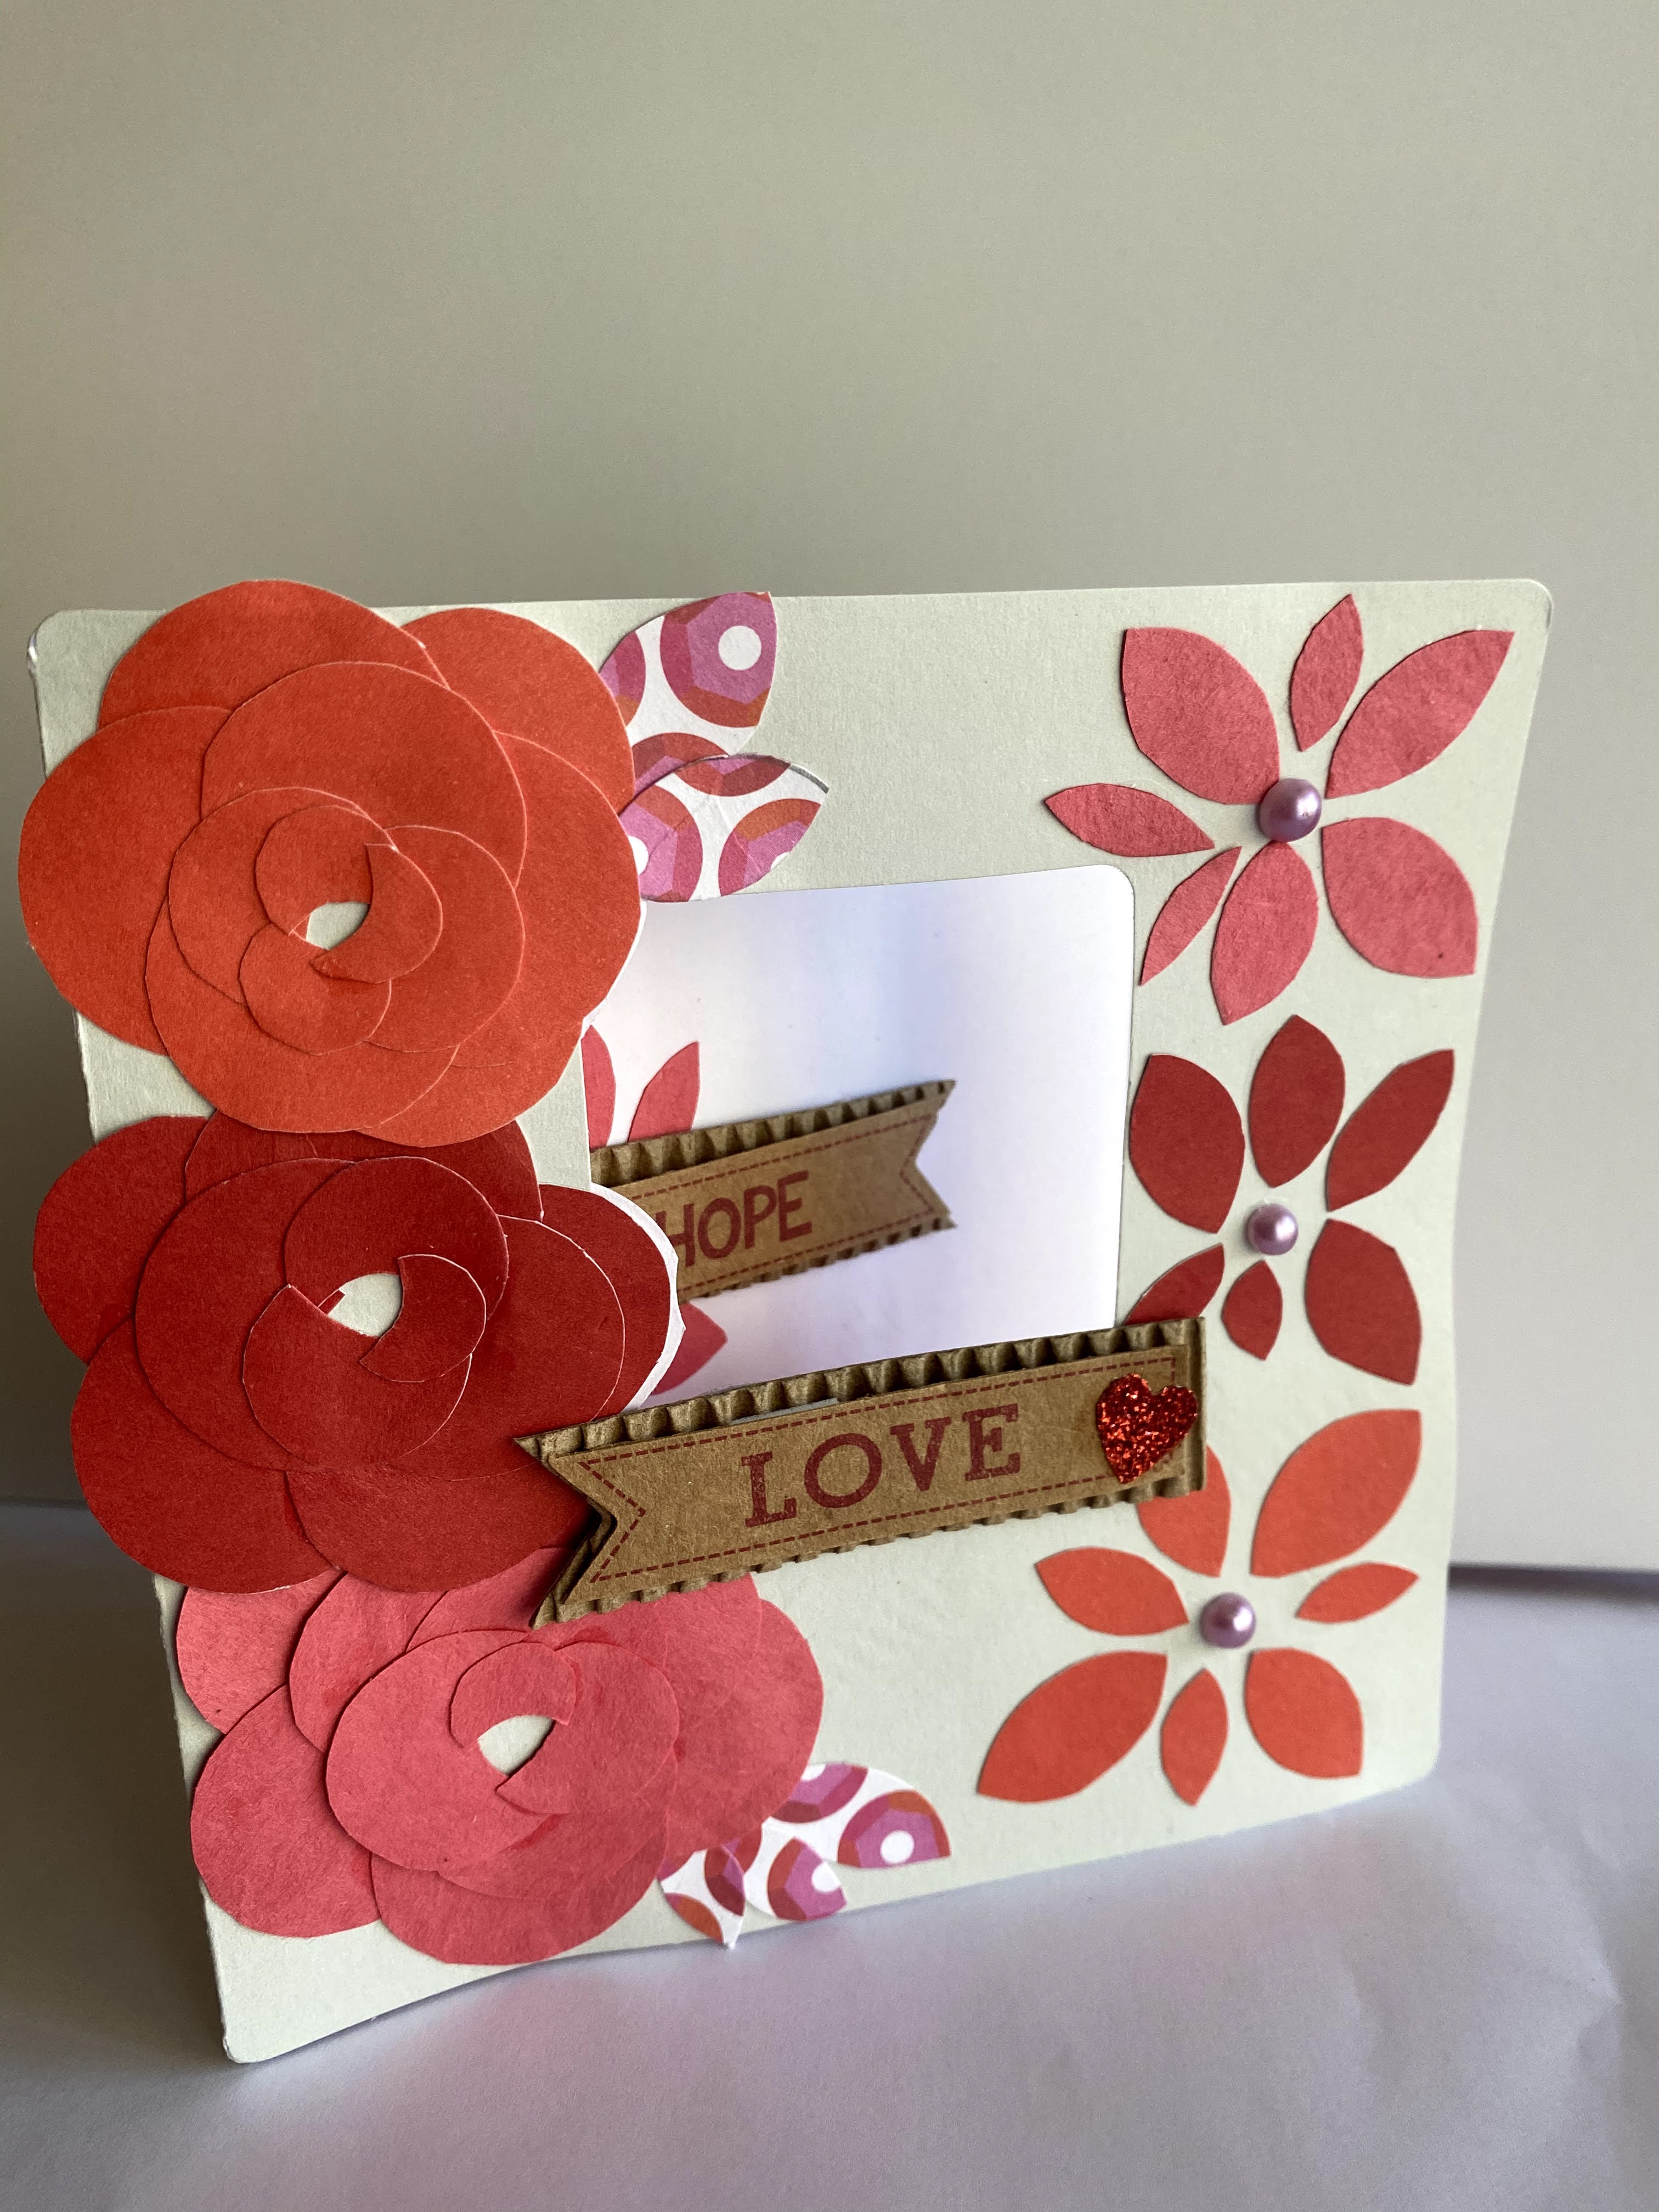
This rose card can be sent to your mom, a loved one, or anyone who enjoys flowers. Once you know how to make roses, you can go forth and design roses to place on top of any blank or upcycled card. Embellish with any pearl or gem stickers.

The muse for behind this card was a store-bought miniature rose that we kept alive on our patio (scroll down to see inspiration photo). Although tough to maintain, they are so cute and mesmerizing to look at!
We felt so inspired even though we didn’t not have a die cut or rose paper punches. So we had to think of a way to make roses out of paper in a special or unique manner. Here’s what we did.
Supplies needed to make this paper rose:
- Circle stencils in a variety of sizes (or any round items you can trace around such as lids)
- Various shades of red paper
- Scissors
- Glue
Cut out Petals
- Trace and Cut Out Petals. Trace and cut out at least 3-4 sizes of circles (small, medium, and large) from the paper of your choice. We used a stencil to do this. The example below uses 3 sizes. The sizes must be small enough to fit your card. For each size, cut out 4-5 circles.
- Cut Circles into Crescent Shapes. To make a petal, take a circle and use your scissors to cut out a piece of the circle so you are left with a slight crescent moon. See the example below. Tip: The leftover scraps can be used as petals for other types of flowers.

Making the Rose
- Arrange the Bottom Layer of the Rose. To make the rose, start with the largest pieces and arrange them next next to each other in a circular layout. If you feel confident in your arrangement, you can glue the pieces together by slightly overlapping the ends of the petals on top of each other.
- Arrange the Middle Layer of the Rose. Next, arrange the medium sized petals in a circular layout. You will need to eventually add them on top of the larger petals you just assembled. Adjust the layout to your liking, covering any spaces by slightly overlapping if you must.
- Arrange the Top Layer of the Rose. Last, arrange the smallest petals by laying them on top of the medium sized petals. You can slightly overlap for more dimension.
Glue your arrangement together.

Our card was a little warped due to the type of glue we used. We are still learning!
Looking back, it would have been nice to have circular punches. If you do have punches of varying sizes, you can use them to easily make the rose petals. Nevertheless, you now know how to make roses for any card project.
And just for fun, here is the miniature rose that inspired it all:

If you made this rose, let us know! We’d love to see how you designed a card or project using this method. Something also tells us, we will probably use it to make another type of card or to decorate a crafty box in the future. Ideas, ideas, ideas!
