

This post is an ode to Lavender. Calming and relaxing. And even more fragrant when dried. So let’s capture a little piece of lavender today. Here, we combine two designs on this card:
- Crafting a paper silhouette of a lavender bouquet
- Adding a textured background by dying a paper towel

For many months now, we had been keeping a small bouquet of dried lavender which was given as a gift. Both of us love the scent of lavender. And in this world that can seem so fast-paced sometimes, this flower is a call to relax and find calm. So whenever we are in its presence, we smile and breathe a little easier in its slight fragrance. Today, it is our muse for our homemade card.
Crafting the lavender bouquet also brought us that same presence. We’ve learned that paper crafting requires time and attention. It’s a great way to stay mindful.
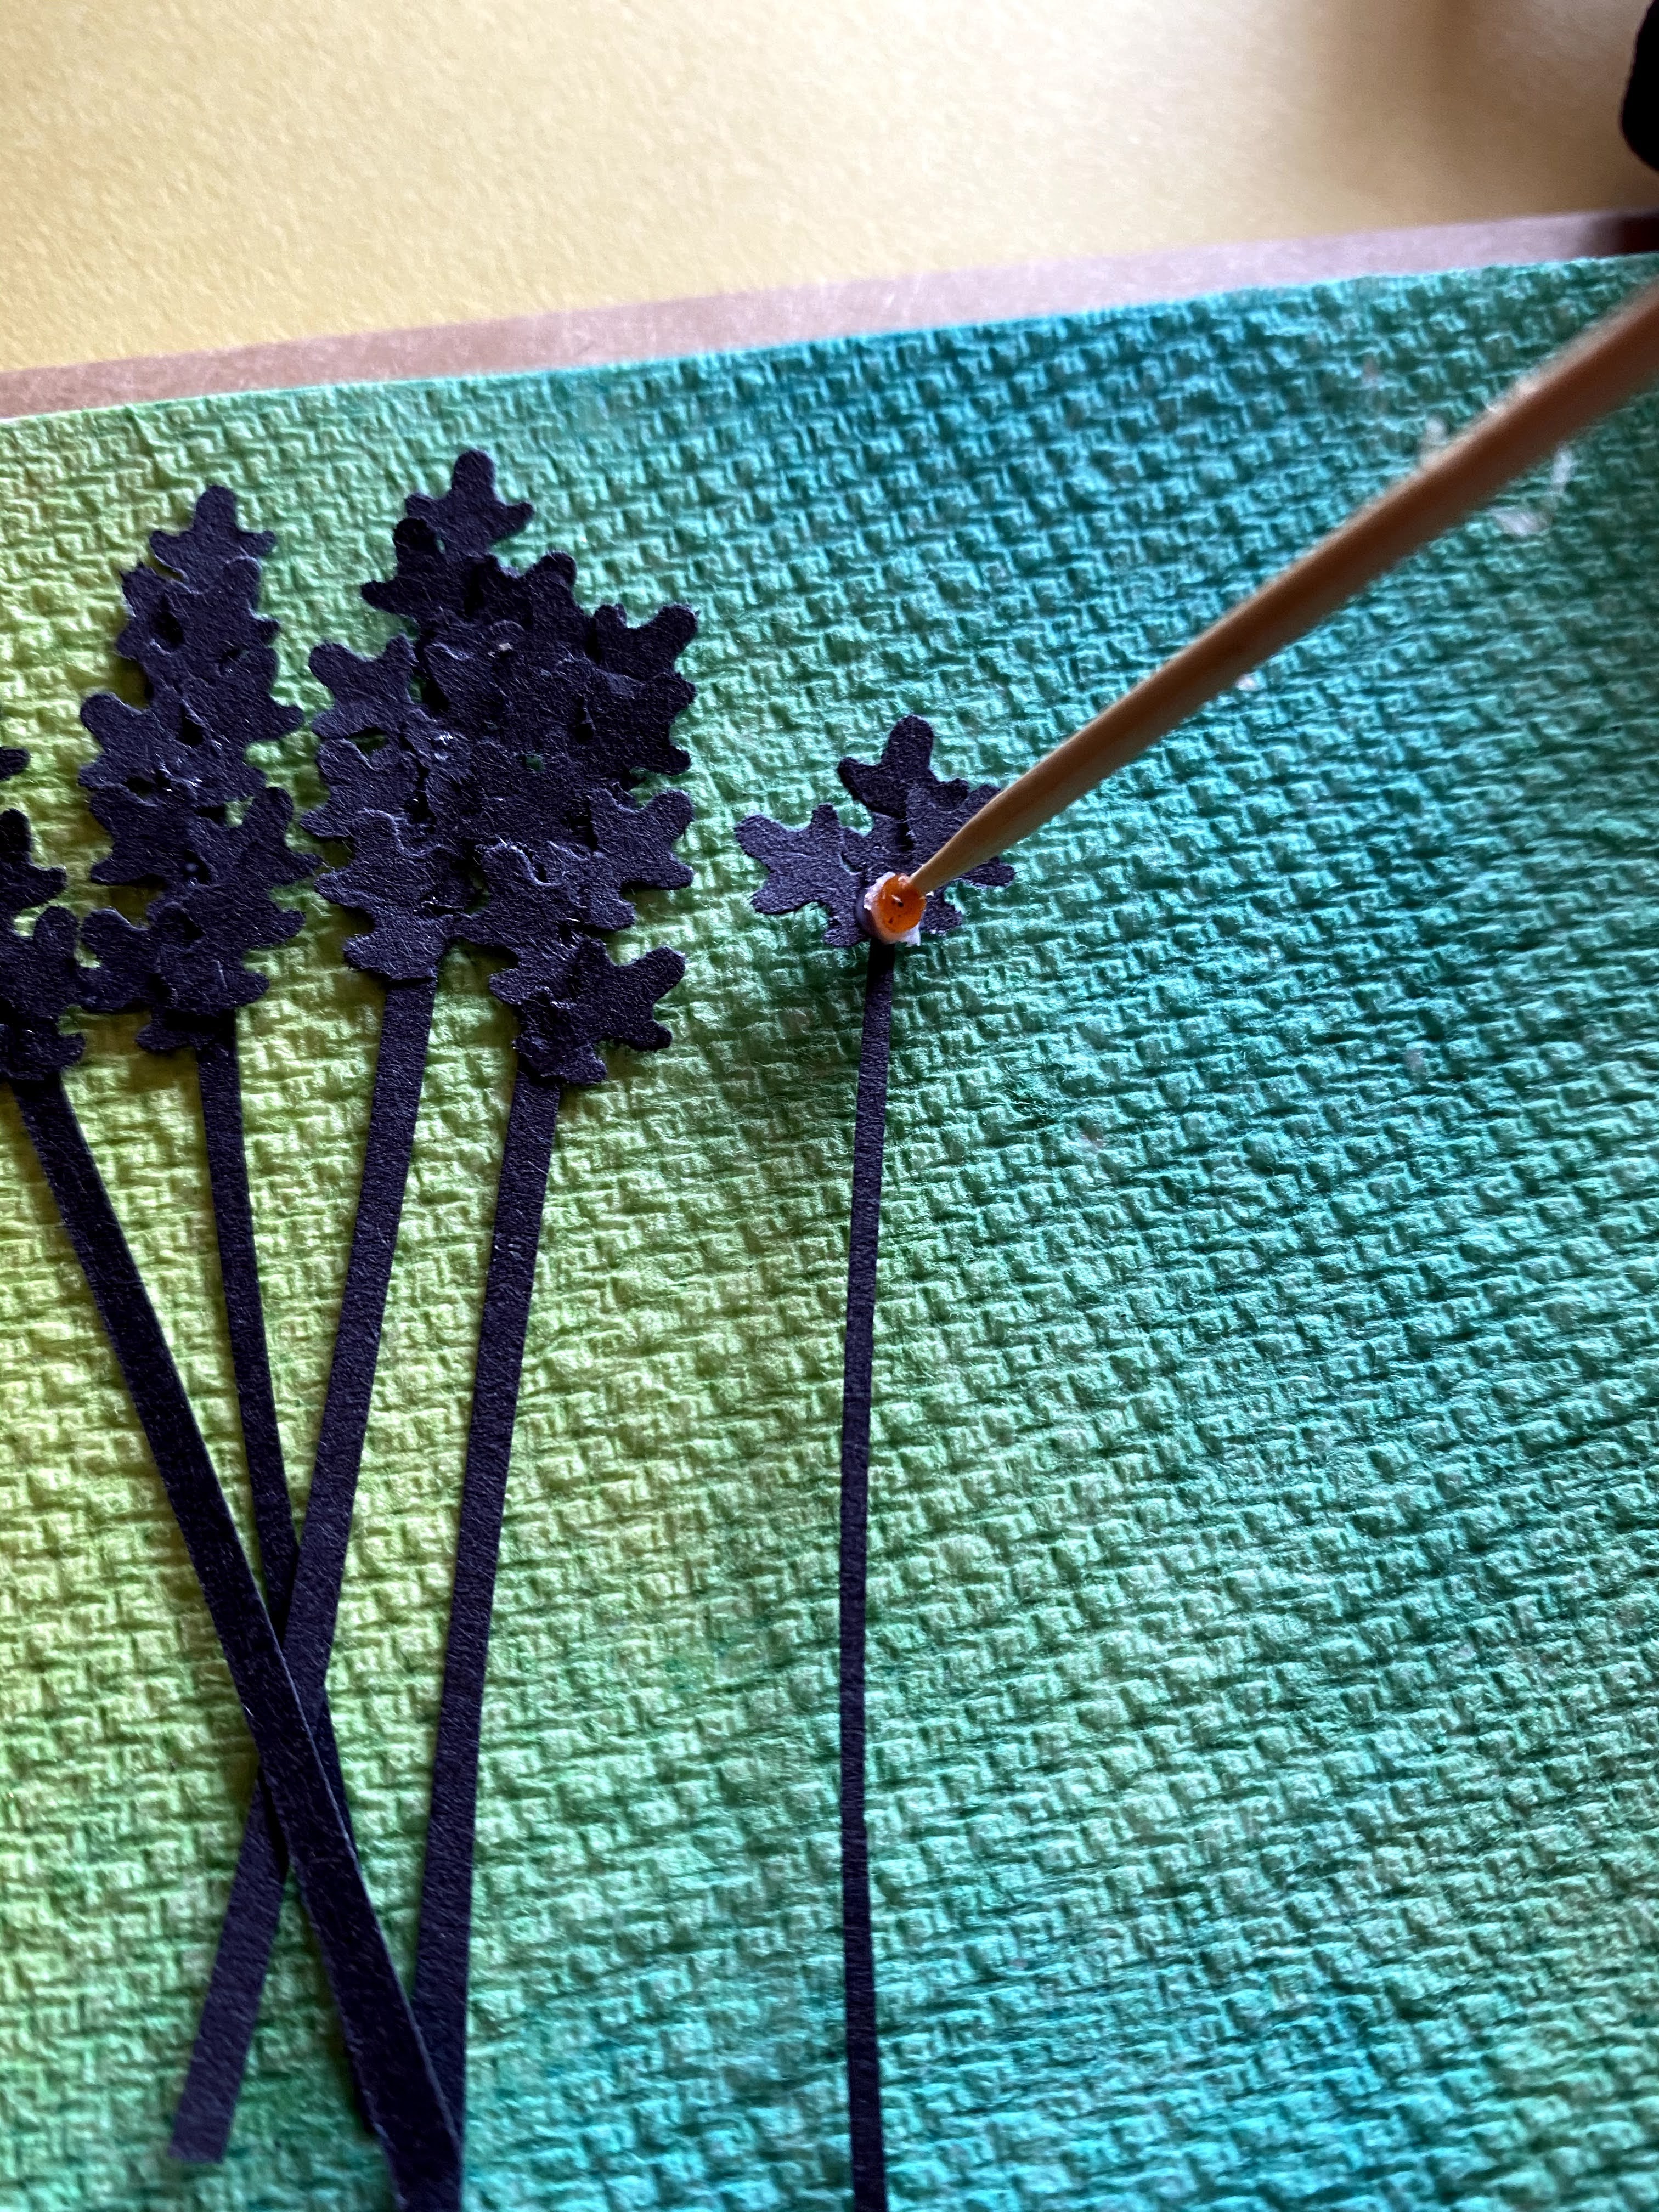
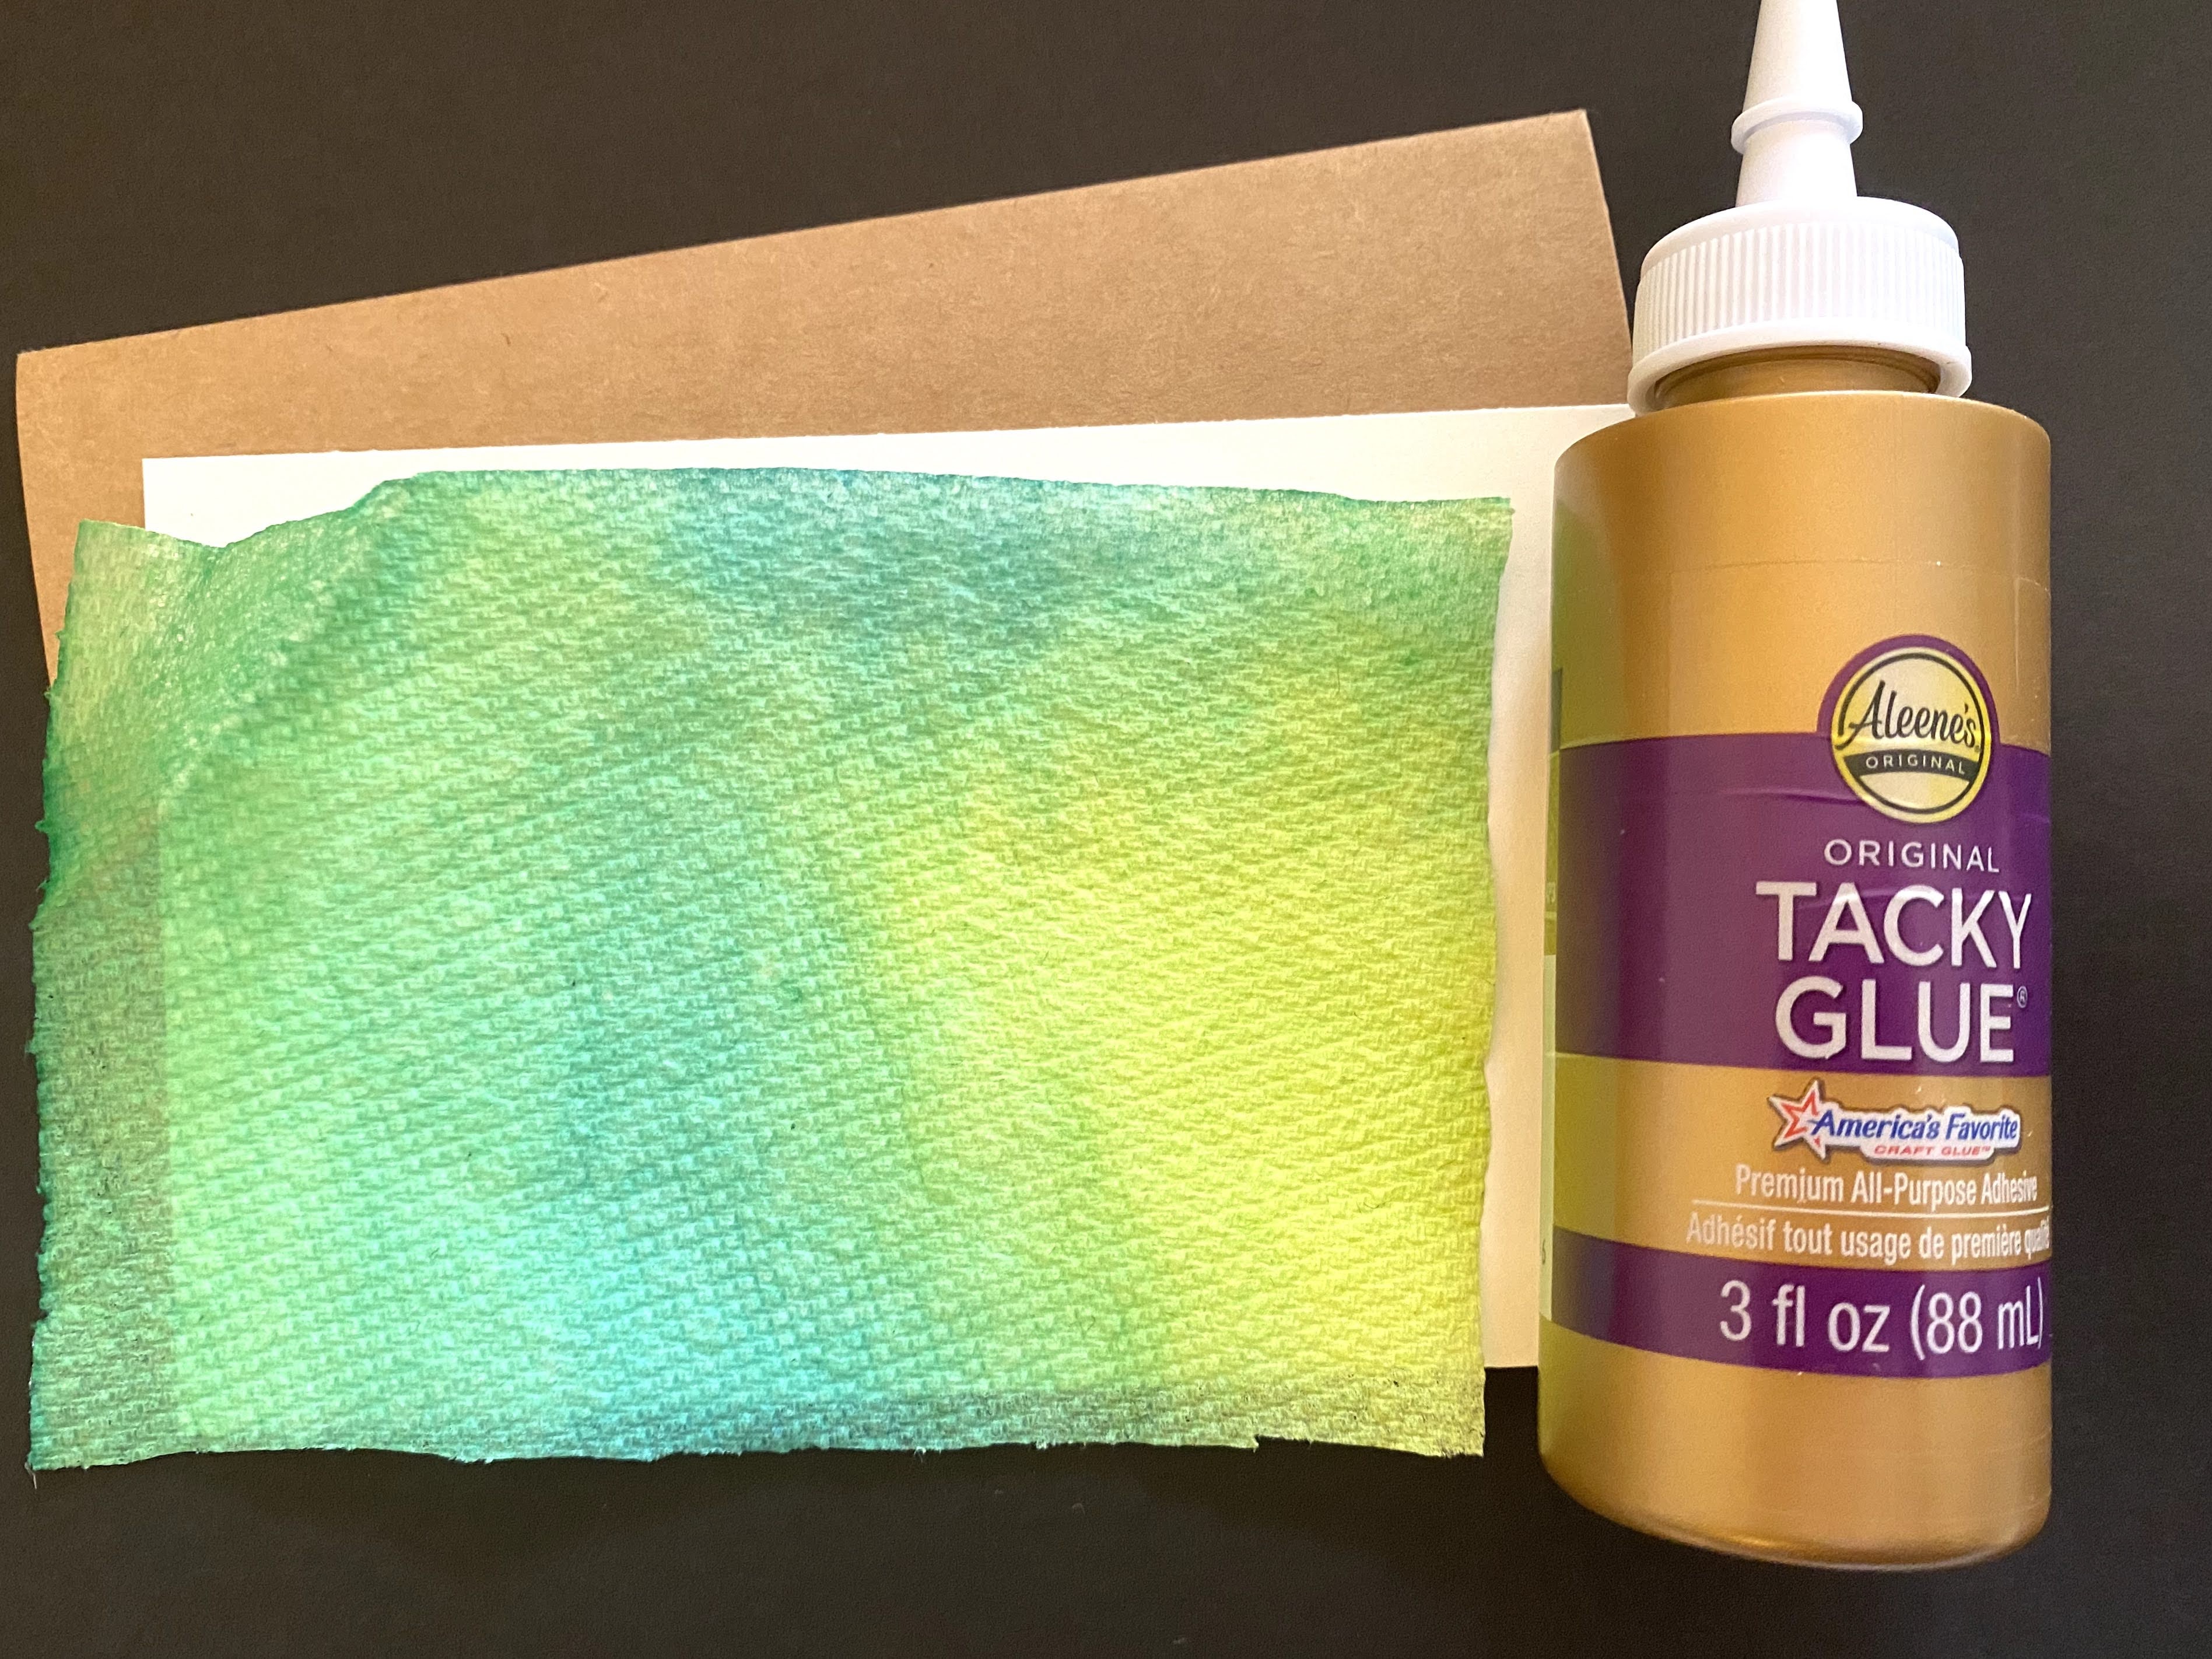
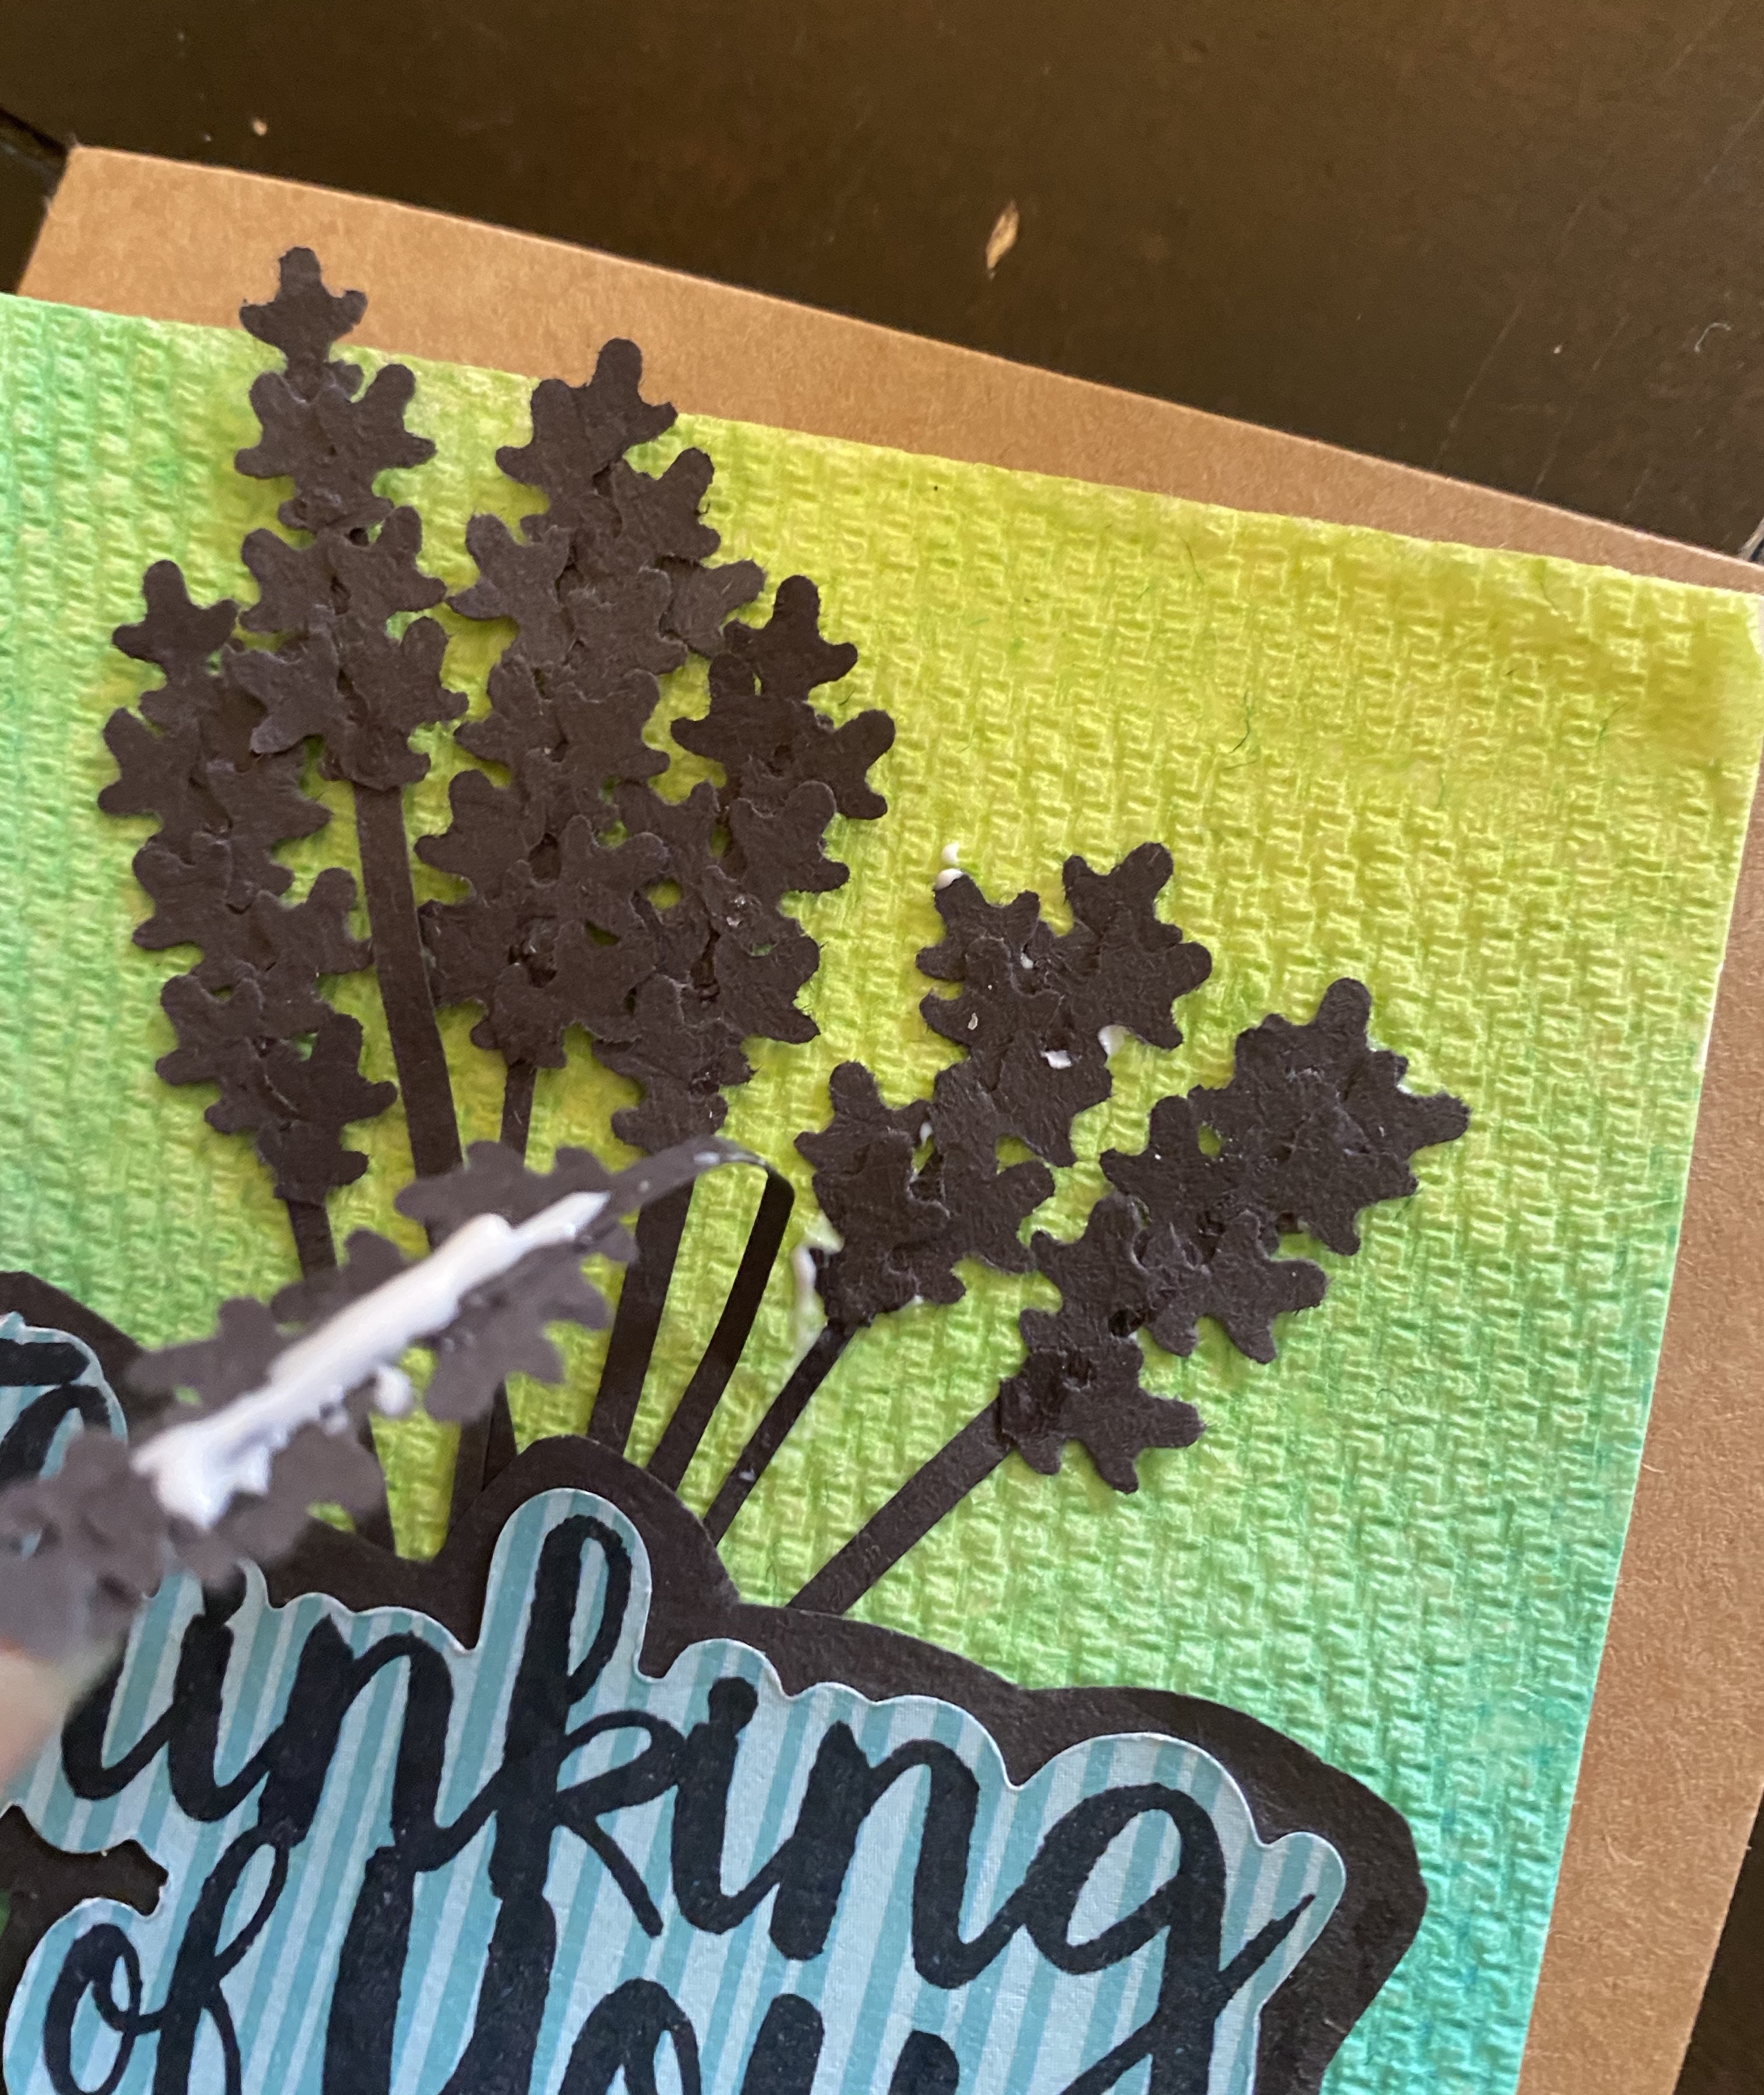
Here we used a small snowflake paper punch. We are always finding new ways to stretch or uniquely use our paper punches. You can punch snowflakes on black paper and then just cut off the tips. The tips look like small little flowers. Next, we cut small thin strips of black construction paper. Using a toothpick we carefully picked up and glued pieces of our snowflake tips to our stems. Tip: We found a bottle of Aleene’s Tacky Glue in the dollar Tree. It seemed to be the perfect product for glue here because it dries clear and does not leave as much residue as a regular Elmer’s glue. The result? A dainty and beautiful silhouette replica of a lavender bouquet.
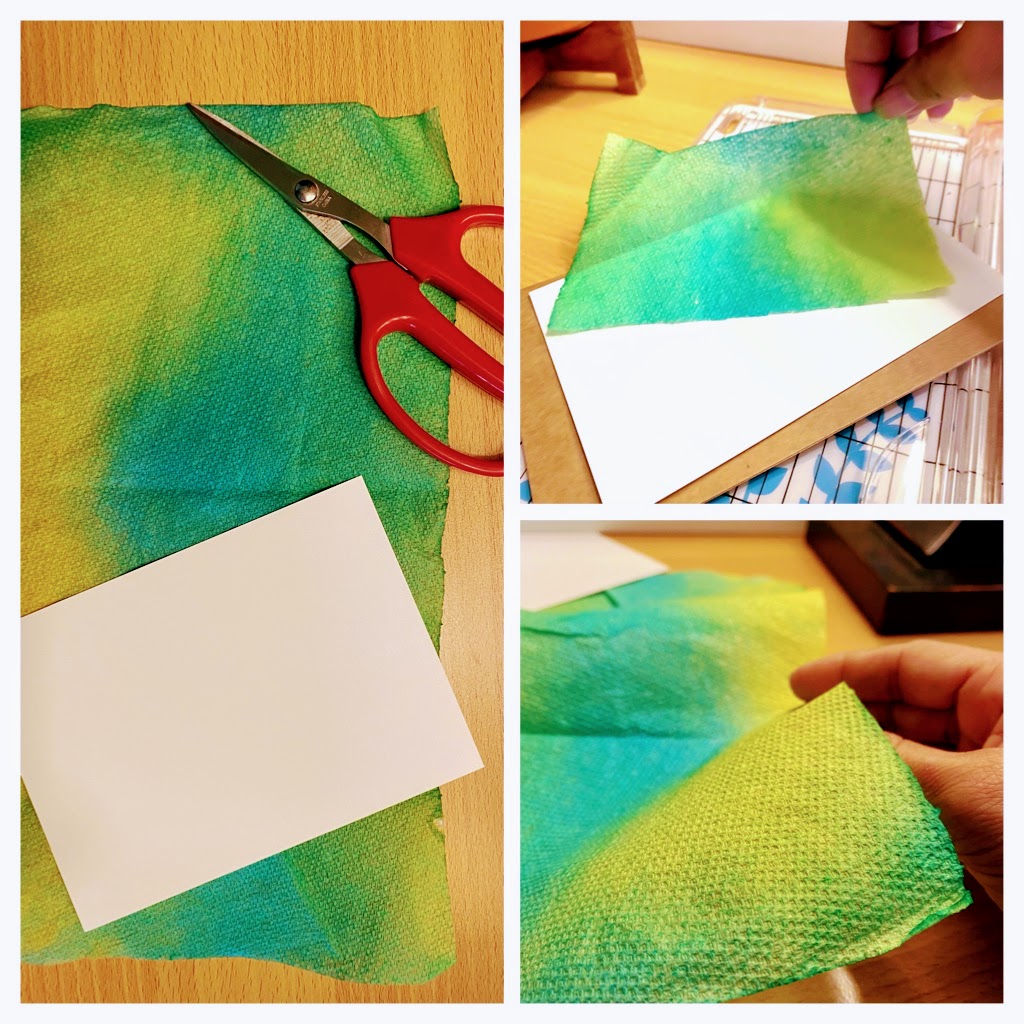
For our background today, we used dried paper towels that were dyed with Easter egg dye. We had these in our stash for a while. Since spring, really! In fact, Liz’s son used so many colorful dyes for his Easter eggs that she didn’t want to waste all that color. So we decided to use the leftover dye to soak paper towel sheets. We let it air dry outside. For that week, we had a string of beautiful and colorful flags on our balcony.
Fast forward to another day of crafting. We chose a paper towel with blue, greens and yellows all blended throughout. We did not want to use a purple background, but something contrasting to our silhouette. We then cut the edges so that it fit a small off-white cardstock. Attaching a colorful and thin layer to a lighter background will help it “pop” and stand out since the greeting card we used today was an A6 size brown card.
Using our now trusty Aleen’s Tacky Glue, we dotted around the edges and added some light glue lines to the middle. We used a nylon paint brush to thin spread the glue to avoid bumps or rips when we laid the delicate paper down.

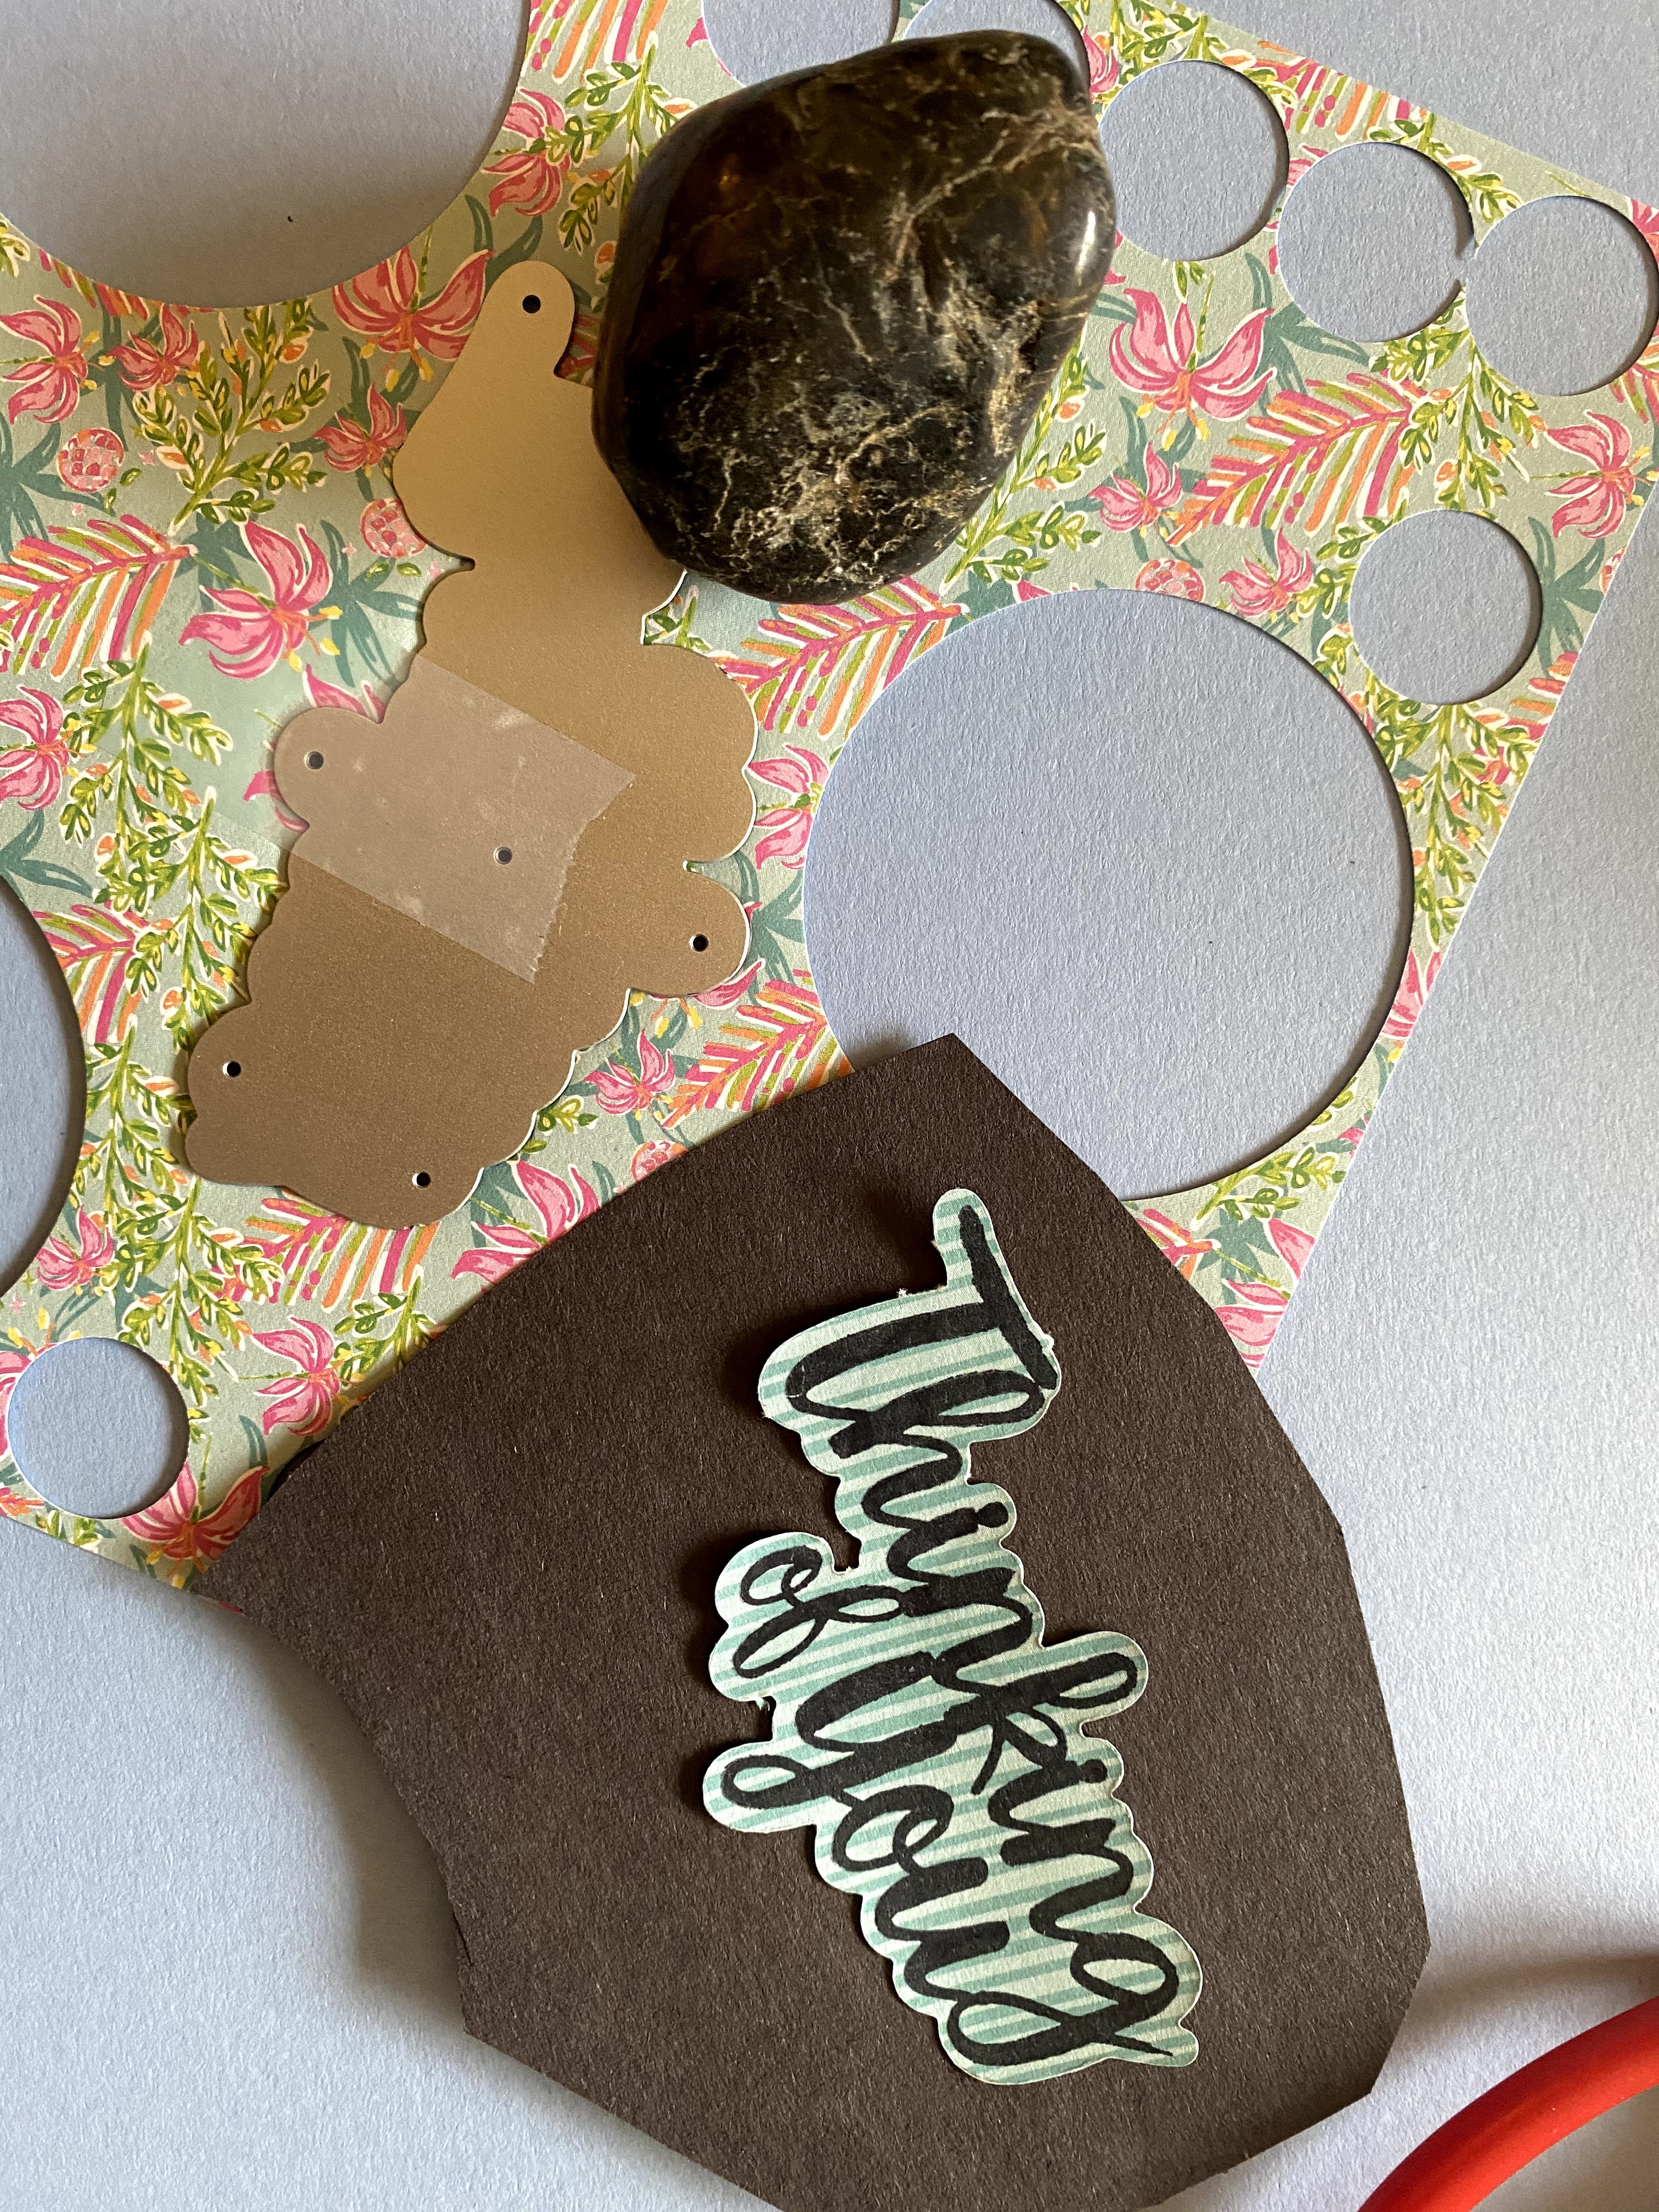
Next, we stamped a “Thinking of You” sentiment on some mellow blue striped paper. We bought this at a Michael’s store a month or two ago. I think it was part of a Recollections set. Anyways, we do not yet have an embosser or die cutting machine (Yes, hopefully one day!) We just hacked our way by taping our metal die to a decorative paper and firmly pressing around the edges of it with a stone. We got it done in less than 10 minutes (And….. we decided that we just may wait until we get a die cutting machine next time, haha!)
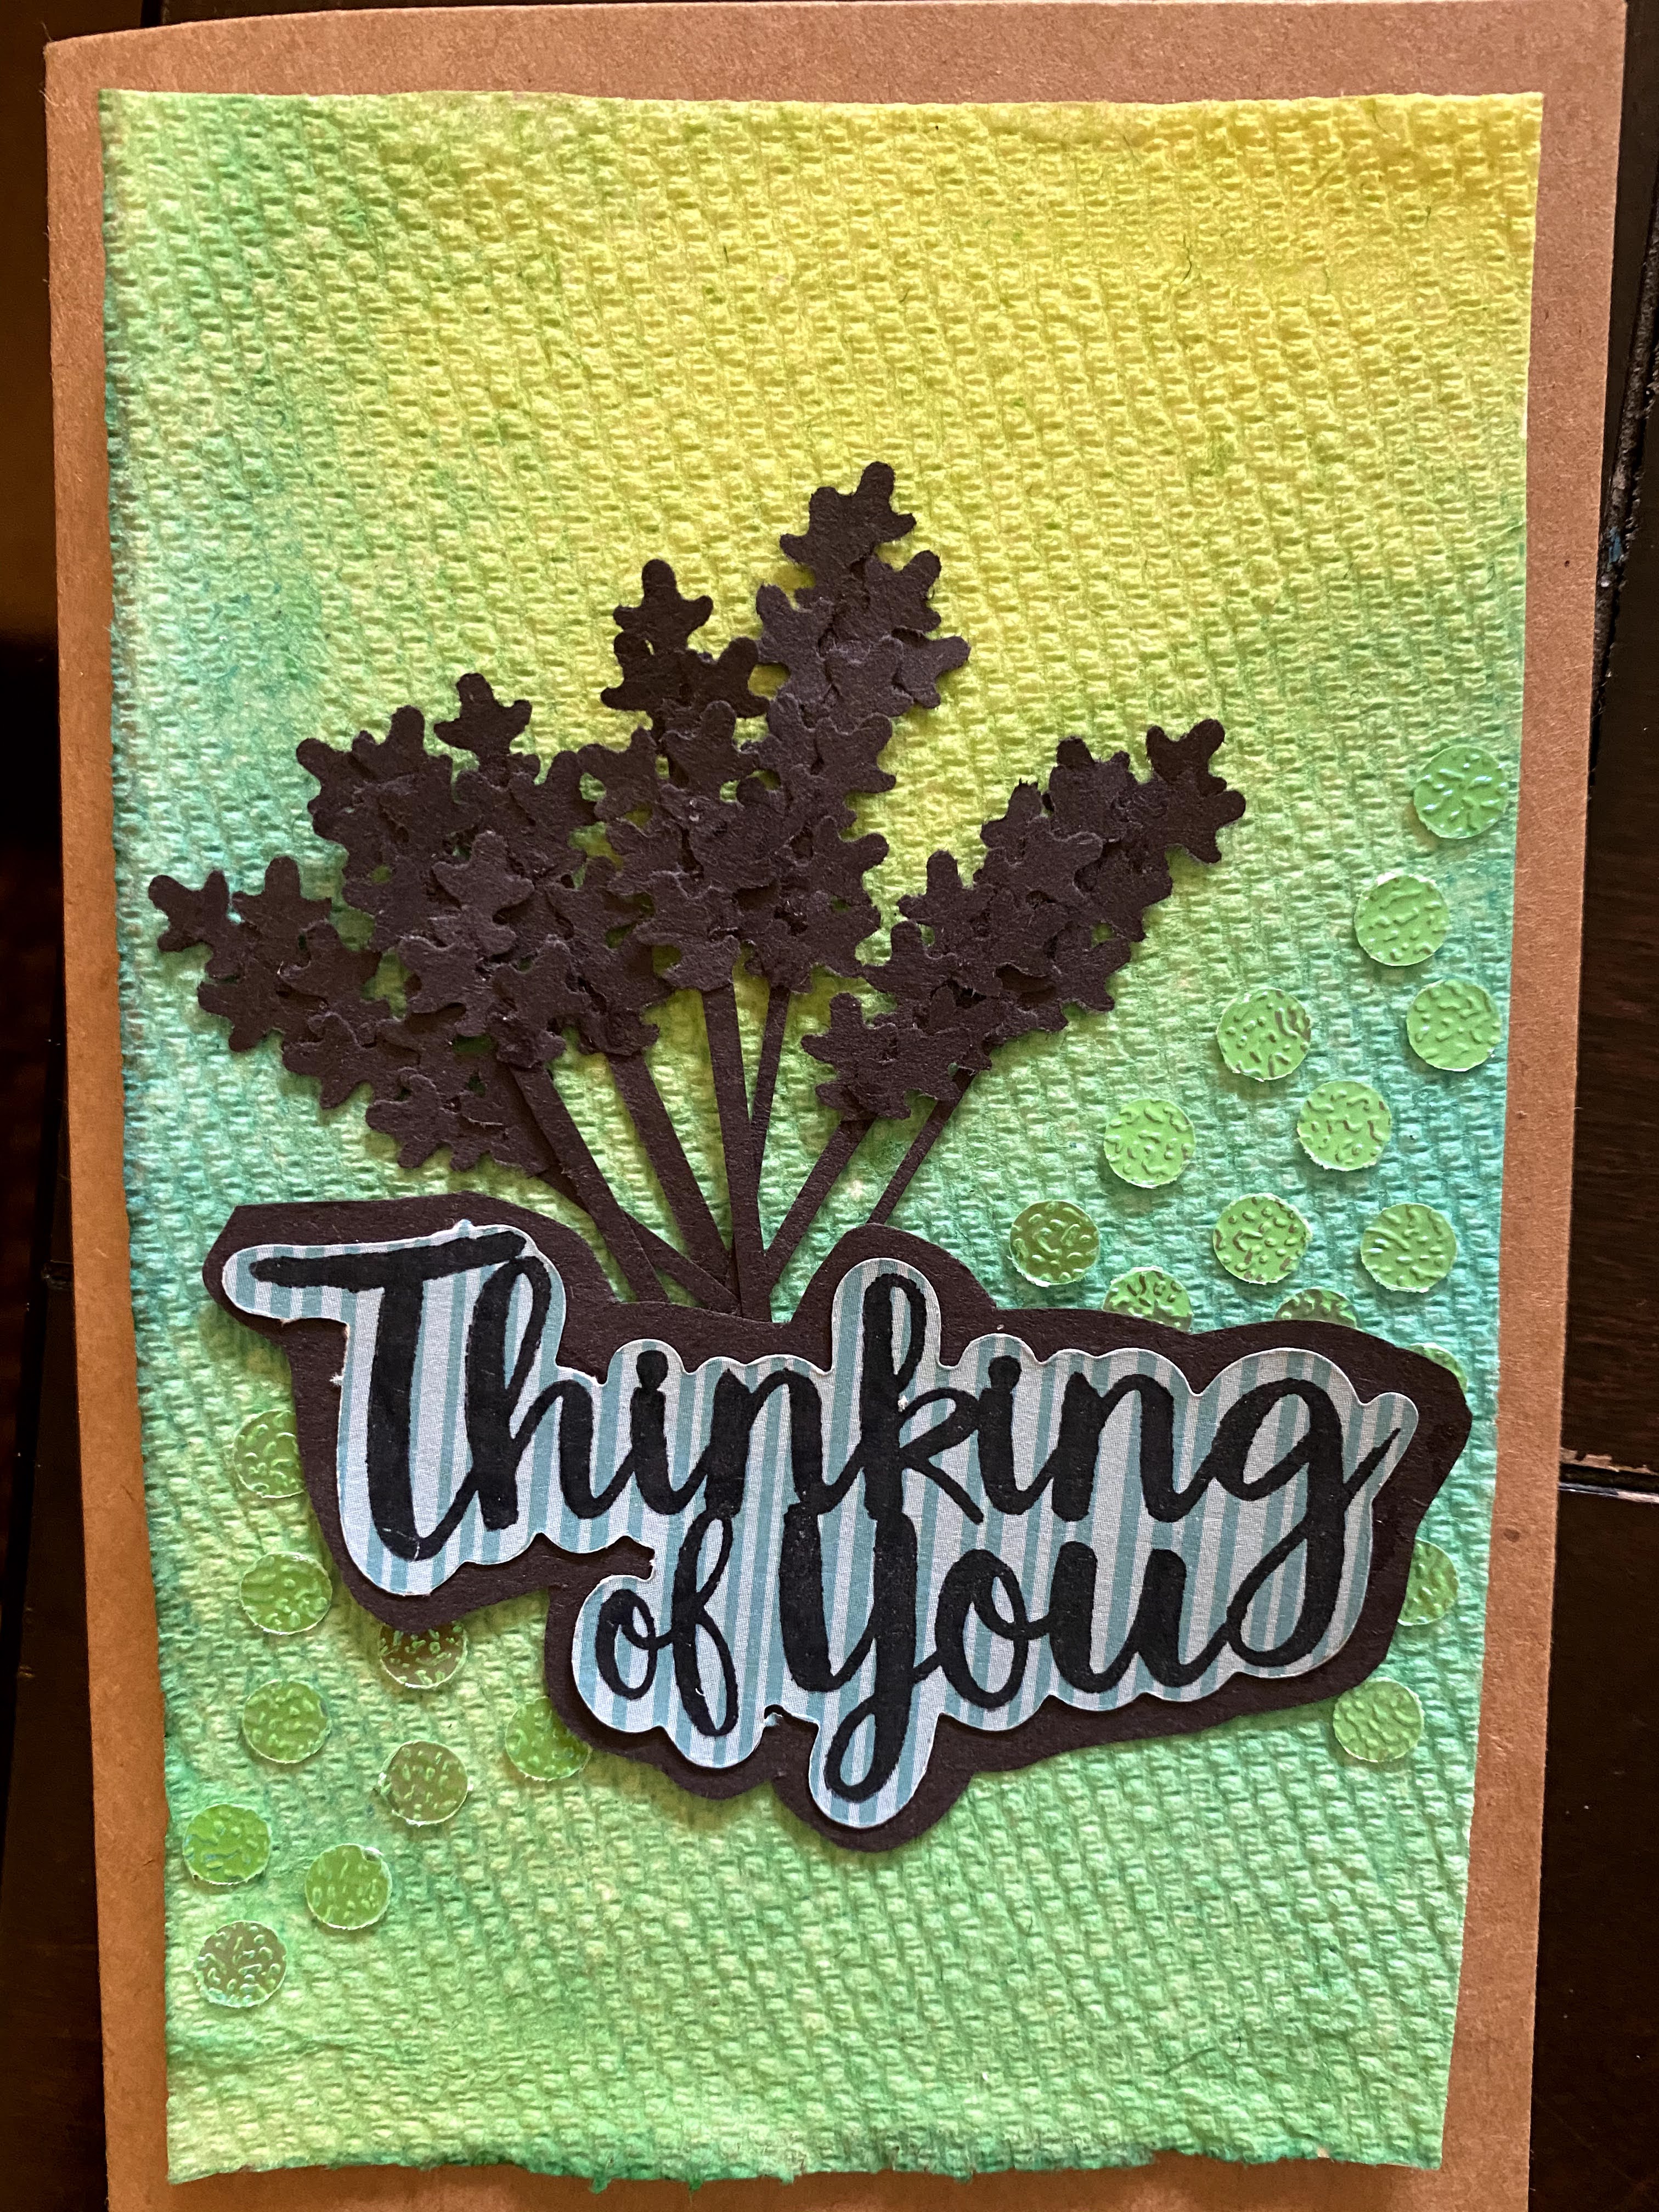
Next, we arranged our silhouette of lavender behind our sentiment. We glued the sentiment down in the center of the card. We did, however, temporarily leave the edges unglued. Next, we glued down the arrangement. For a few stalks, we let the lavender tips slightly fall past the edge of our colorful background to just give it a feel of three dimension–as if the bouquet was growing beyond the card.
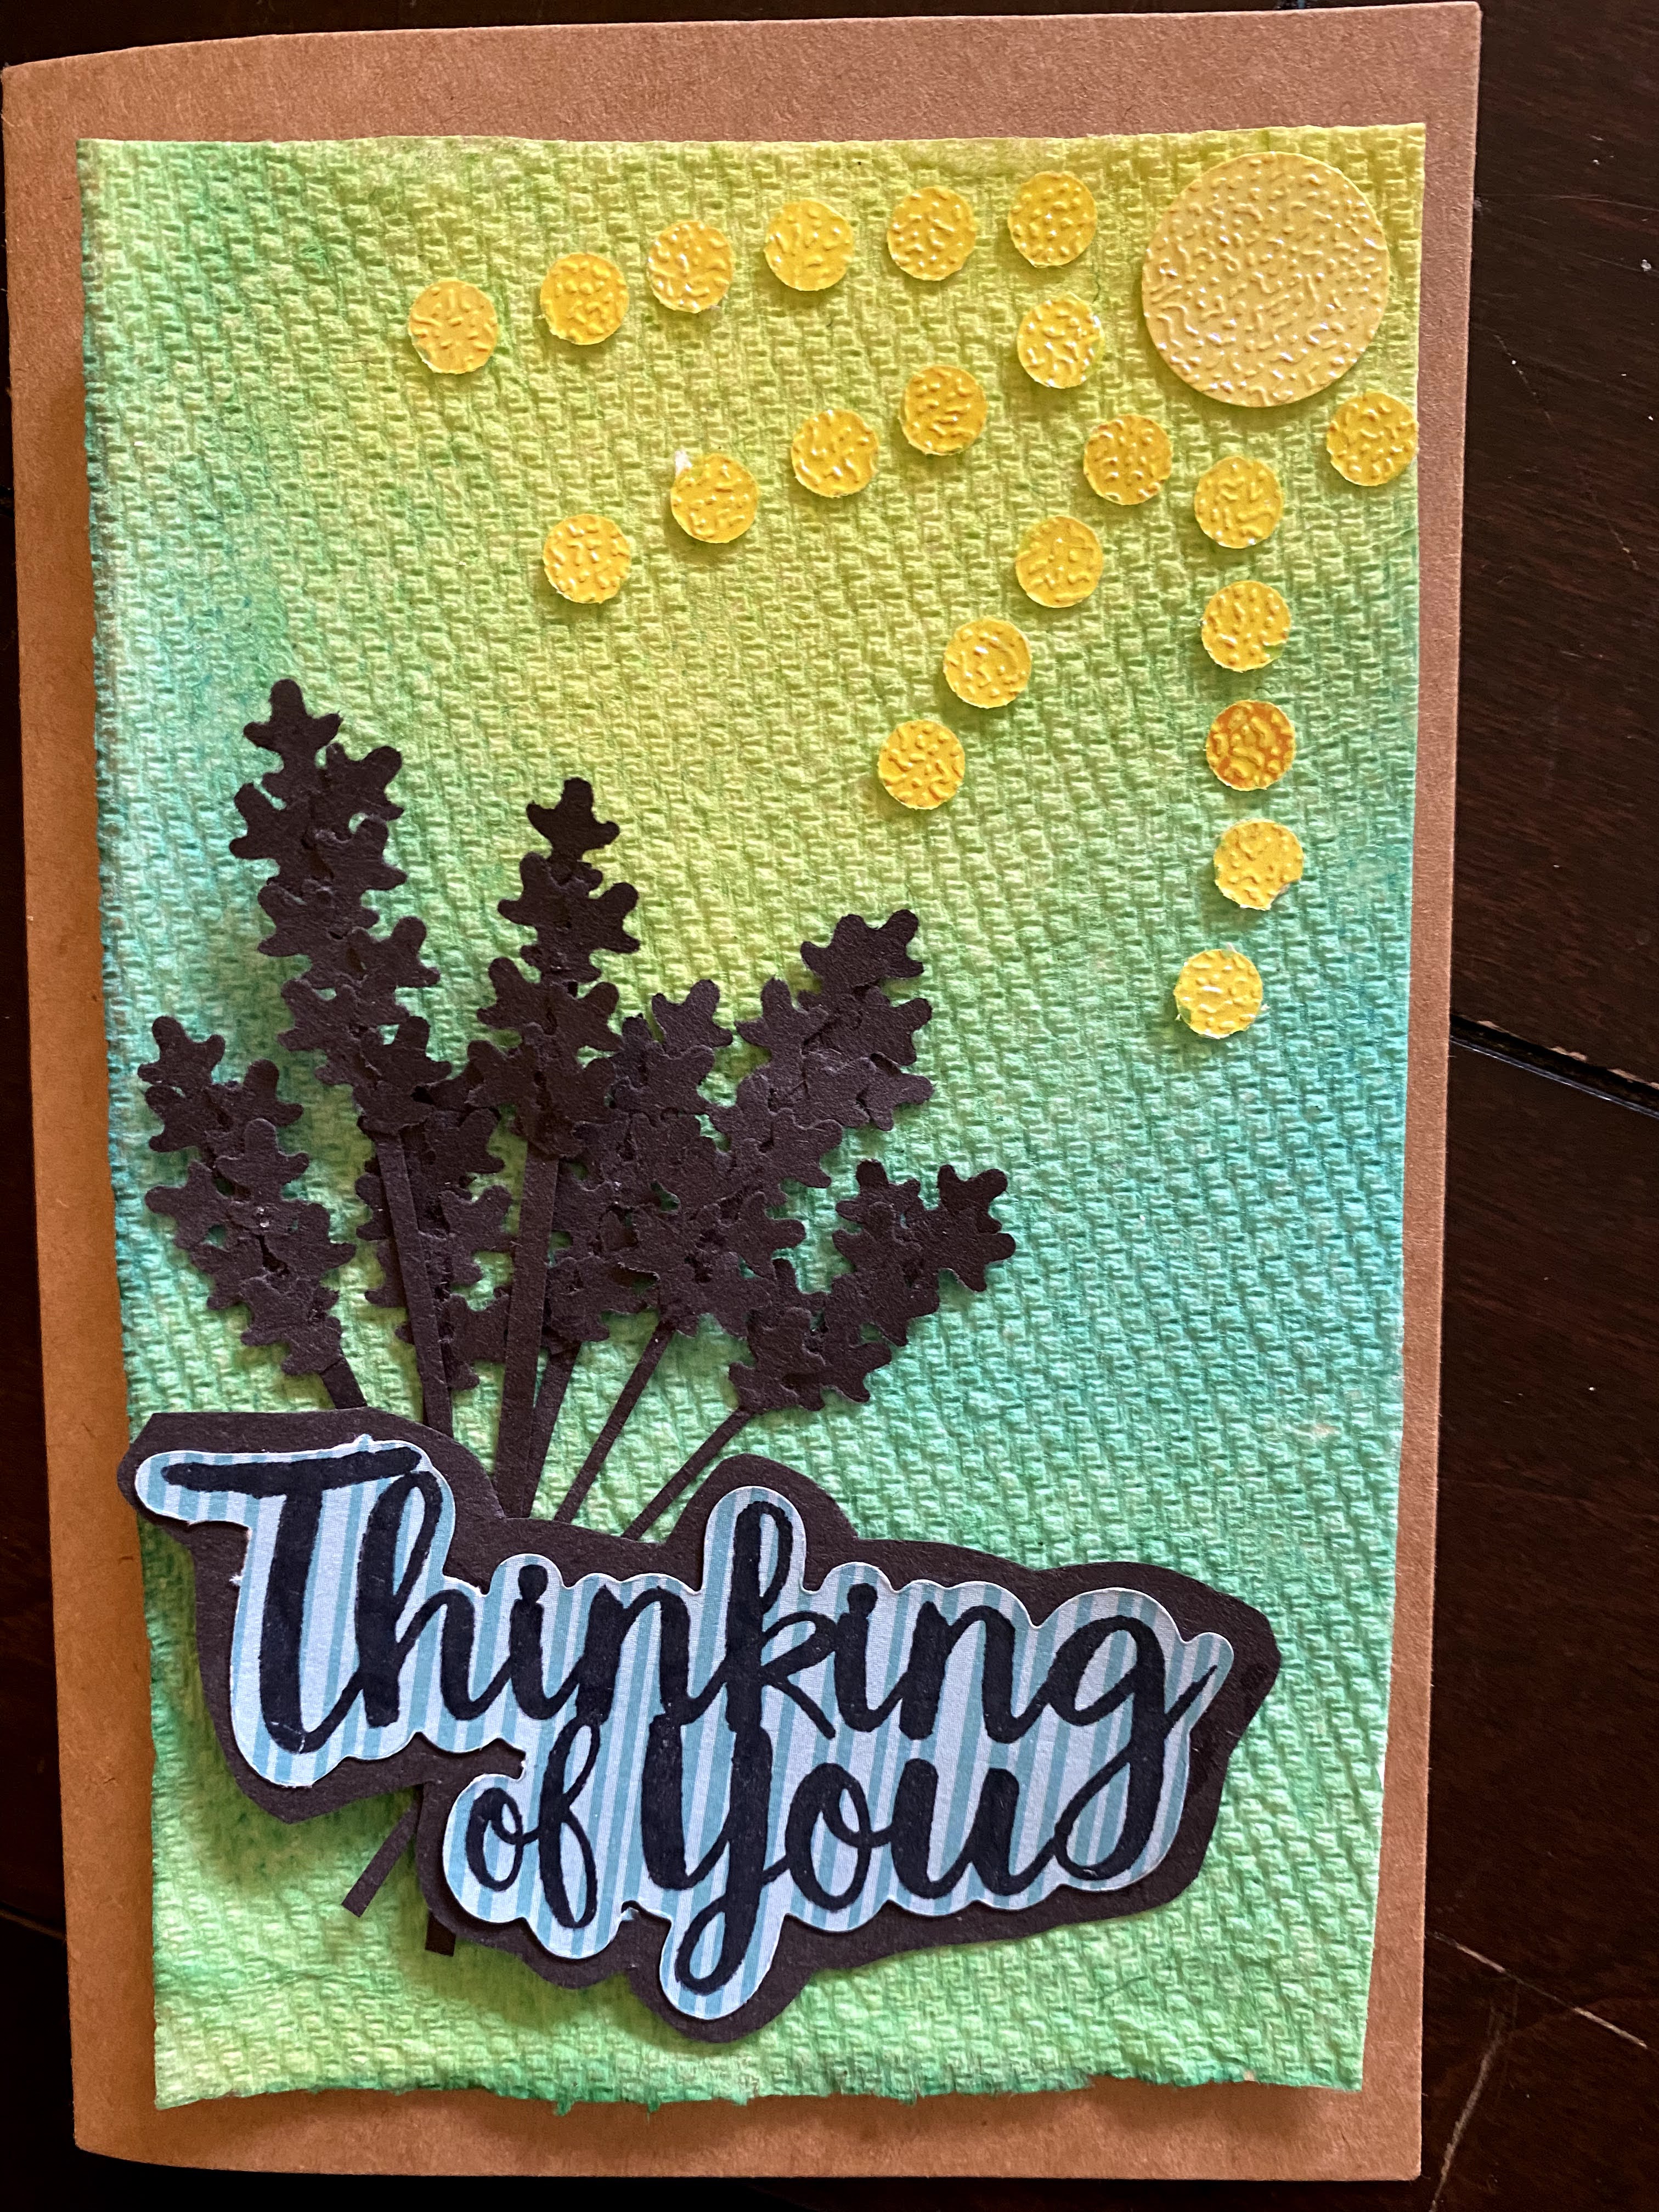
To add a little more interest and shine to the card, we added some dual-tone iridescent confetti in blue, yellow and sea green.


Before we just end this post, we wanted to share a few more design ideas we had for this homemade card. At first, we wanted to use the confetti to make a beautiful yellow sun. The idea was to place the sentiment at the bottom of the design and have the sun’s rays look like they are reaching into the lavender bouquet.
The second option was to add sea-green confetti dots behind the sentiment just to add a little sparkle and interest to the card. We think both of these alternative options may have also been a good choice.
In the end, we chose what we chose. Any of the other concepts could have worked too. But such is the life of a homemade card maker. Sometimes cards are not pre-planned and sometimes the design comes to you in the last minute and that is okay for today. That is the beauty of it all.

Now, after all that crafting, we are now ready to have some chamomile lavender tea and biscuits! Who’s with us on that?
Have you made or used silhouettes in your design? Try it out!
