

“How far is near, and how near is far? If you’re looking up now, we see the same star.” – Jack Piatt
This was a poem (or quote) that was listed on the back of one of our key chains from many many years ago. And for some reason, it still sticks. Could it be the memorable rhyme? Or was it the simple reminder of the truth? Either way, it brings to light the true yearning of the human heart: finding a way to connect with someone you miss dearly.
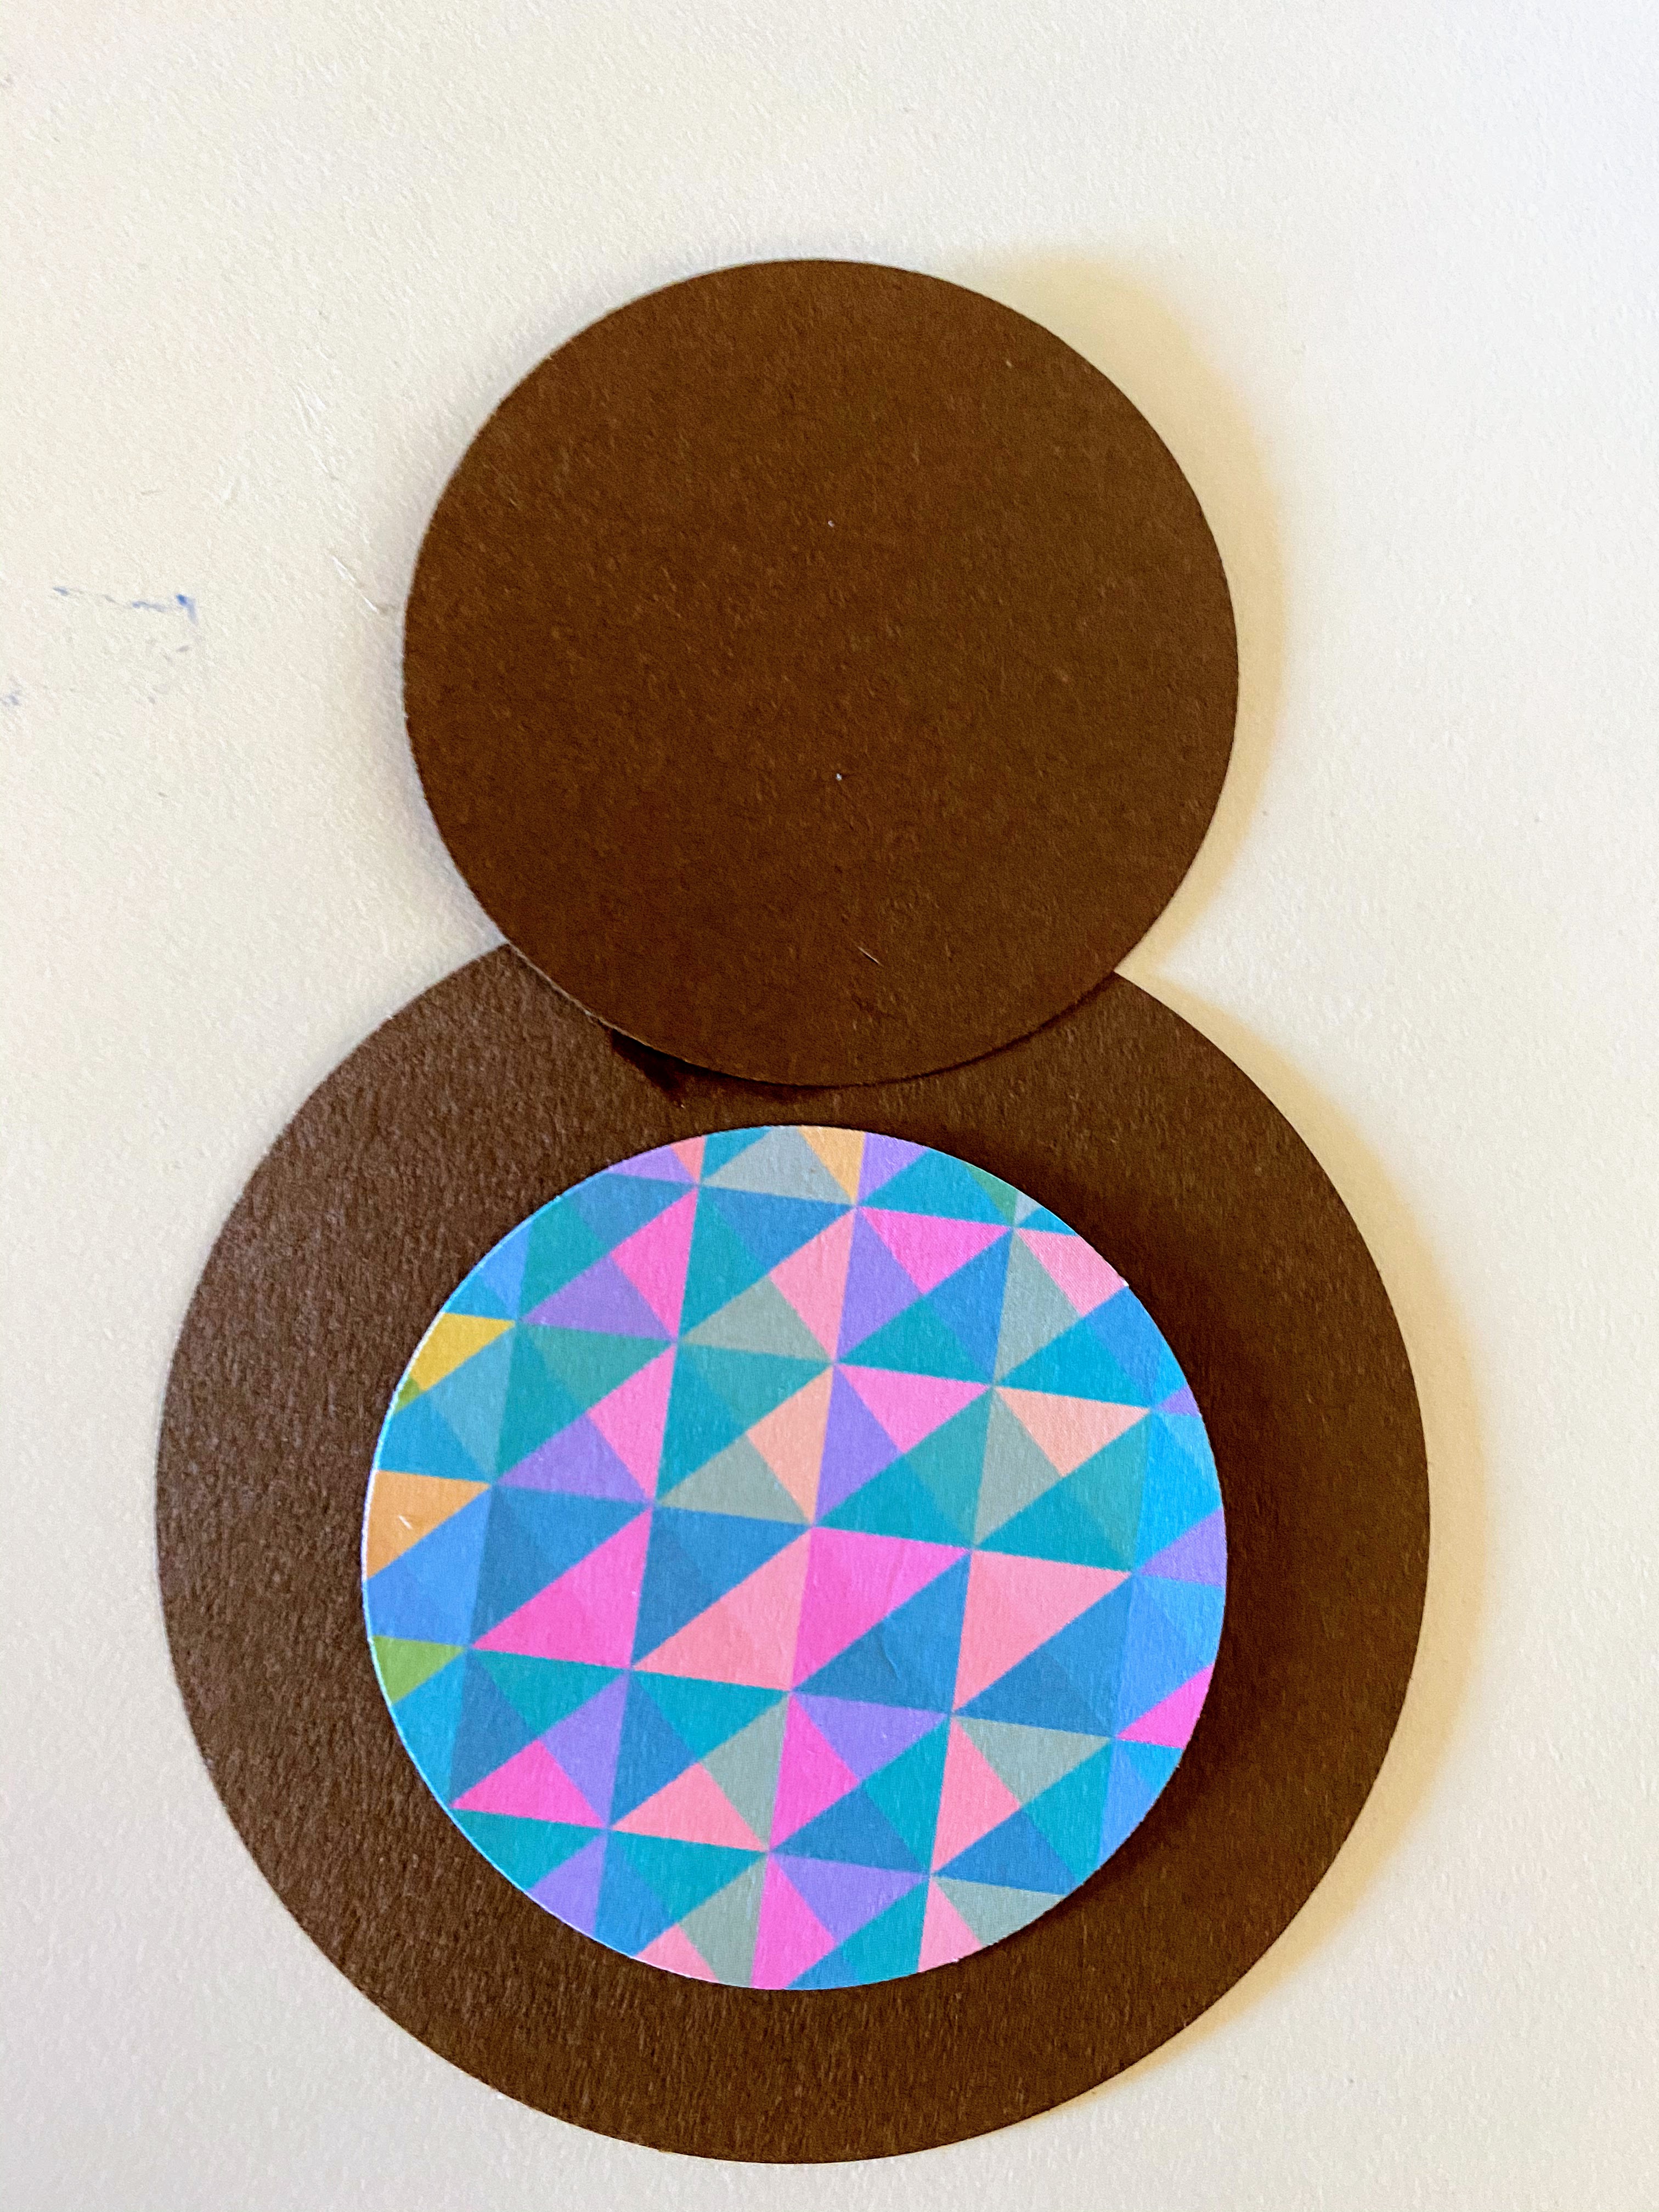
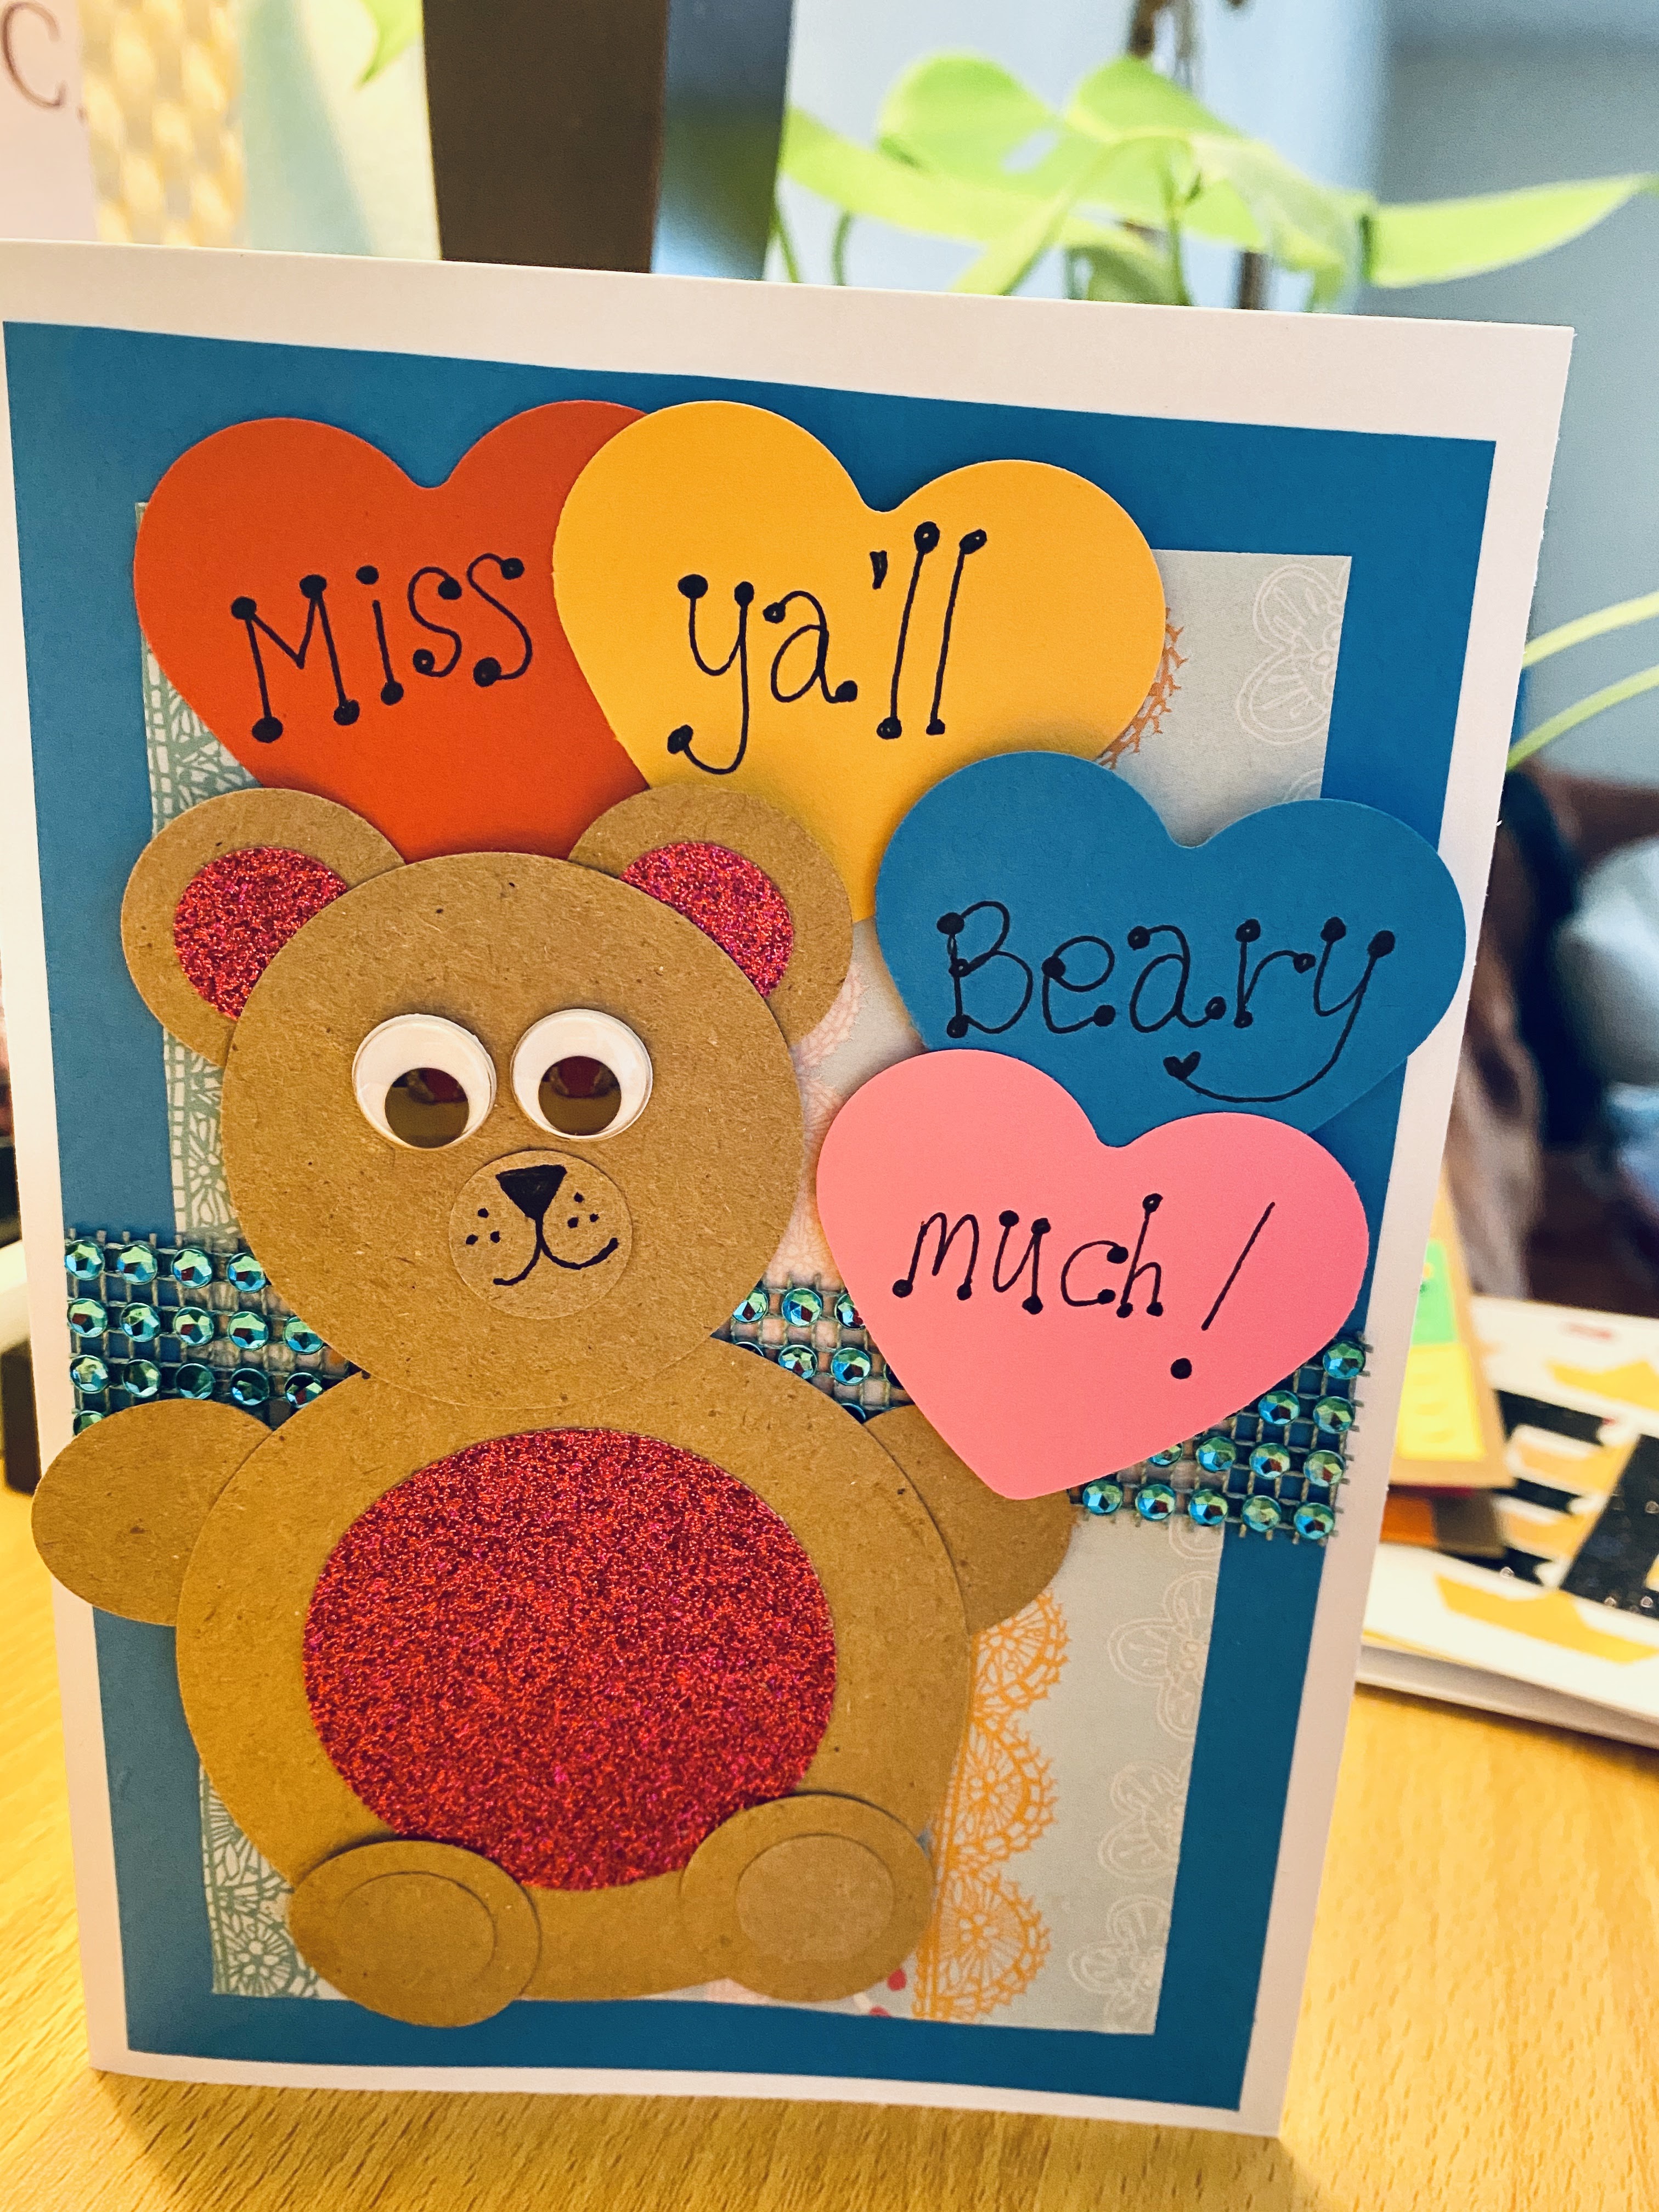
And maybe that’s why we decided to make this “We’ll Miss You Beary Much” bear card. So many of our family and friends and their kids live in different cities. And we wanted to let them know we are thinking of them, missing them, and hoping to see them soon.
Funny thing is, what started as one homemade bear card quickly turned into eight homemade cards! I guess we realized how easy it was to make this homemade bear card. Additionally, for this project, we mailed out unassembled pieces of the bear along with the card so that the recipient got a chance to be crafty like us.
If you are looking for a fun homemade card for both the sender of the card and the recipient, then try making this bear card.
This homemade card is very easy to do. For this project we used a 5×7 inch card and for the most part, scrapbook paper and cardstock. Making the bear was not difficult at all. The entire bear is made of circle shapes. We wanted to use our circle paper punches we had in various sizes. If you do not have circle punches, you can use a stencil or trace around circular objects in your home.
To make this bear, you will need to punch or cut out circles in the following sizes: 3 inches, 2 inches, 1 inch, and the smallest circle (.5-.75 inches).
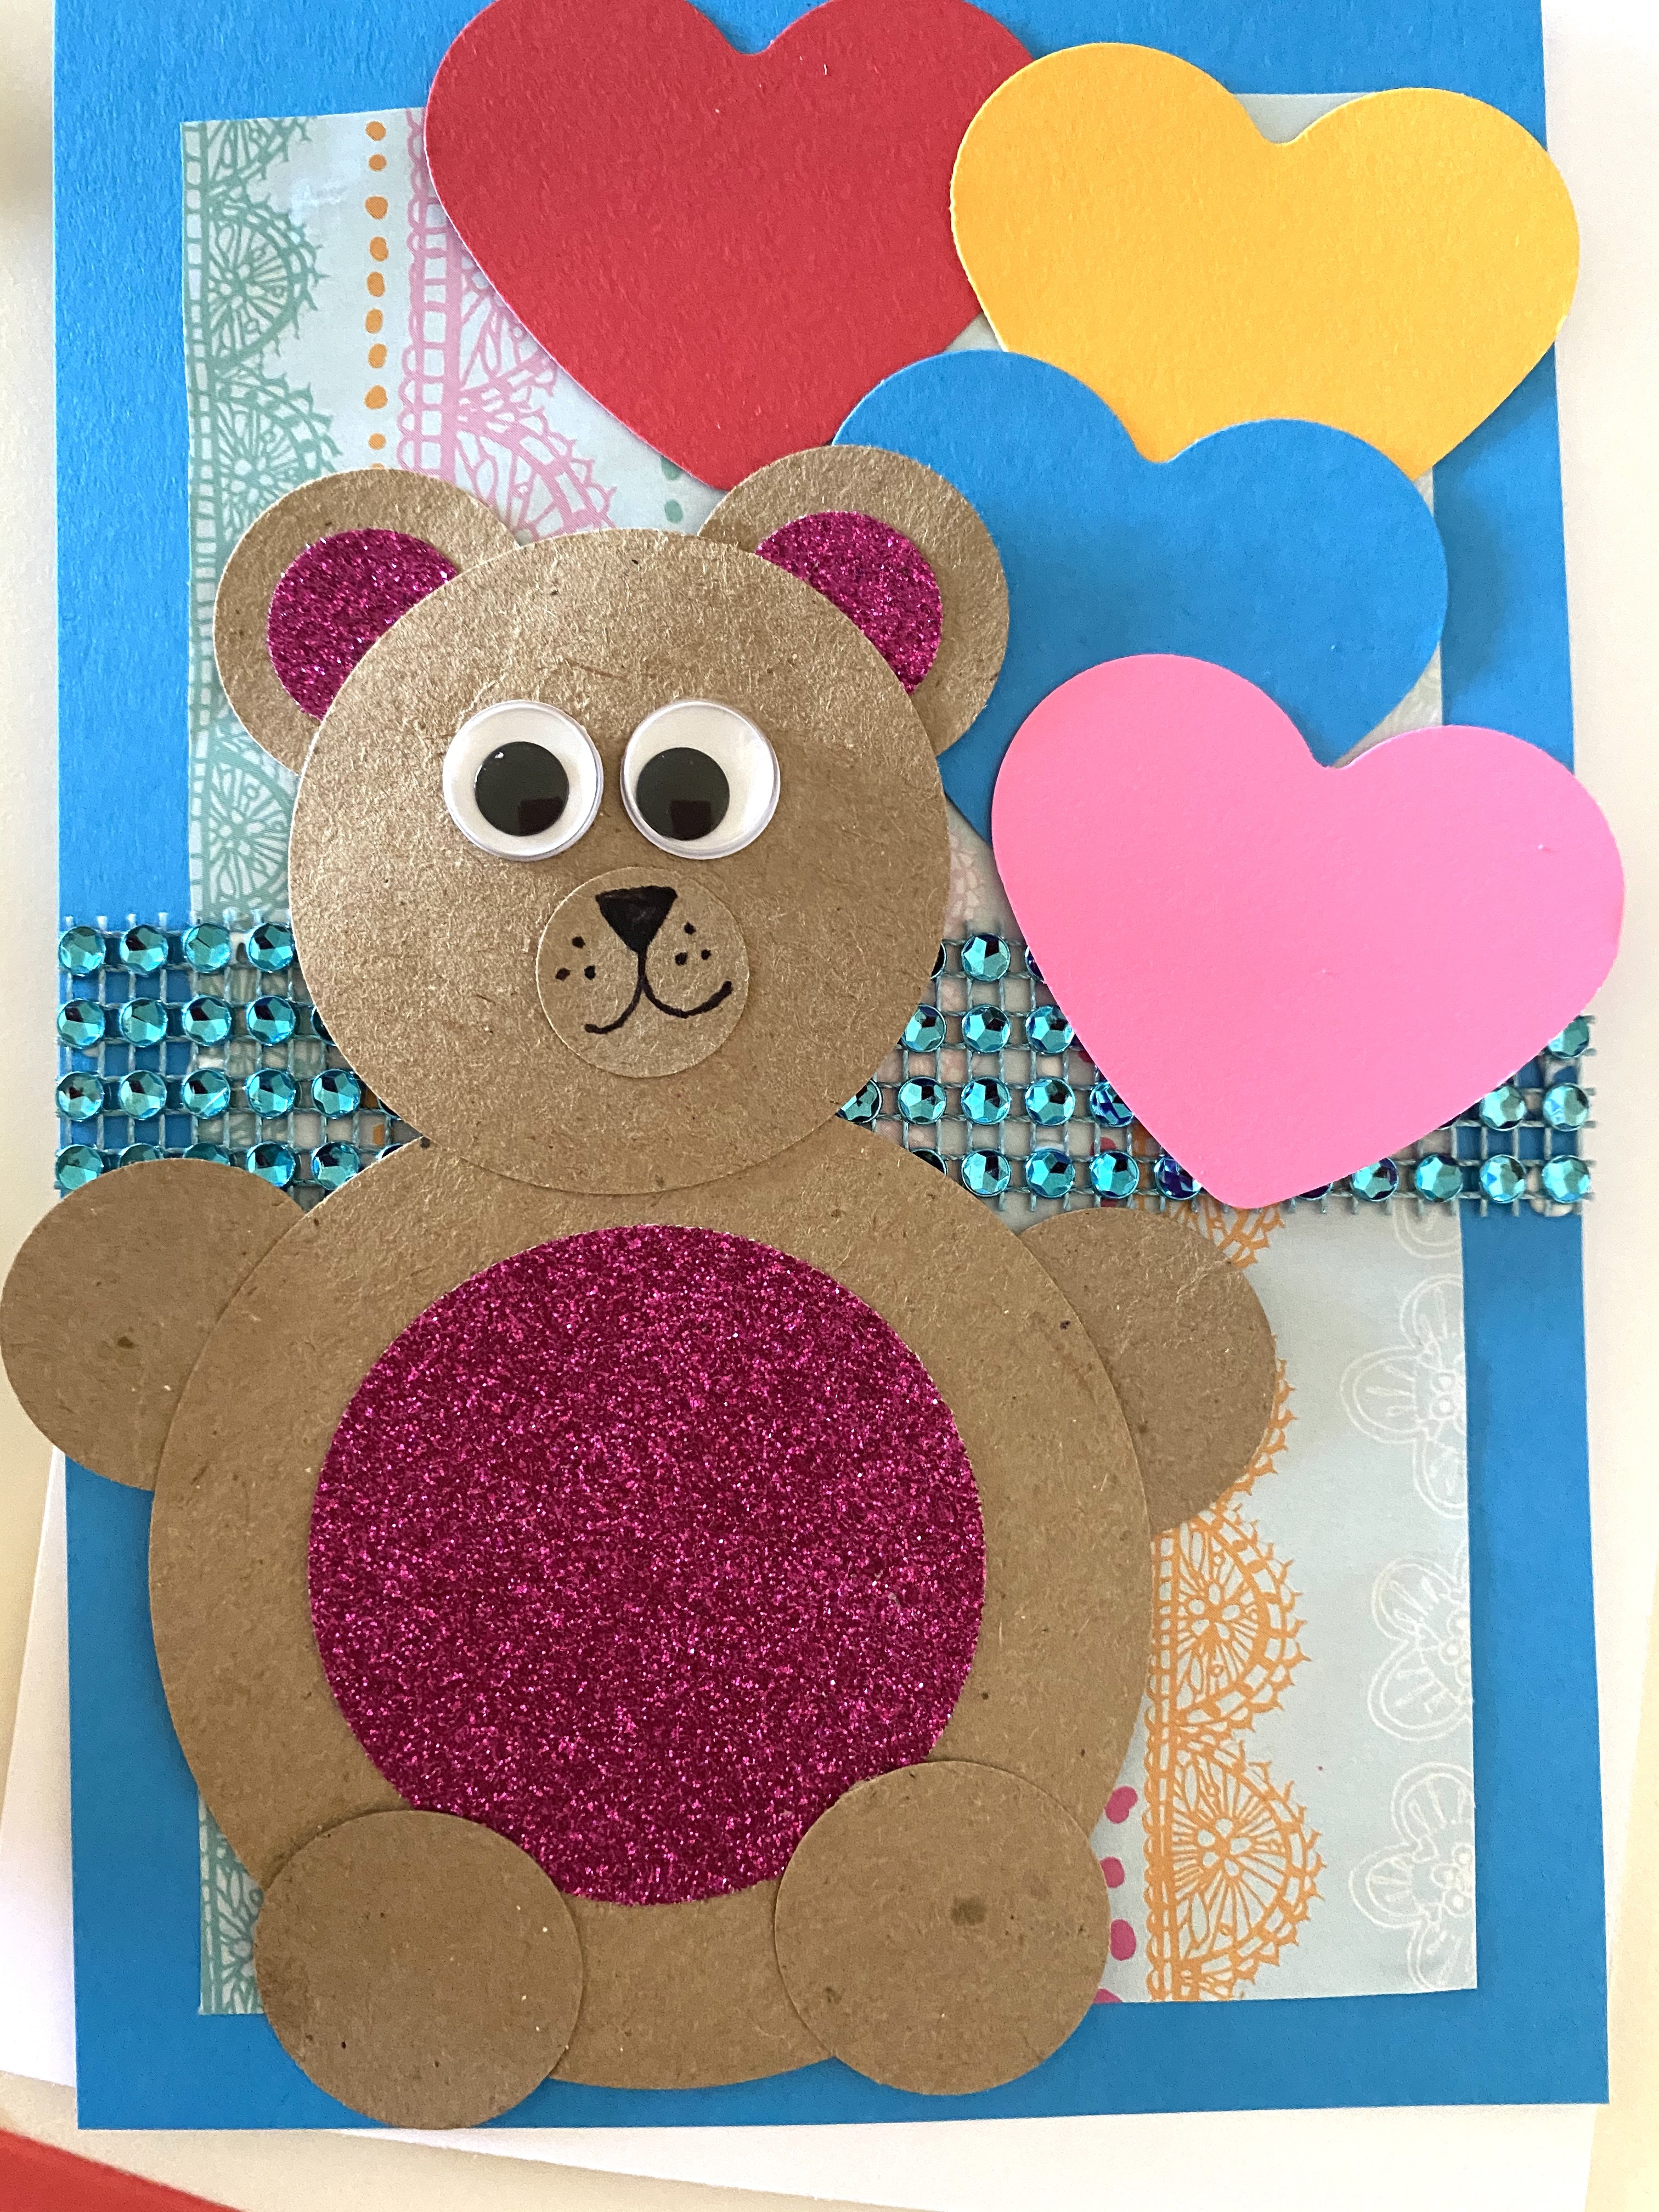
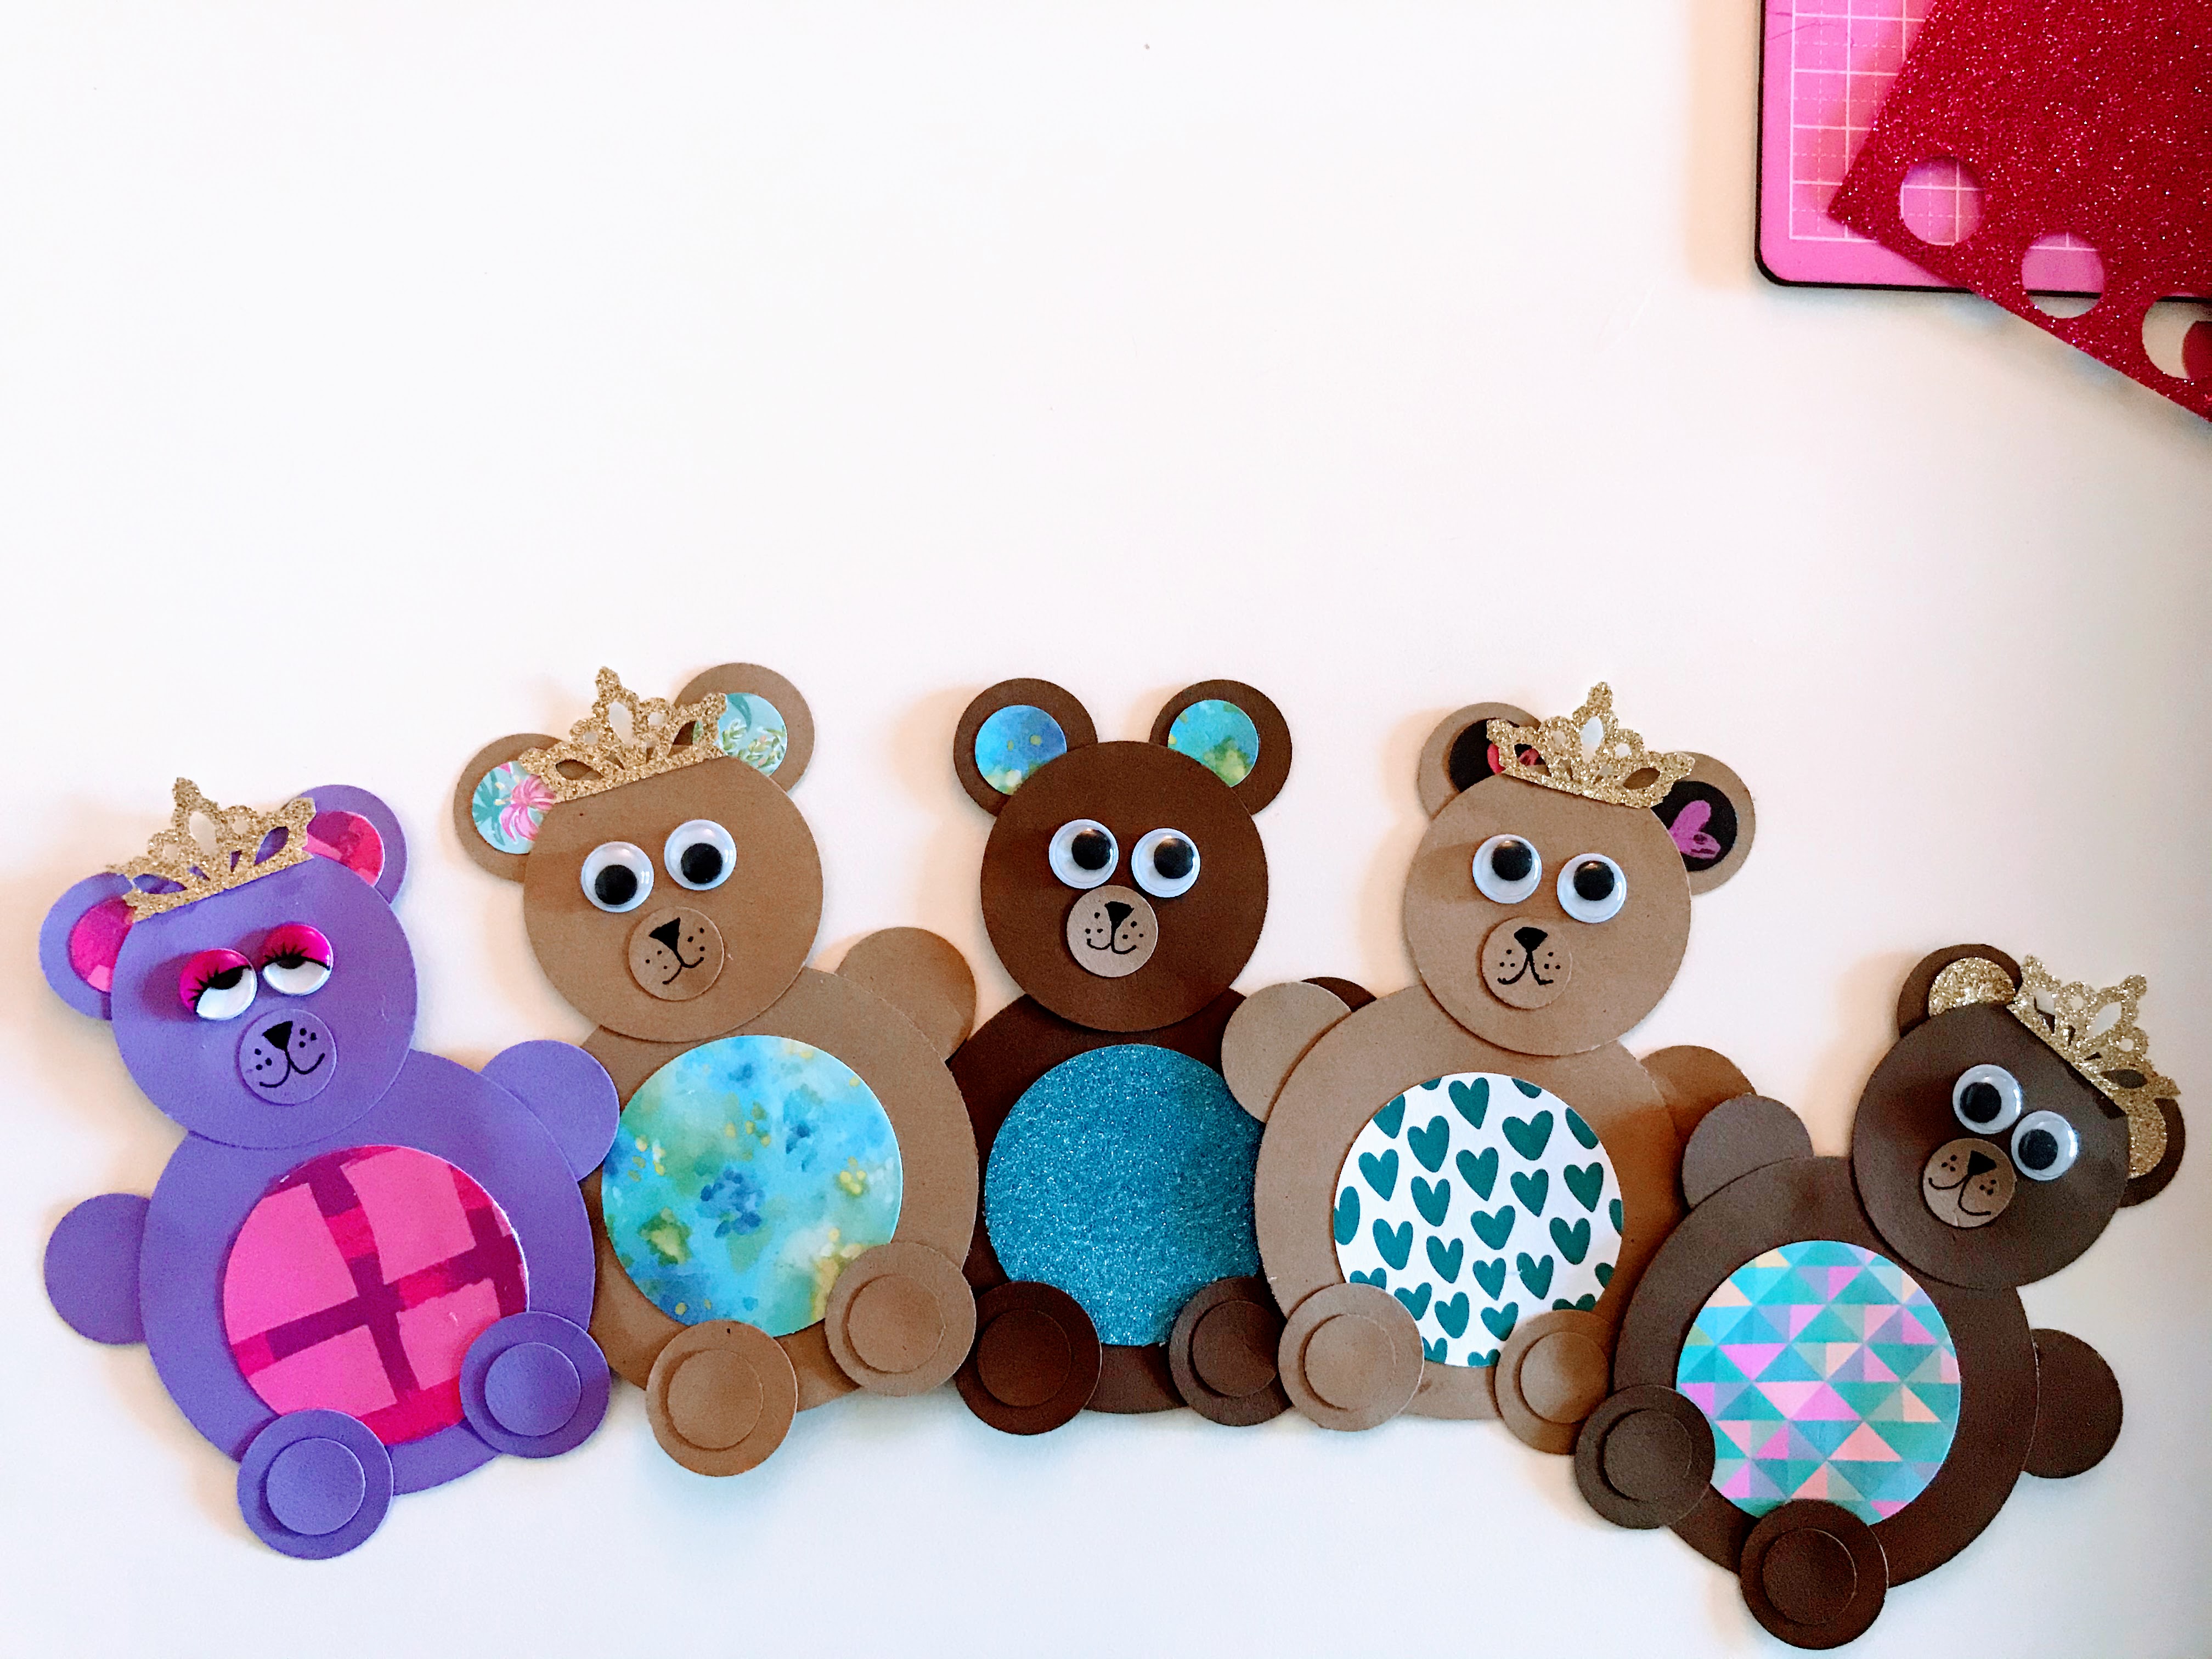
To make the bear, choose a colored paper of your choice for the body. For instance, we chose various shades of brown and then decided to make at least bear all purple. We then chose and a contrasting color or pattern to be used for the stomach and ears. Here is an example of how we assembled the circles to make the bear.
The specific instructions are below.
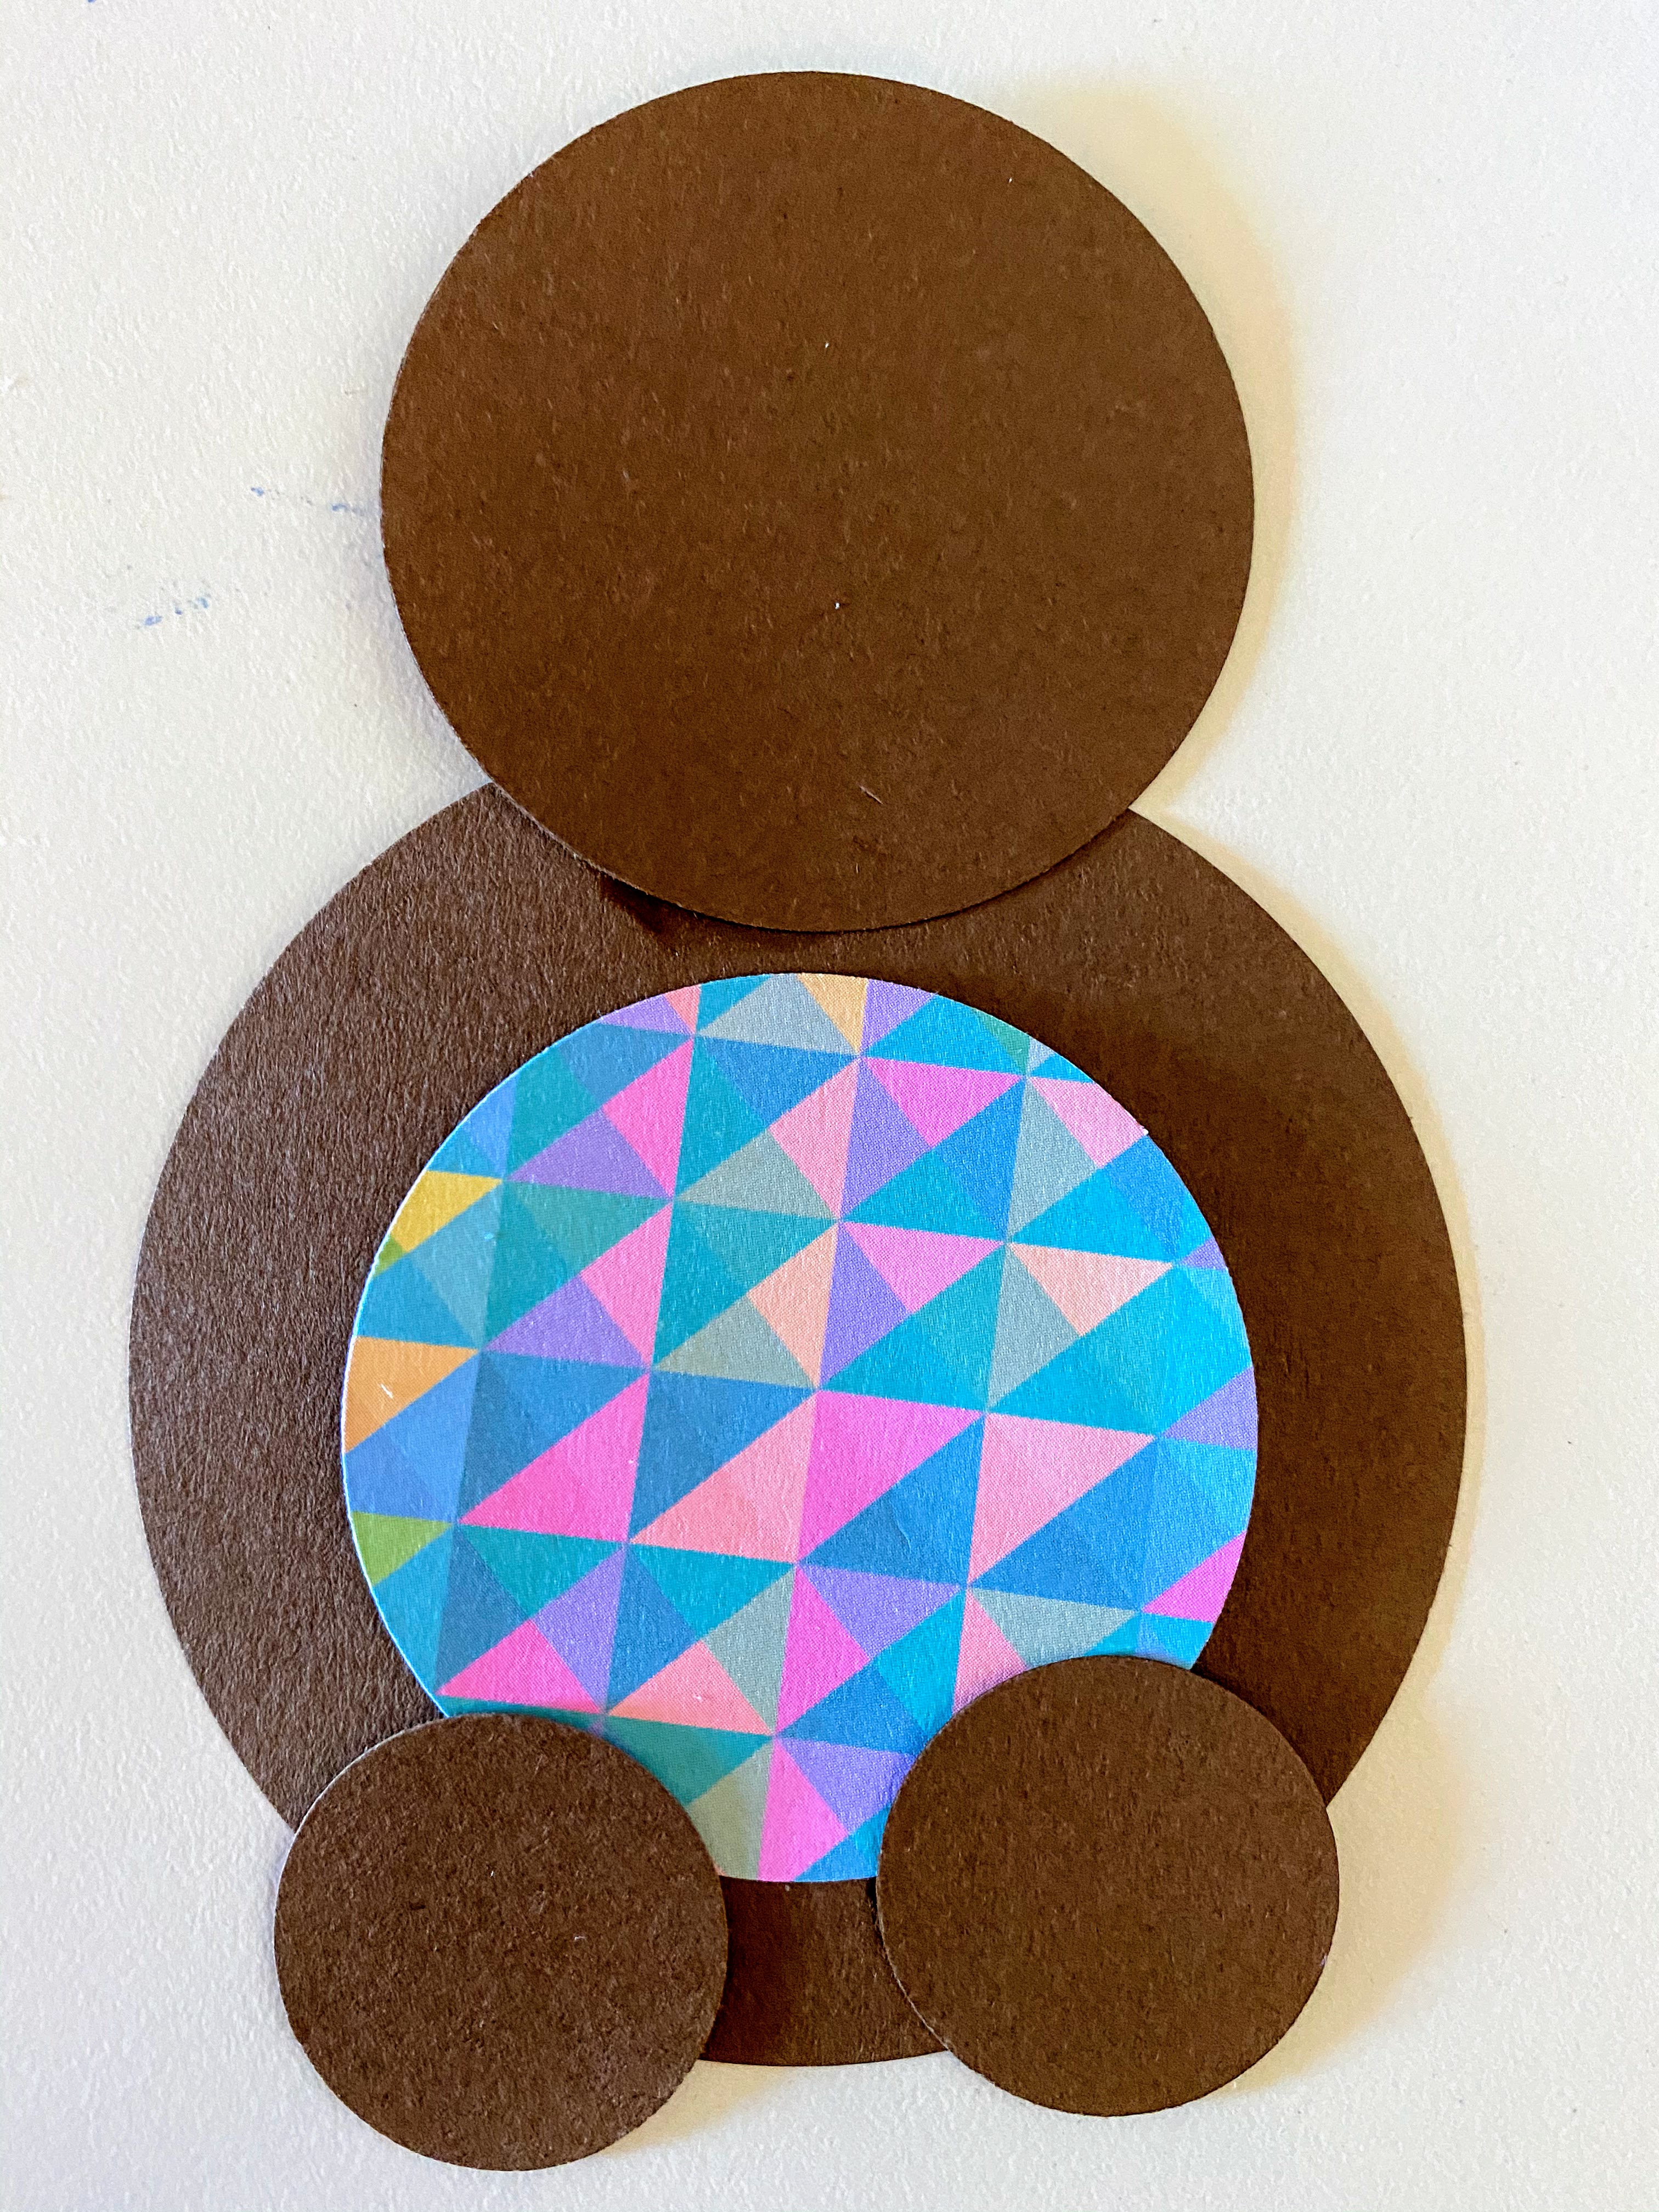
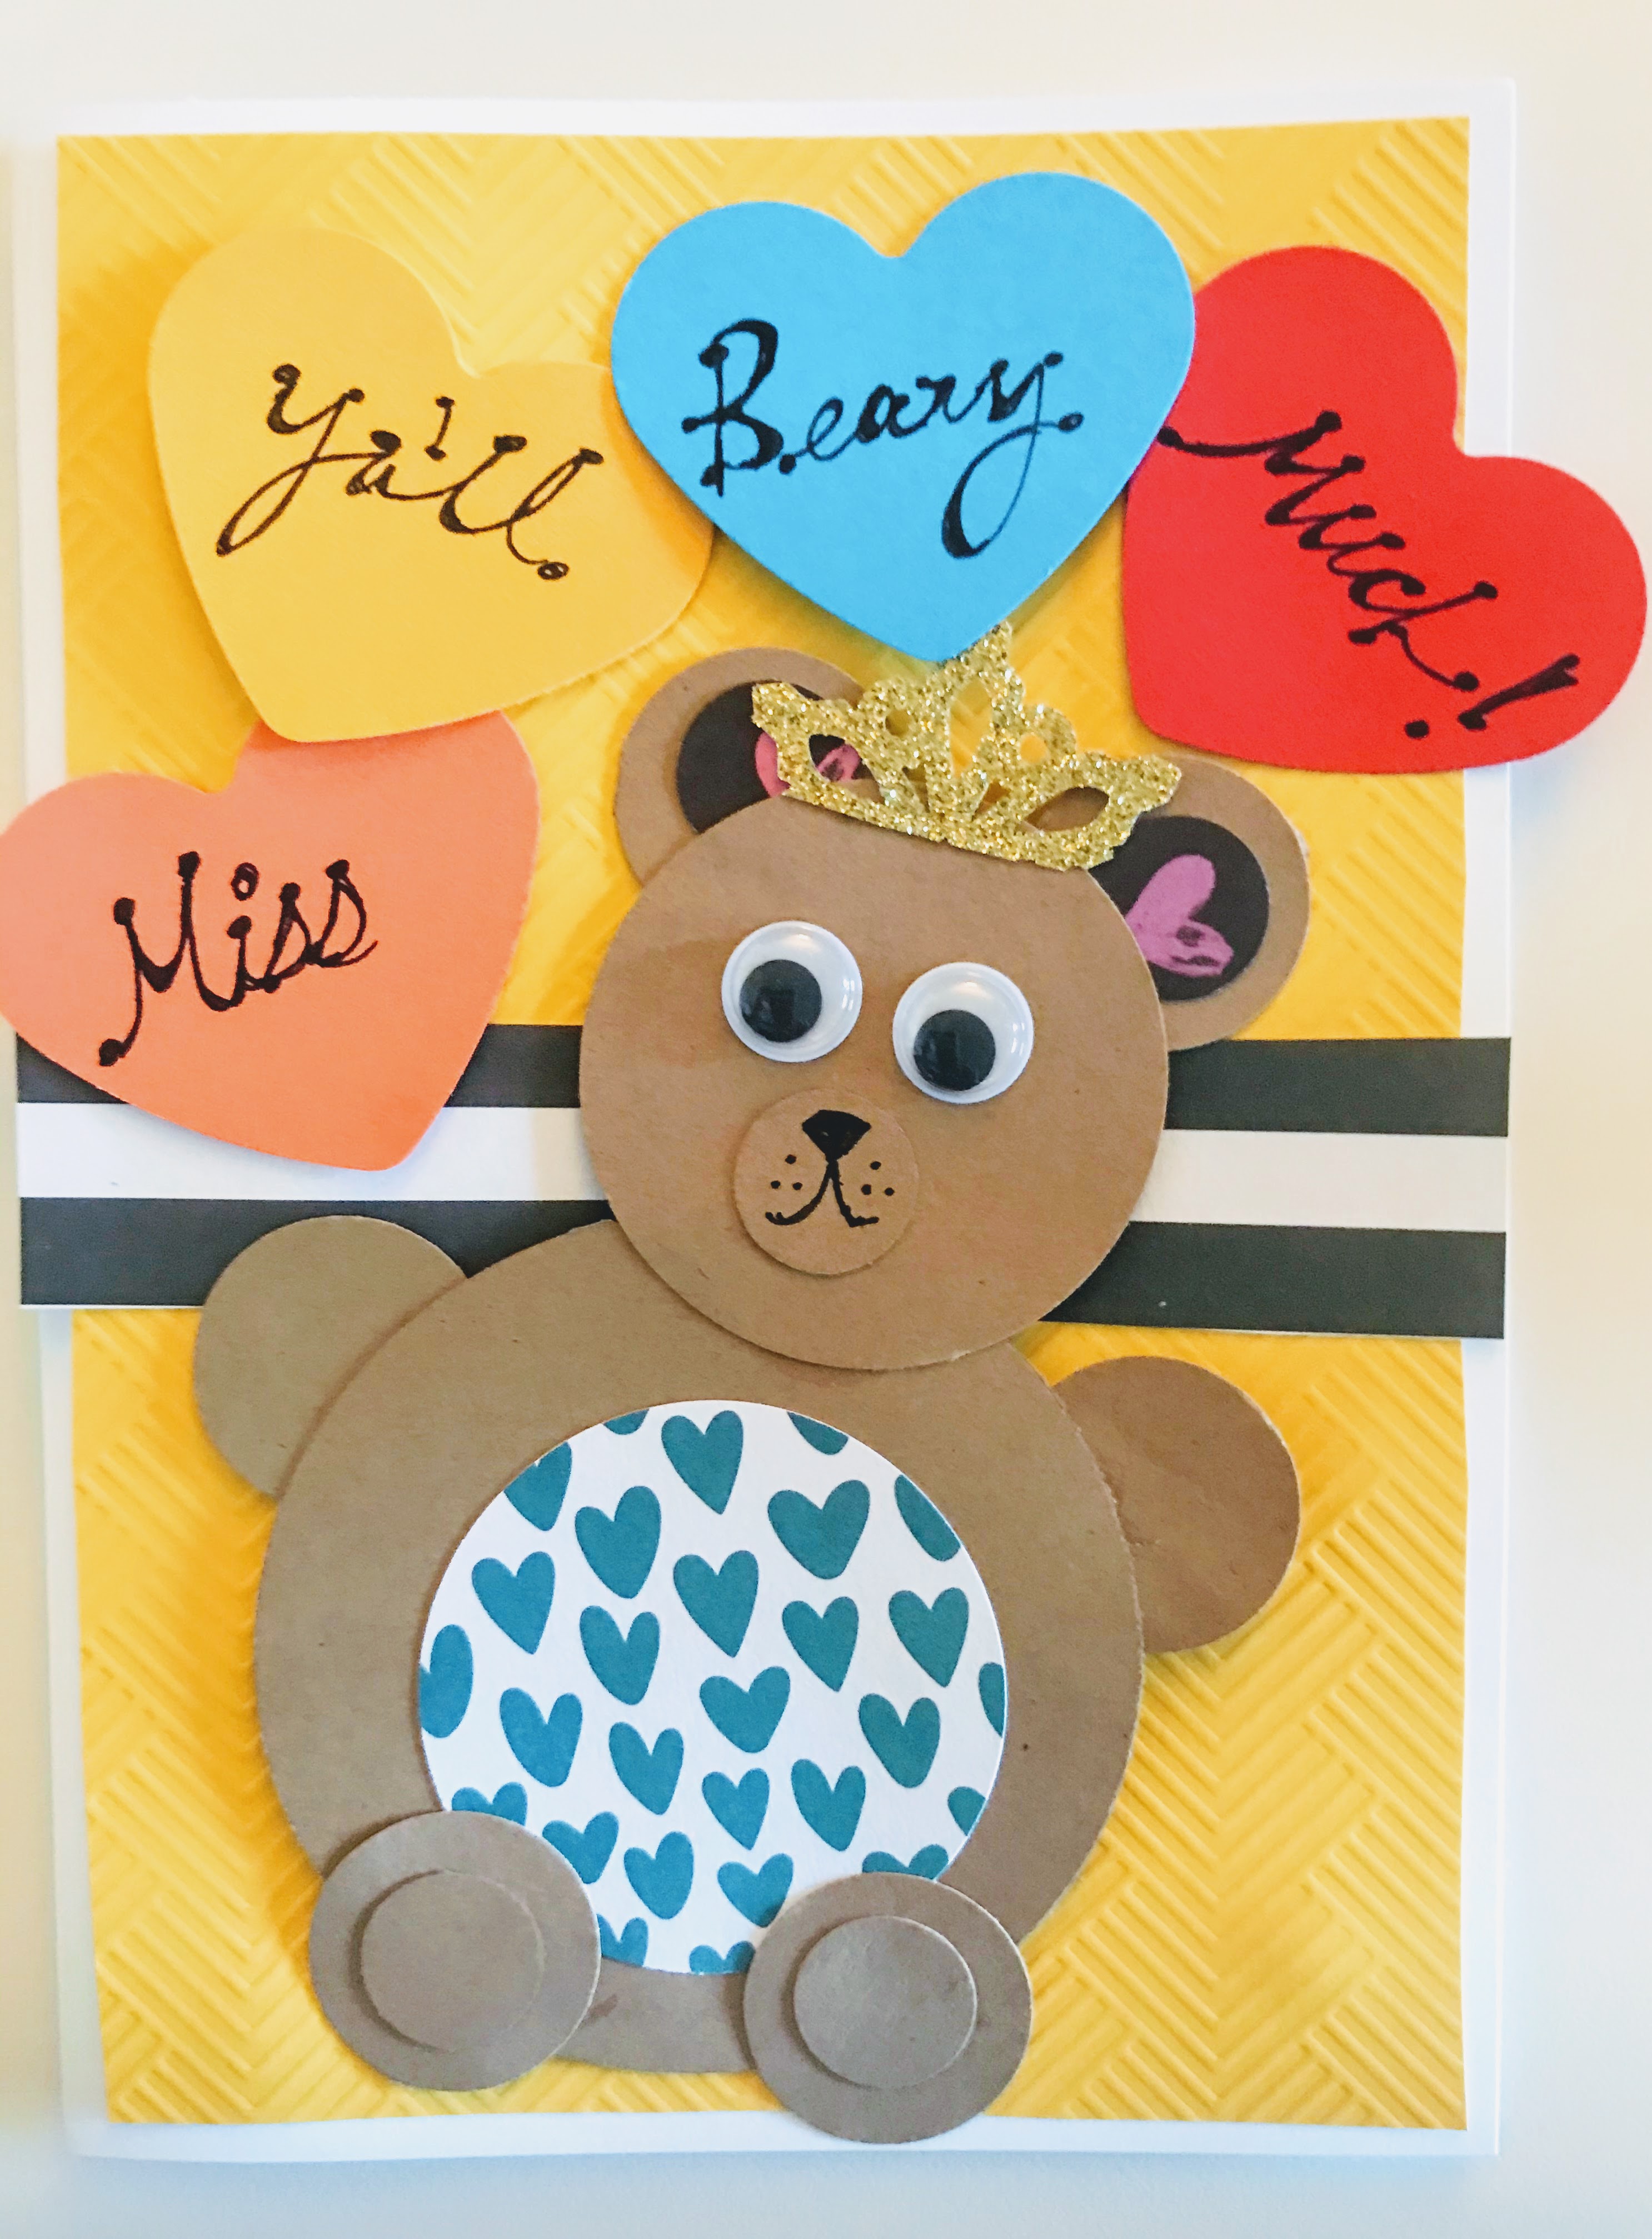
- Start by punching or cutting out a 3 inch circle for the bear’s body. In the example above, we used brown paper for the body, head, ears, and paws.
- Next, punch or cut out the bear’s head using a 2 inch circle. When you are ready, glue the head onto the body, slightly overlapping the smaller circle on top of the bigger one (see picture).
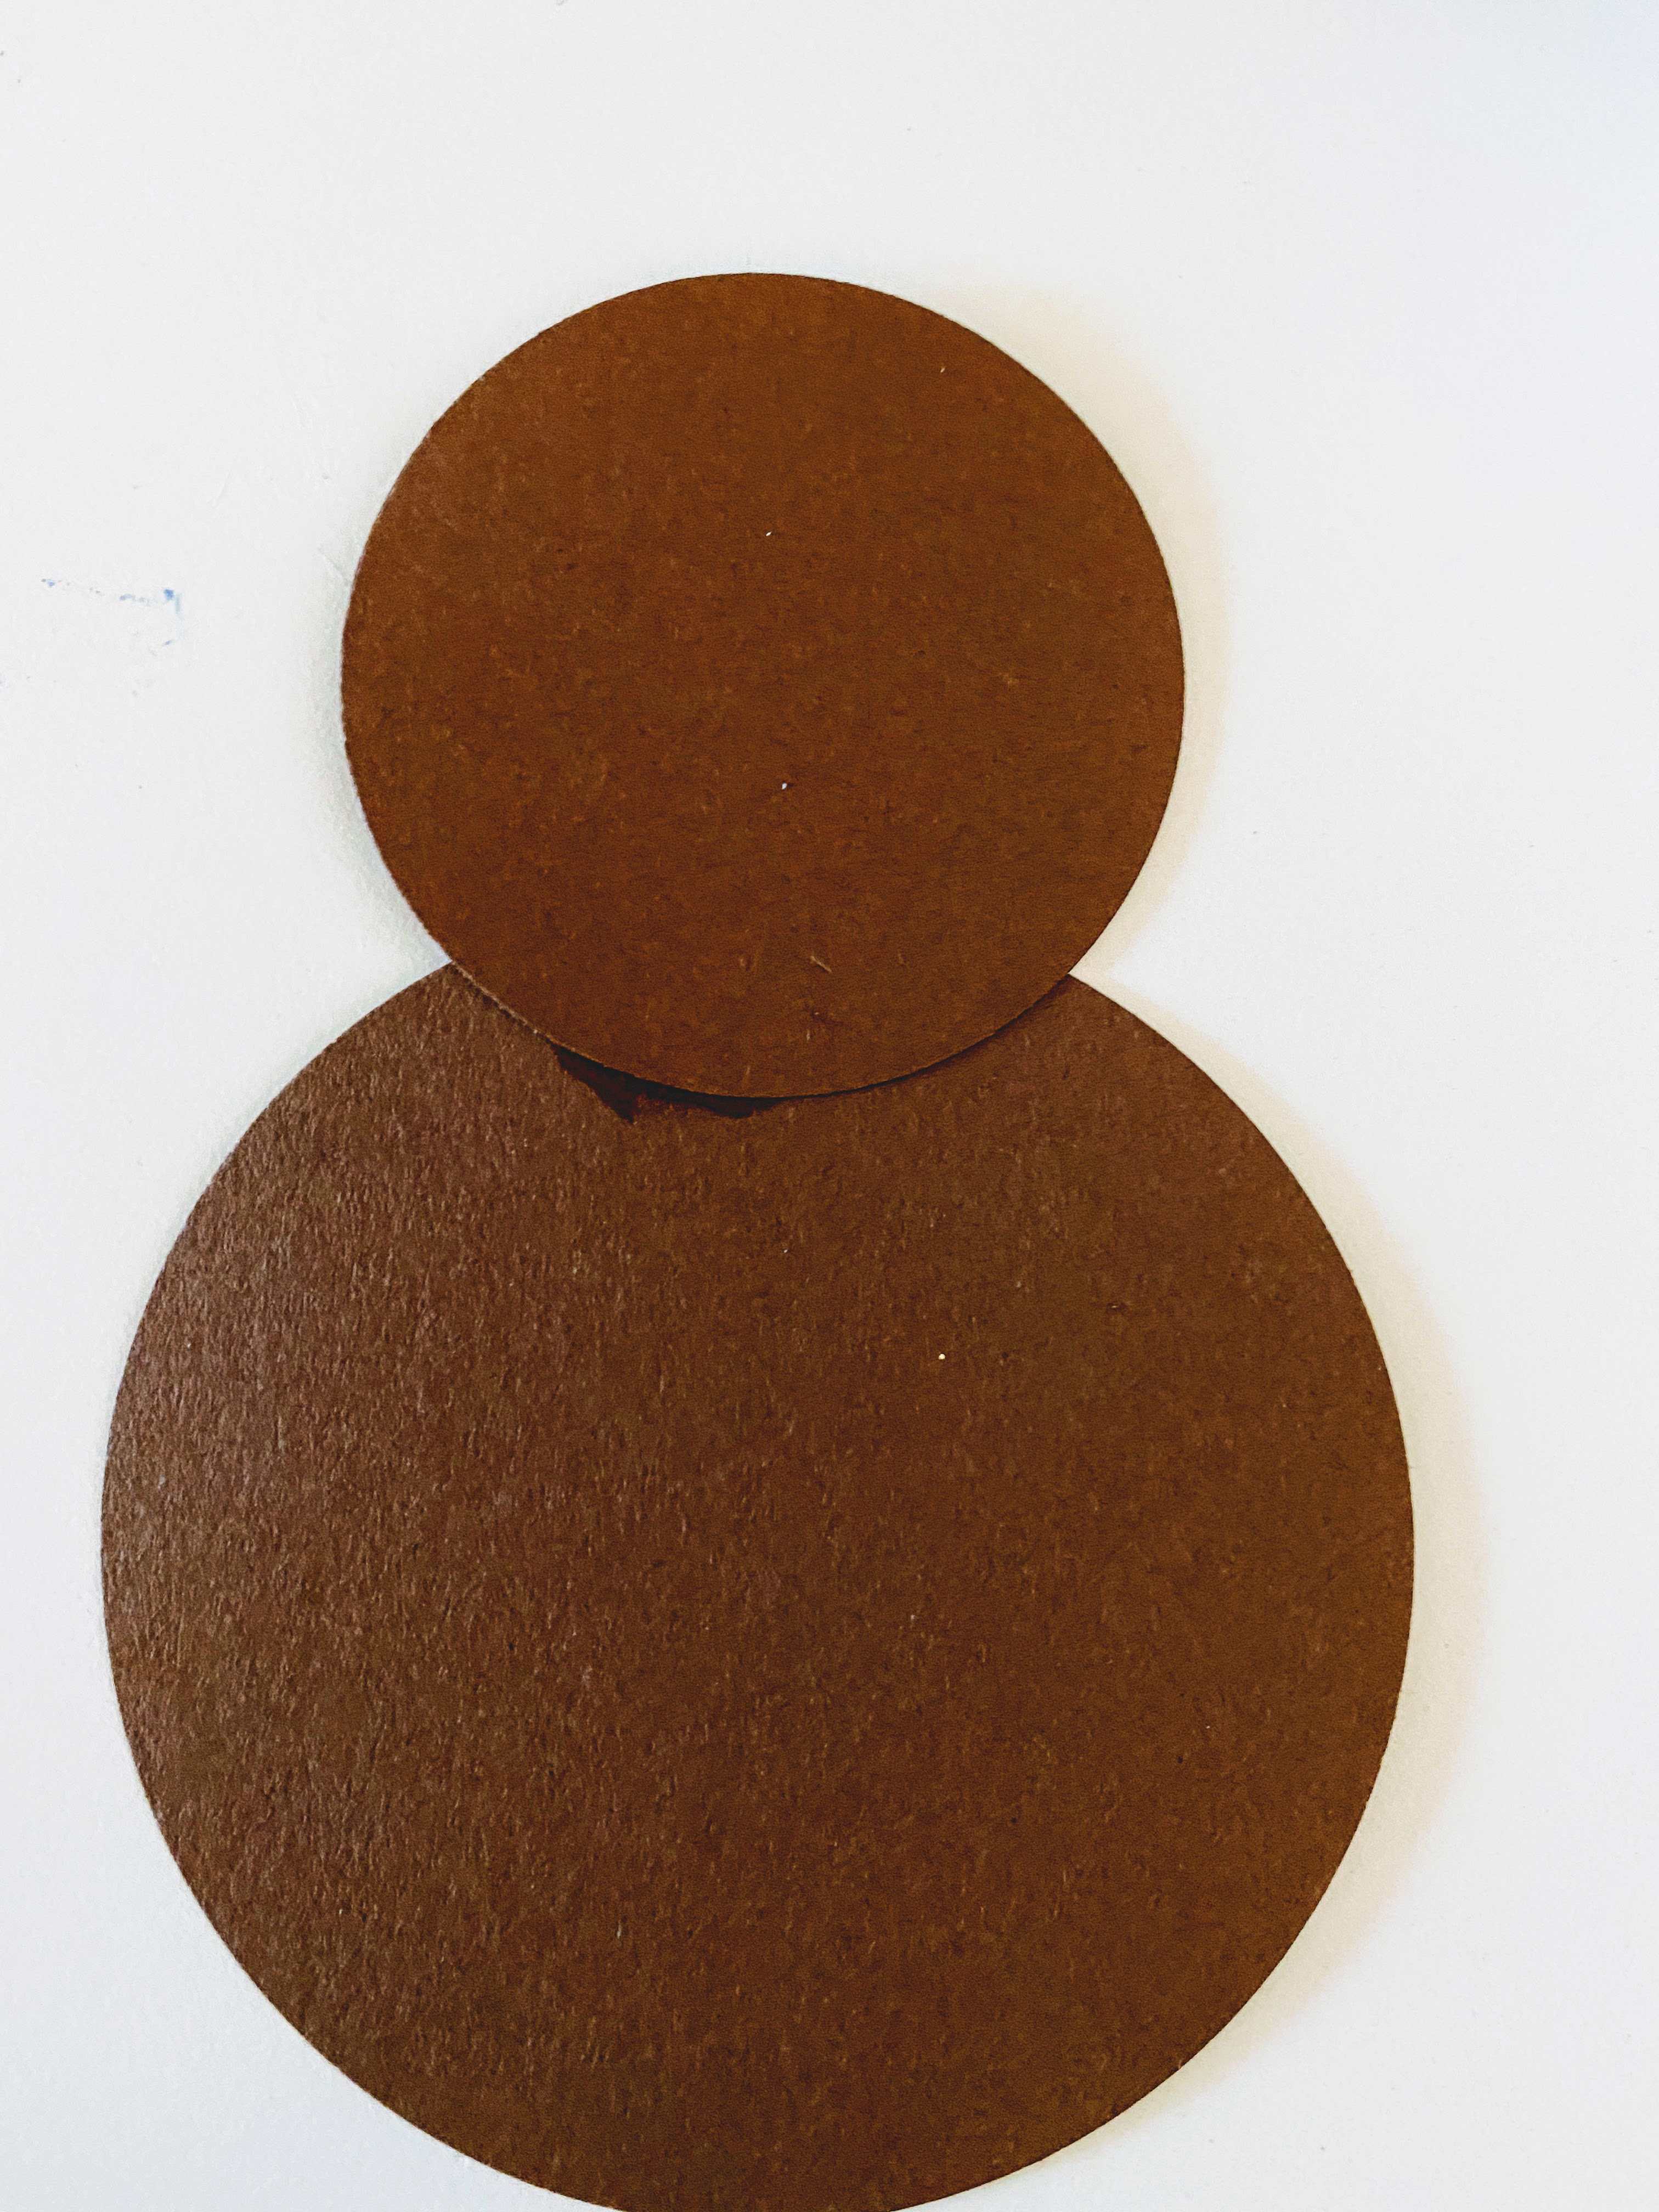
- After that, punch or cut out another 2 inch circle (using a different color or pattern) which will be used as the bear’s stomach. Choose a contrasting pattern or color to use for this circle. Glue this circle to center of the body.
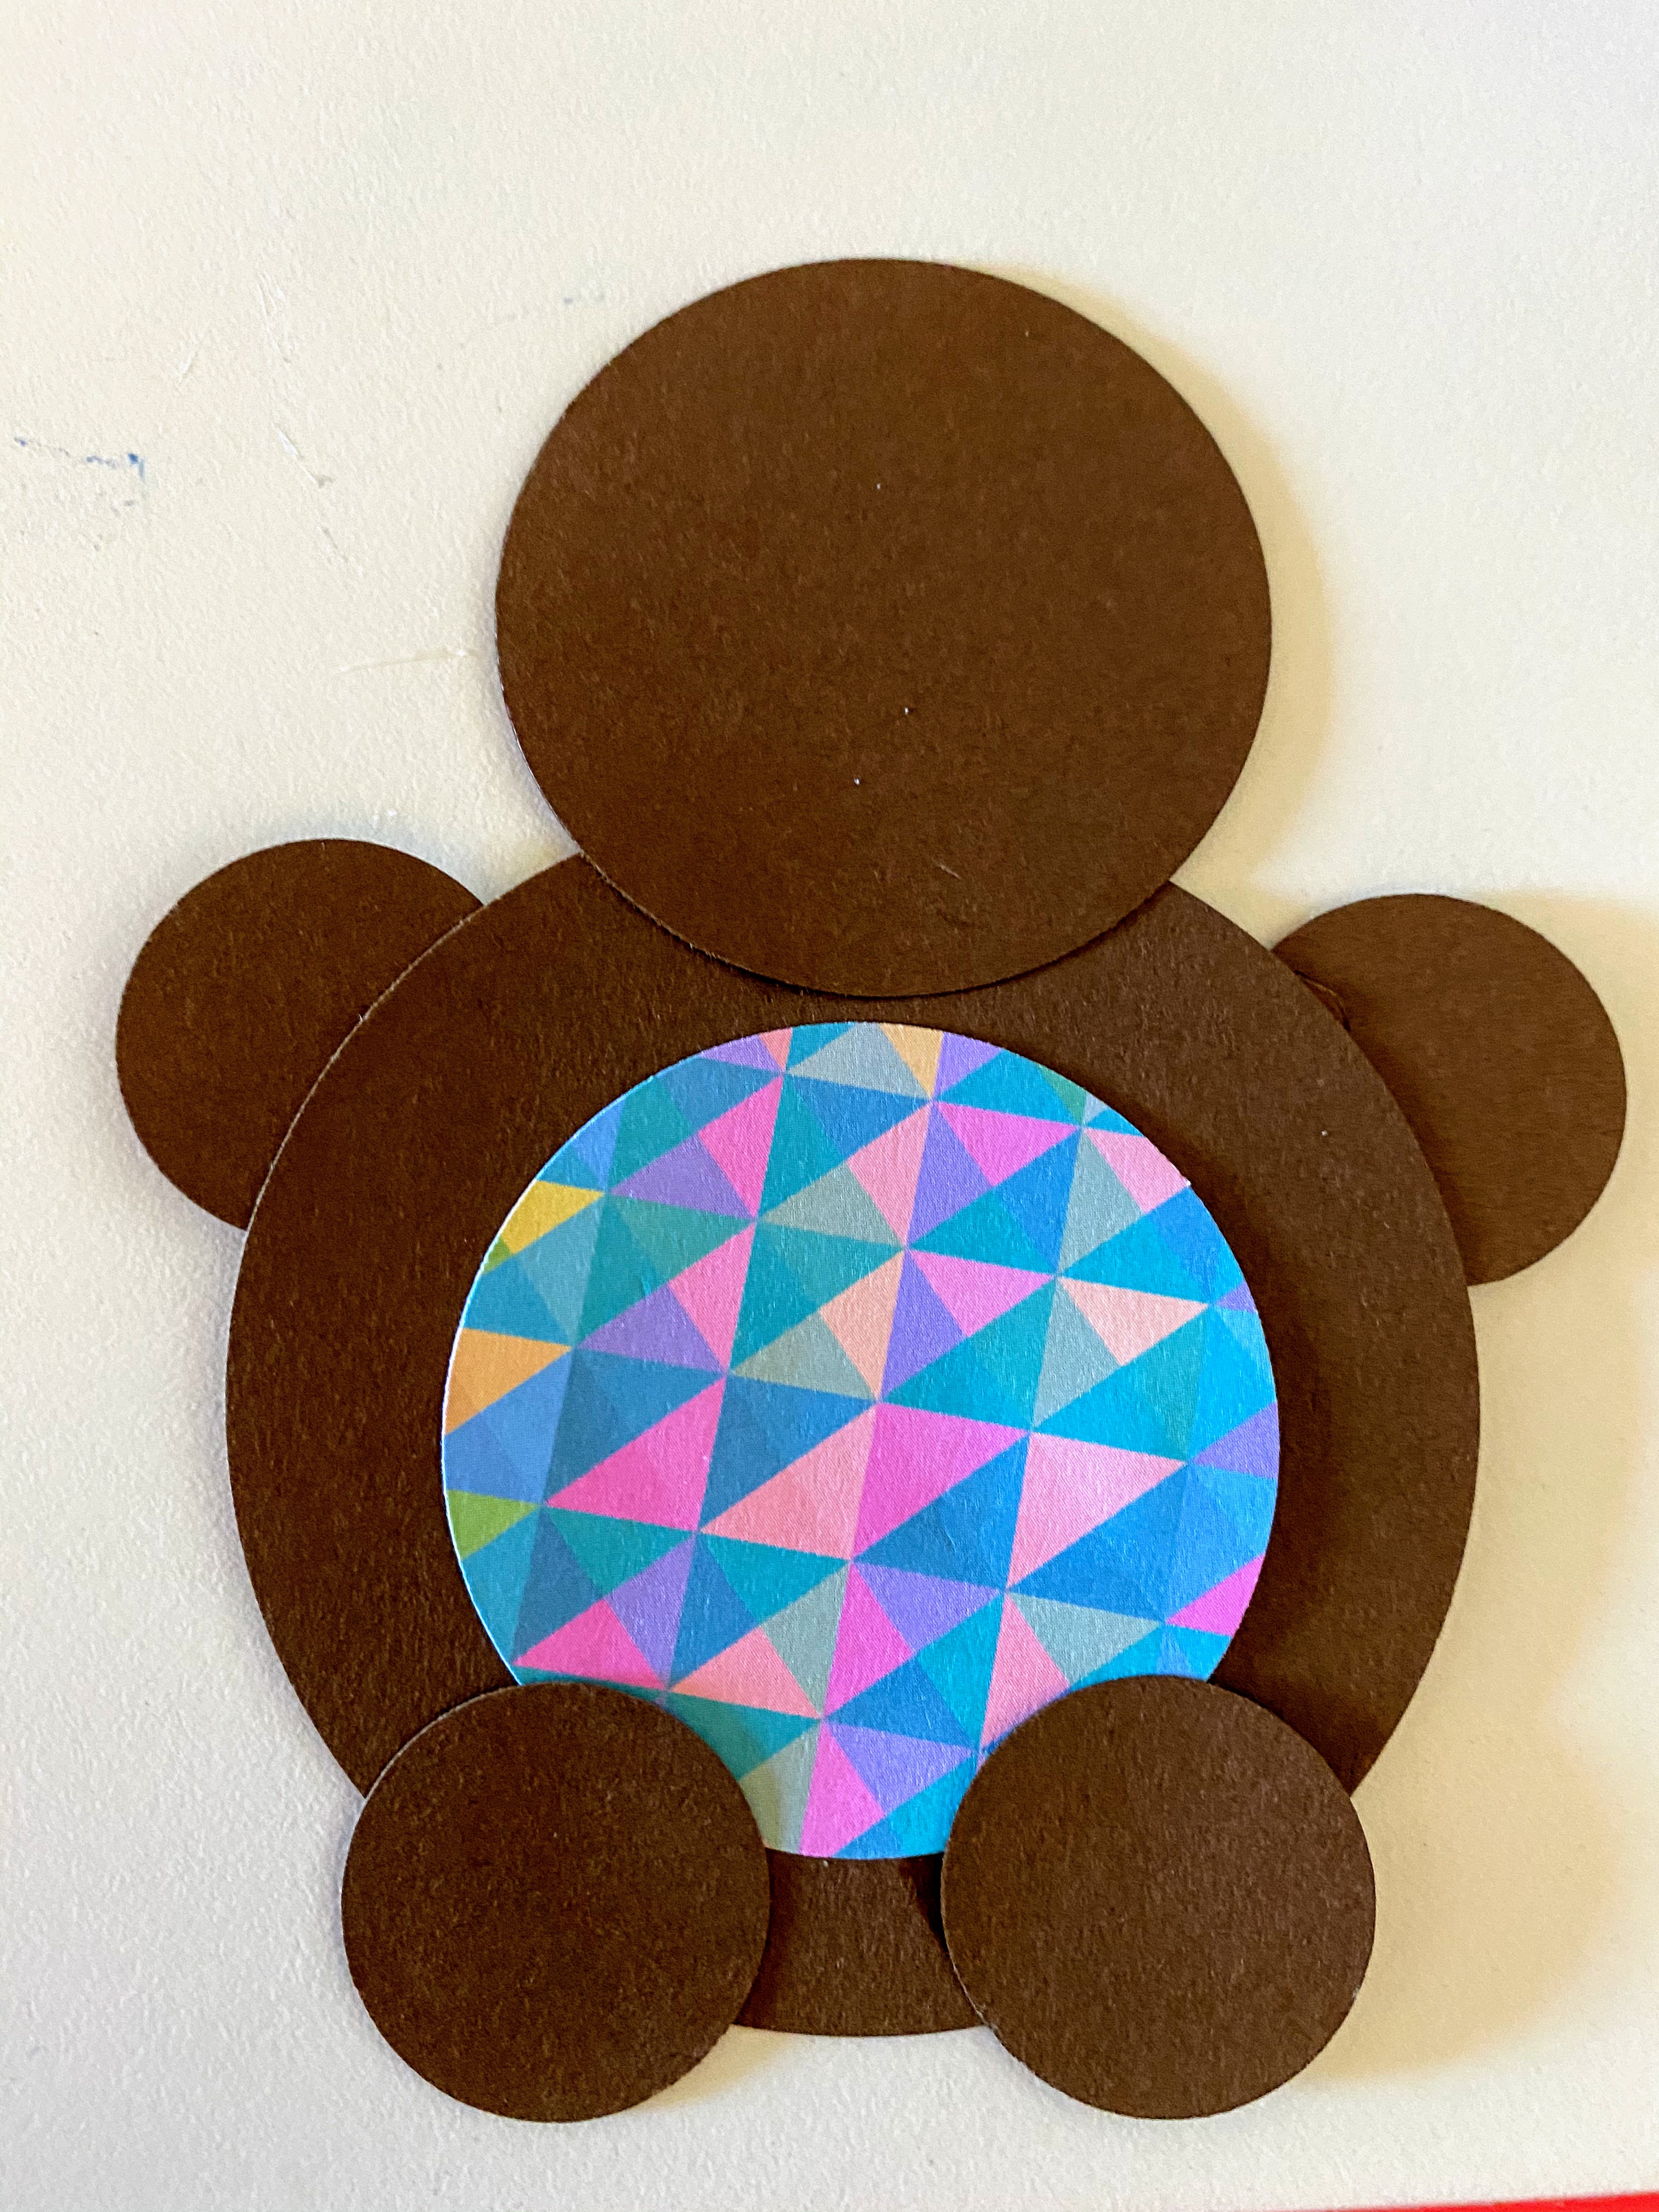
- For all of the bear paws, punch or cut out four circles that are 1 inch in diameter. Glue the arms slightly behind the body. Position the feet at the bottom and glue them slightly on top of the bear’s body. See example above.
- Punch or cut out smaller circles (between .5 and .75 inches) and glue it on top of the feet. Make sure these smaller circles are centered evenly before gluing them down to the feet. Doing so will add a bit of dimension to the bear.
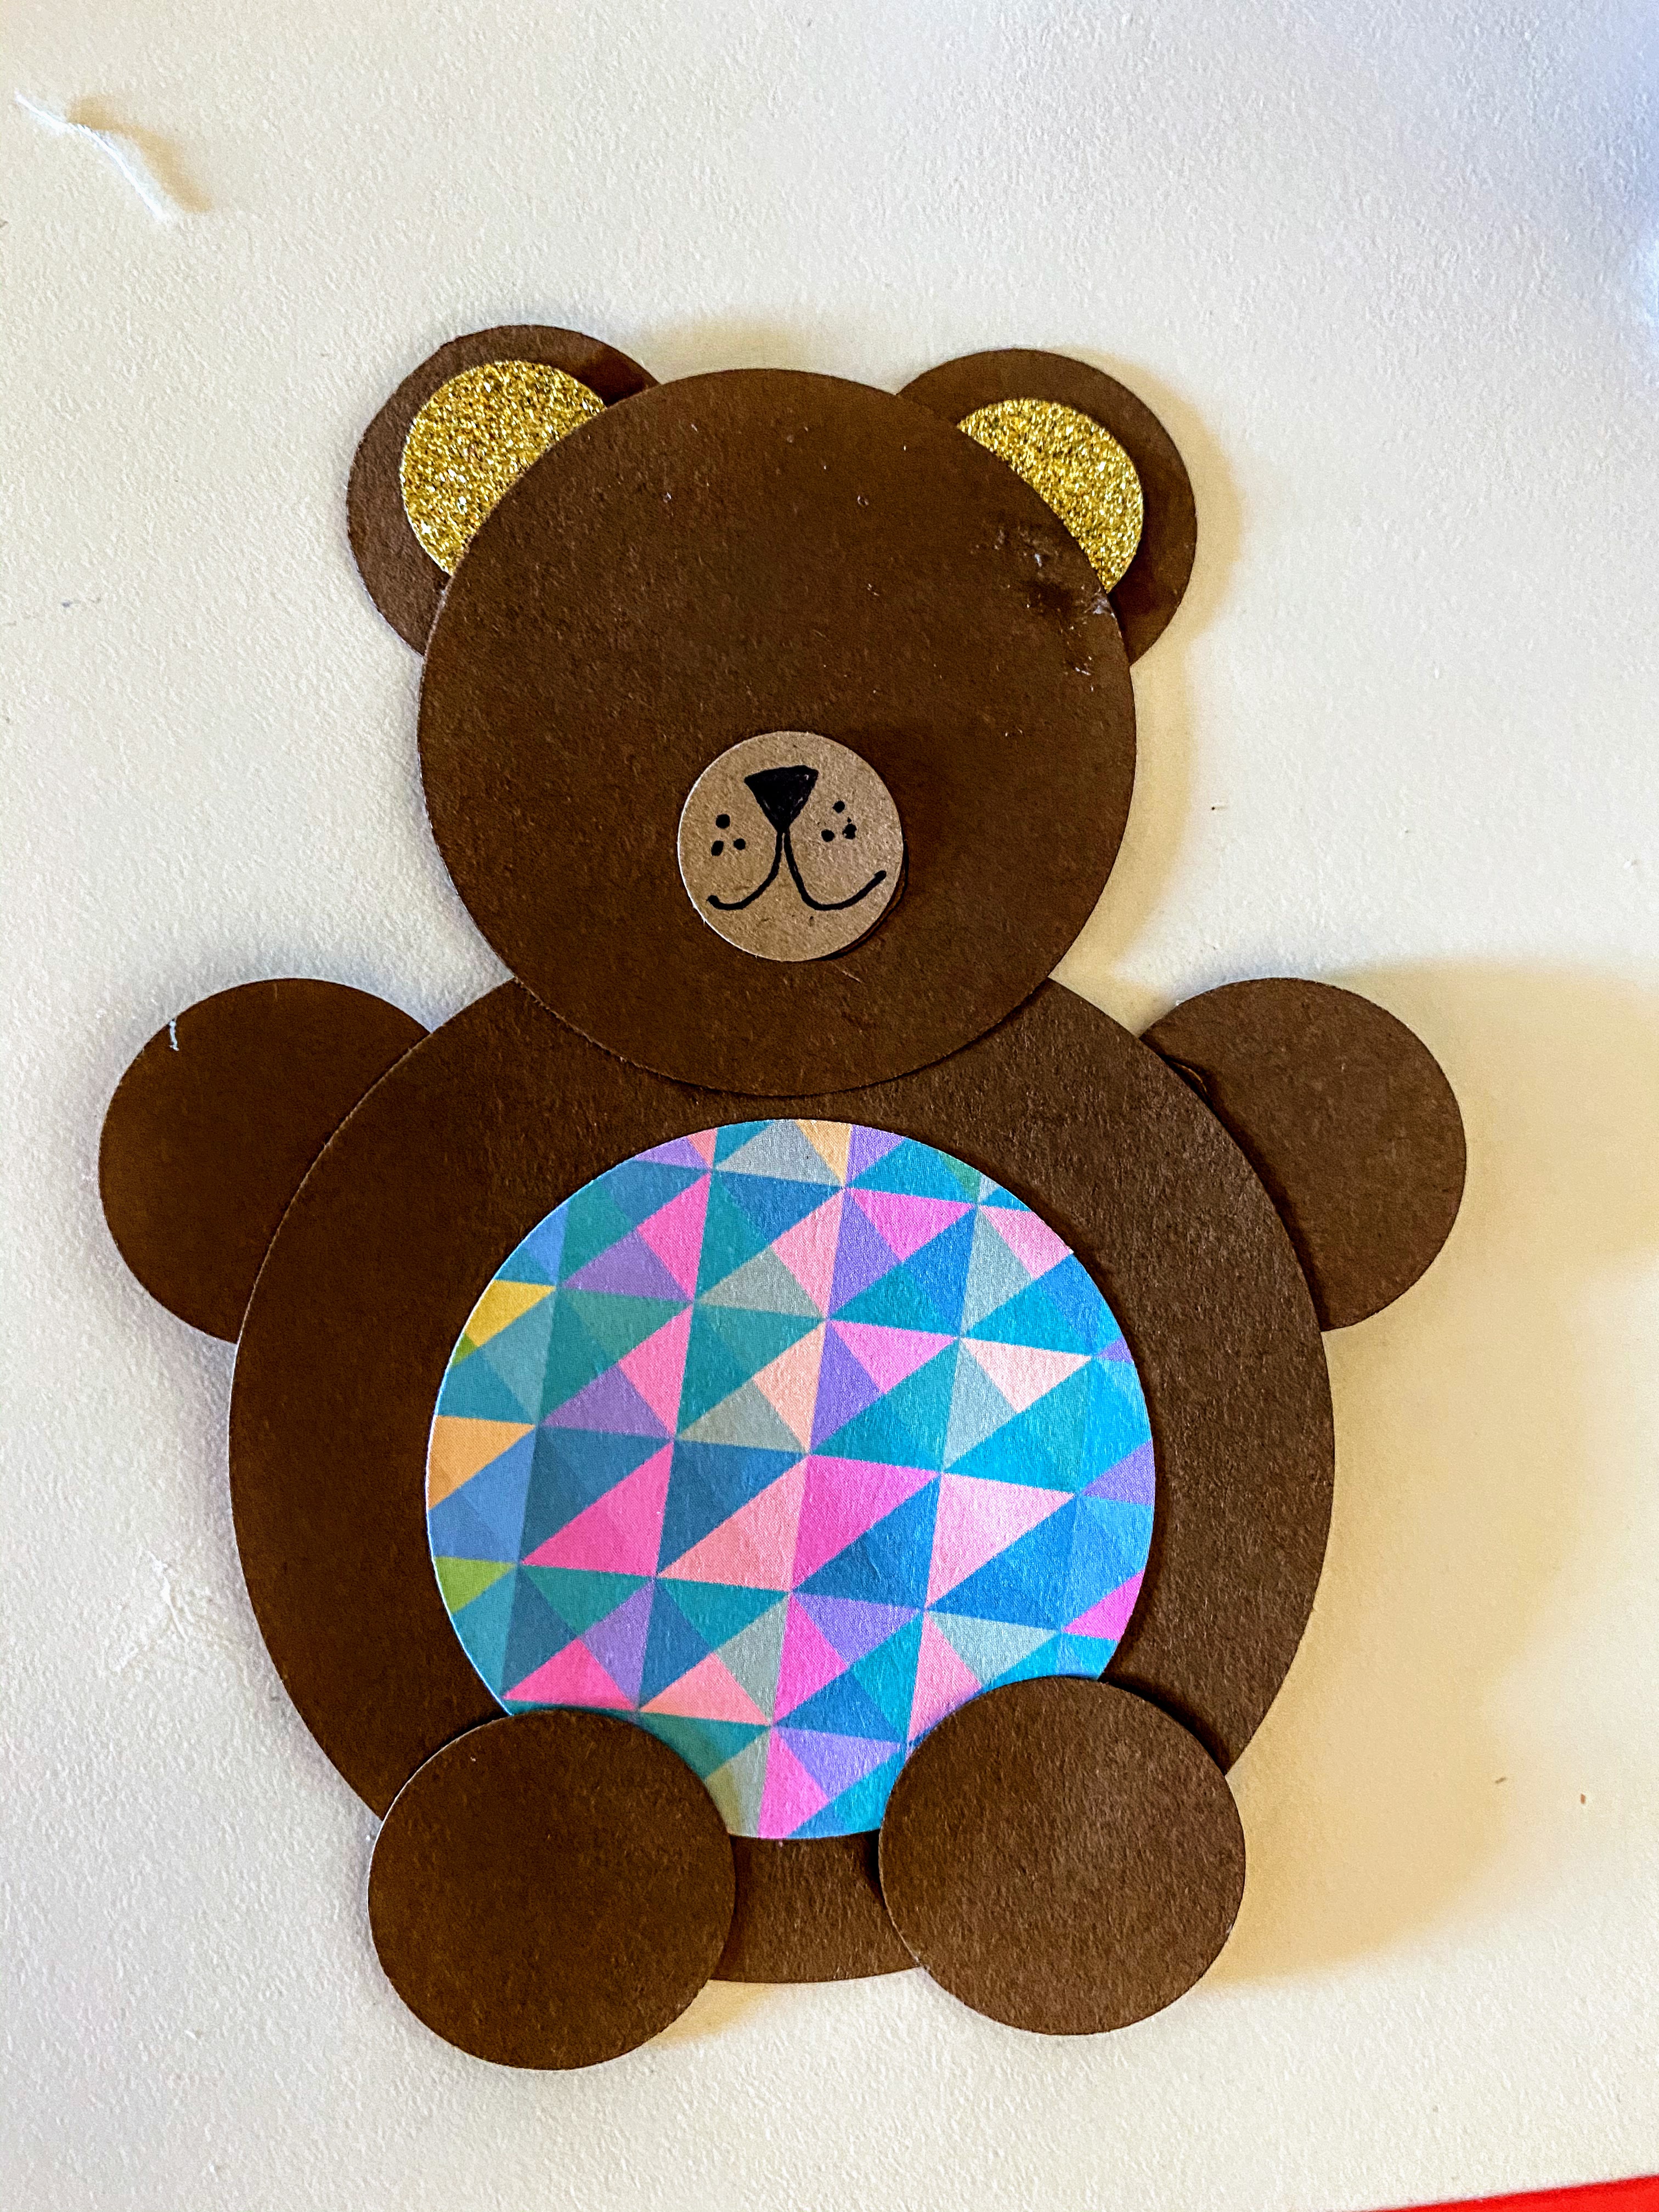
- Next, work on the the bear’s face by punching or cutting out a 1 inch circle. We upcycled a grocery bag for this step. Using a pencil, black pen, or felt tip thin marker, draw the bear’s nose and mouth. See example above. Glue this circle on the bear’s head.
- Continue working on the bear’s face by cutting out the following circles. First, cut or punch out the bear’s ears using two 1 inch circles. Then punch or cut out two smaller circles (.5-.75 inches) from a contrasting color or patterned paper. Before attaching anything to the bear, center and glue the smaller circles on top of 1 inch circles. Then glue each ear slightly behind the bear’s head. We tried to glue the ears equidistant from each other.
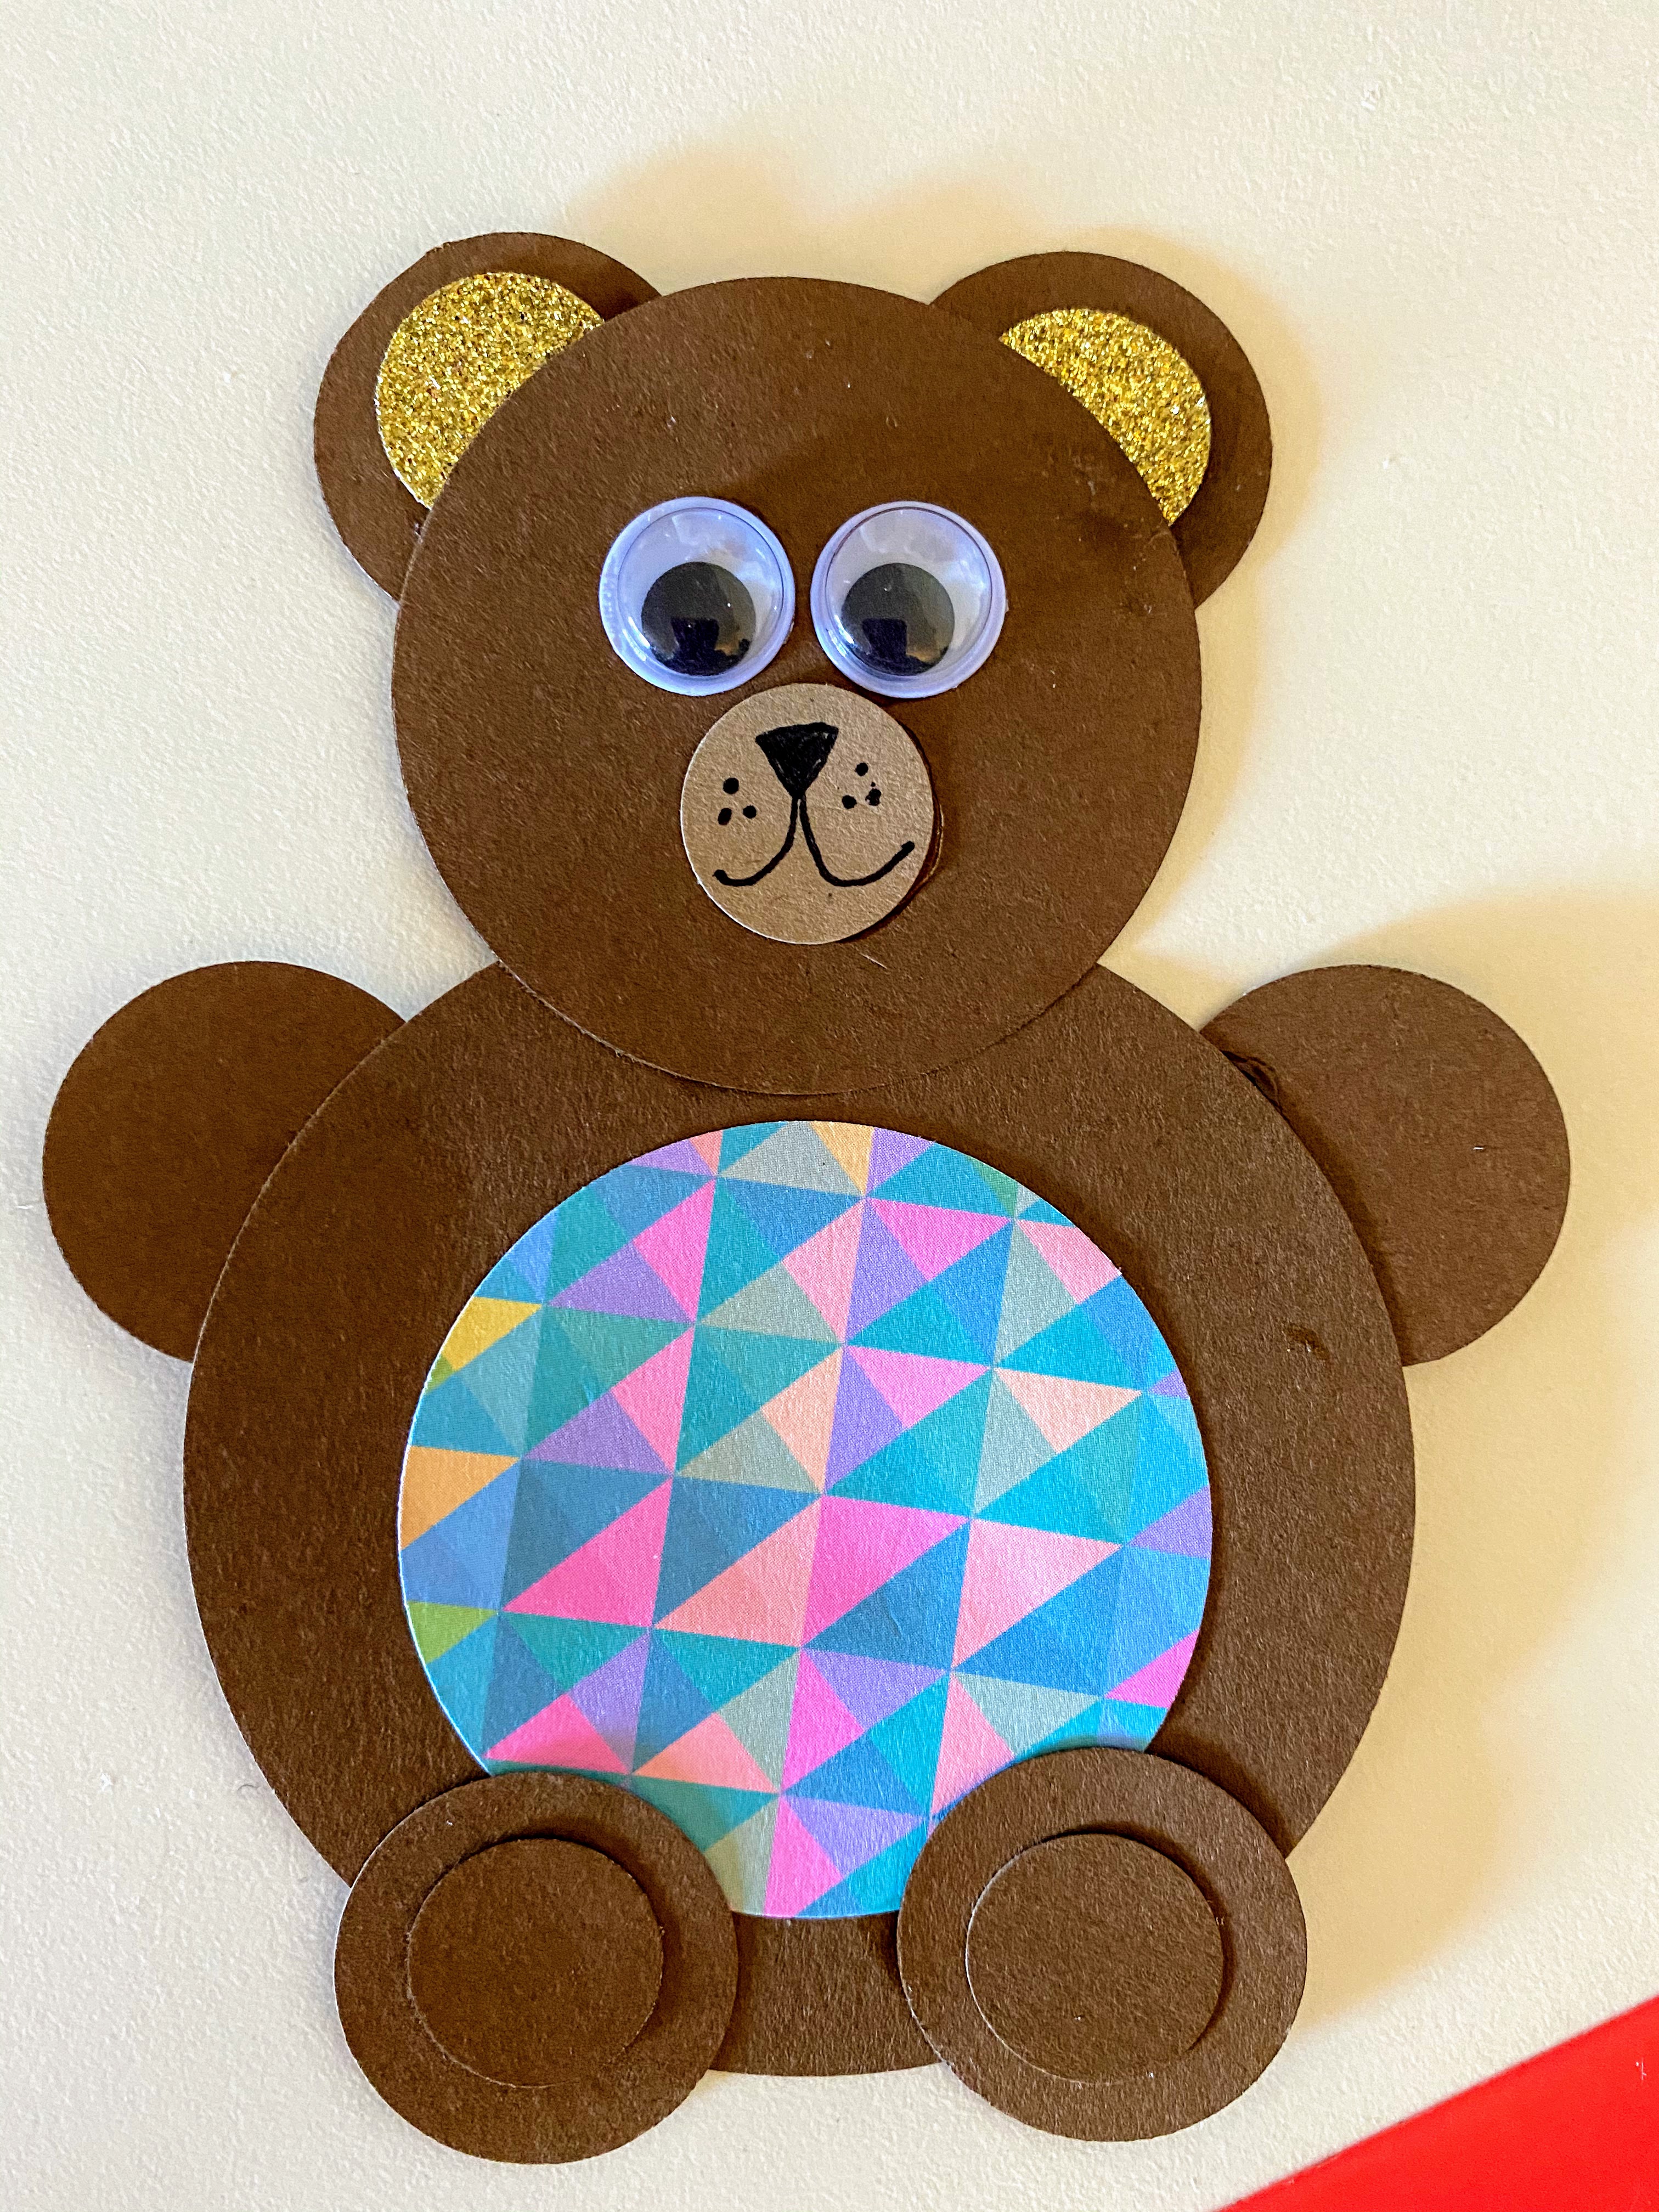
- In this final step, add the bear’s eyes. We have so many google eyes in our craft stash. So we used google eyes for this project. However, you can make some out of paper or draw yours on if you wish. You’re done!
Make the bear extra special by adding a tiara or crown. If you have a snowflake punch, punch out a snowflake and cut it in half. Or you can draw a simple three pointed crown on gold or yellow paper and cut it out. Glue it to the bear’s head.
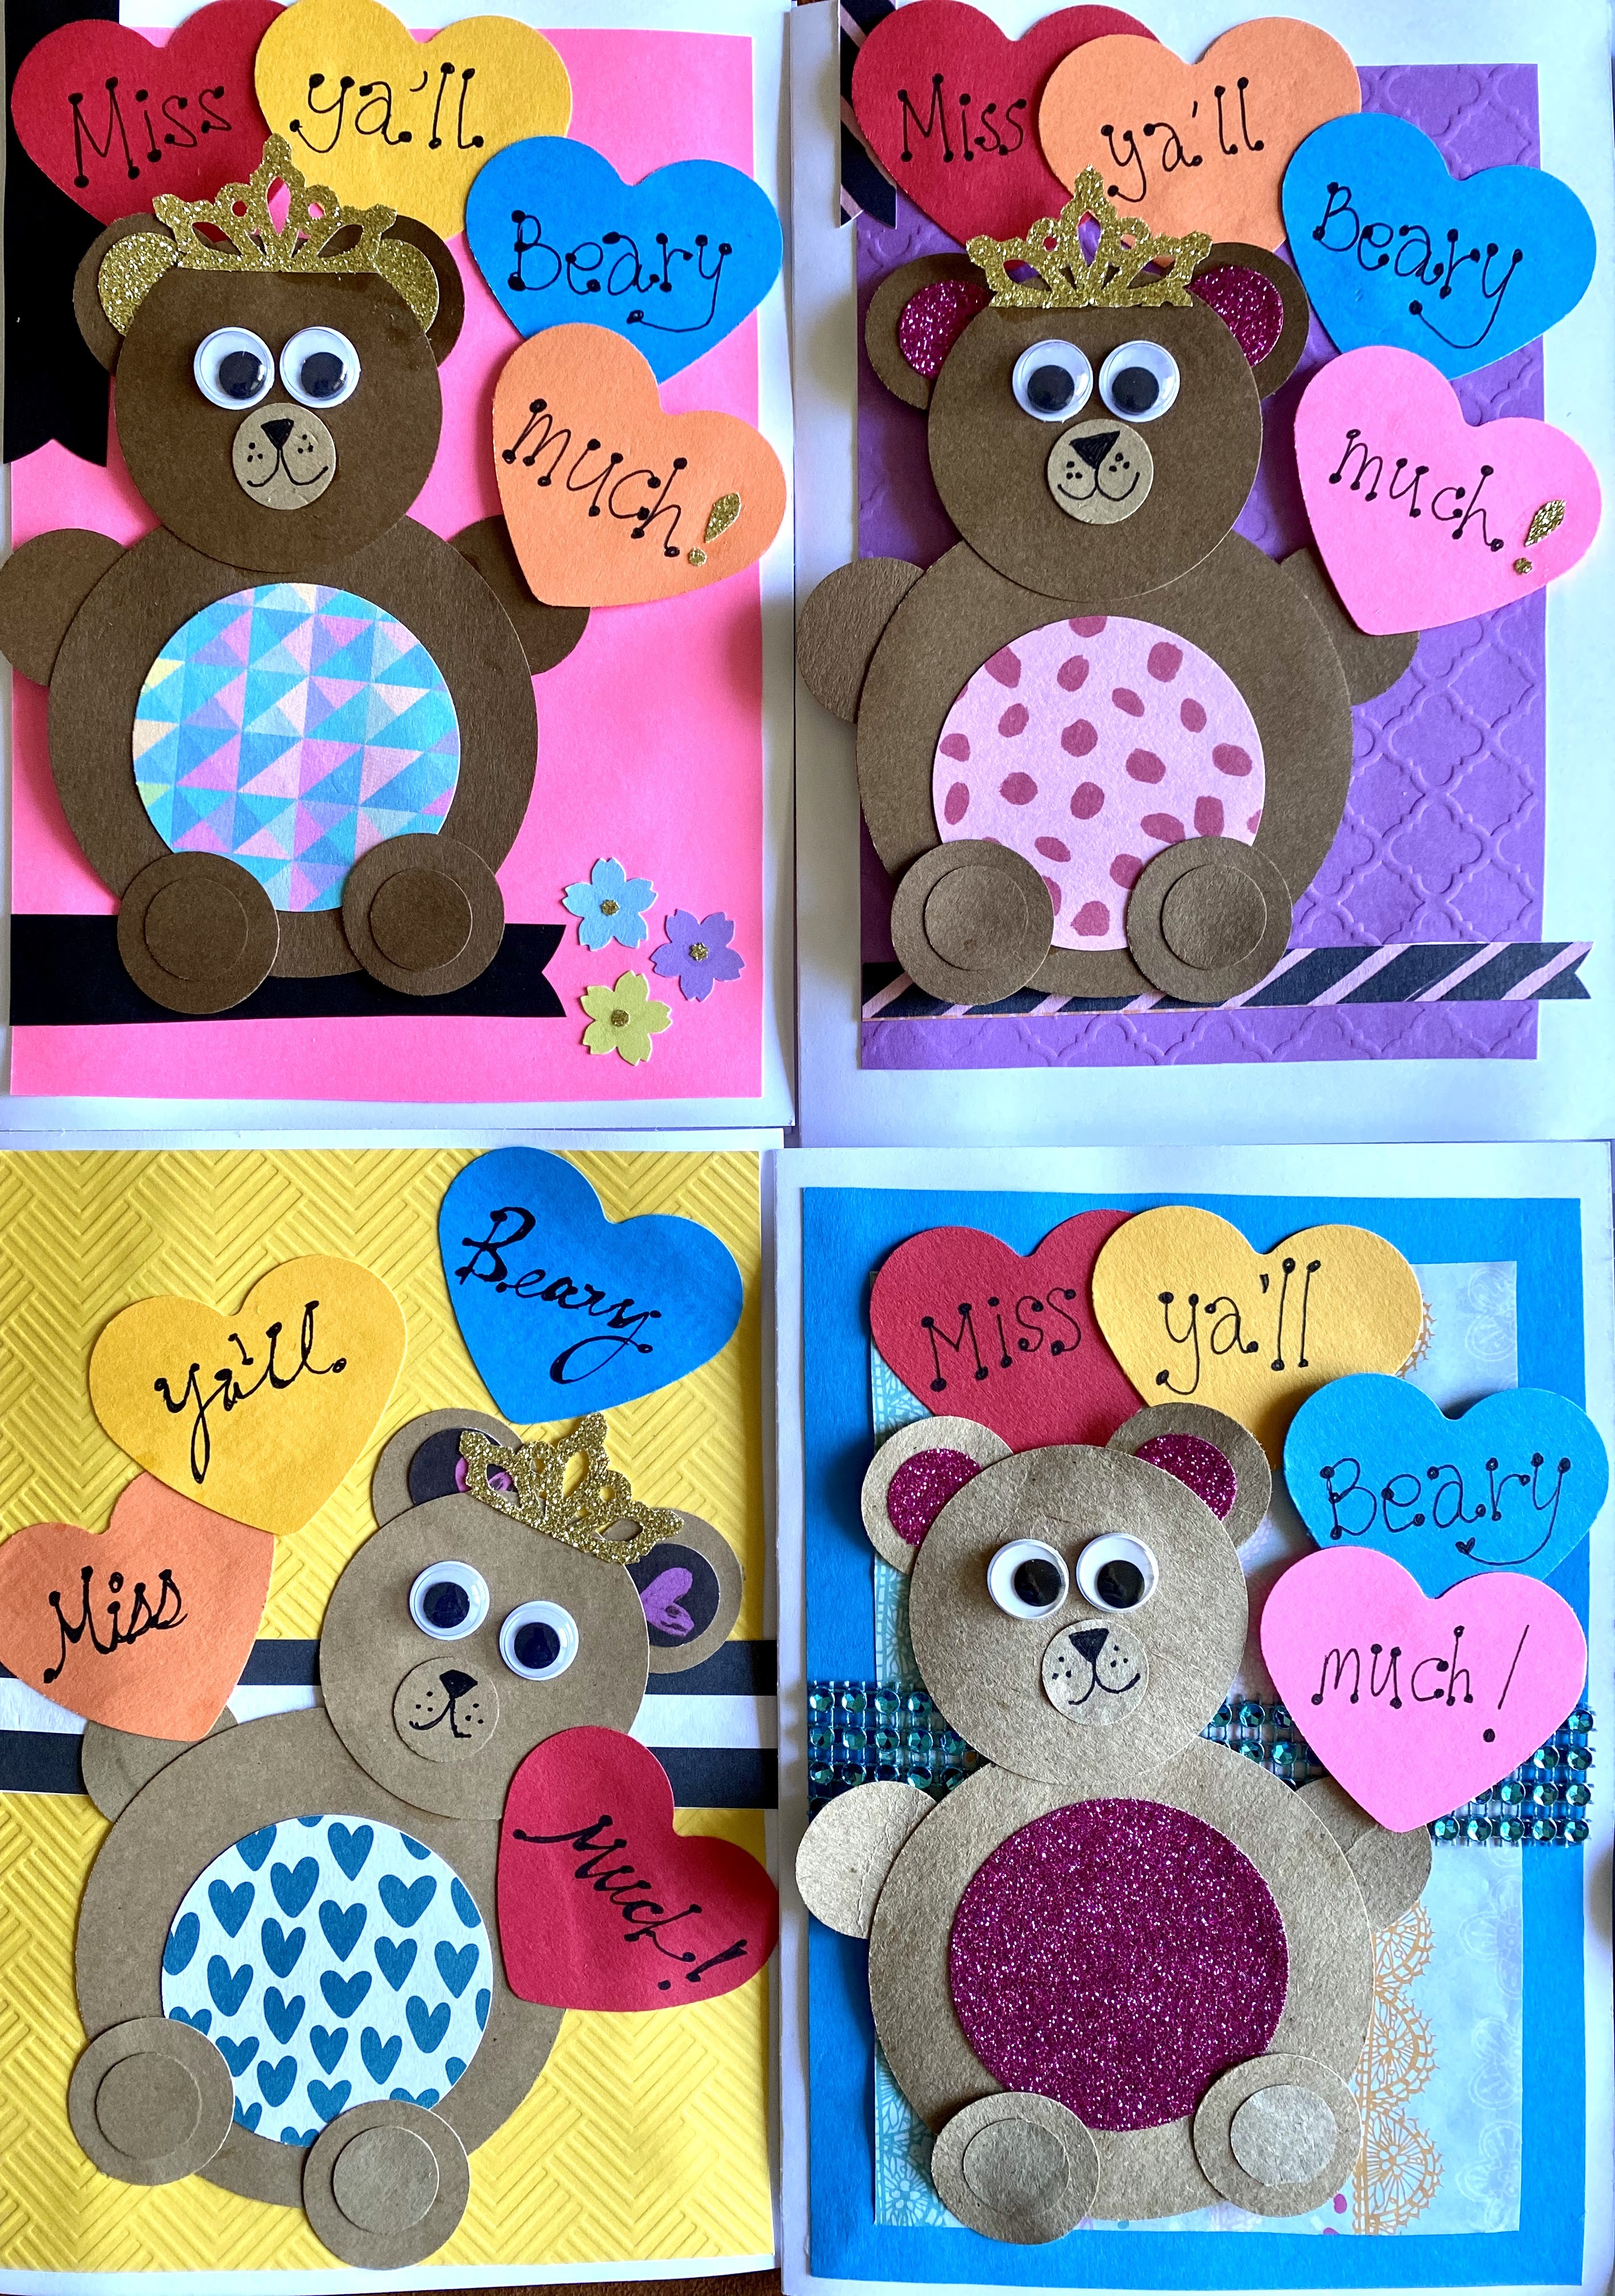
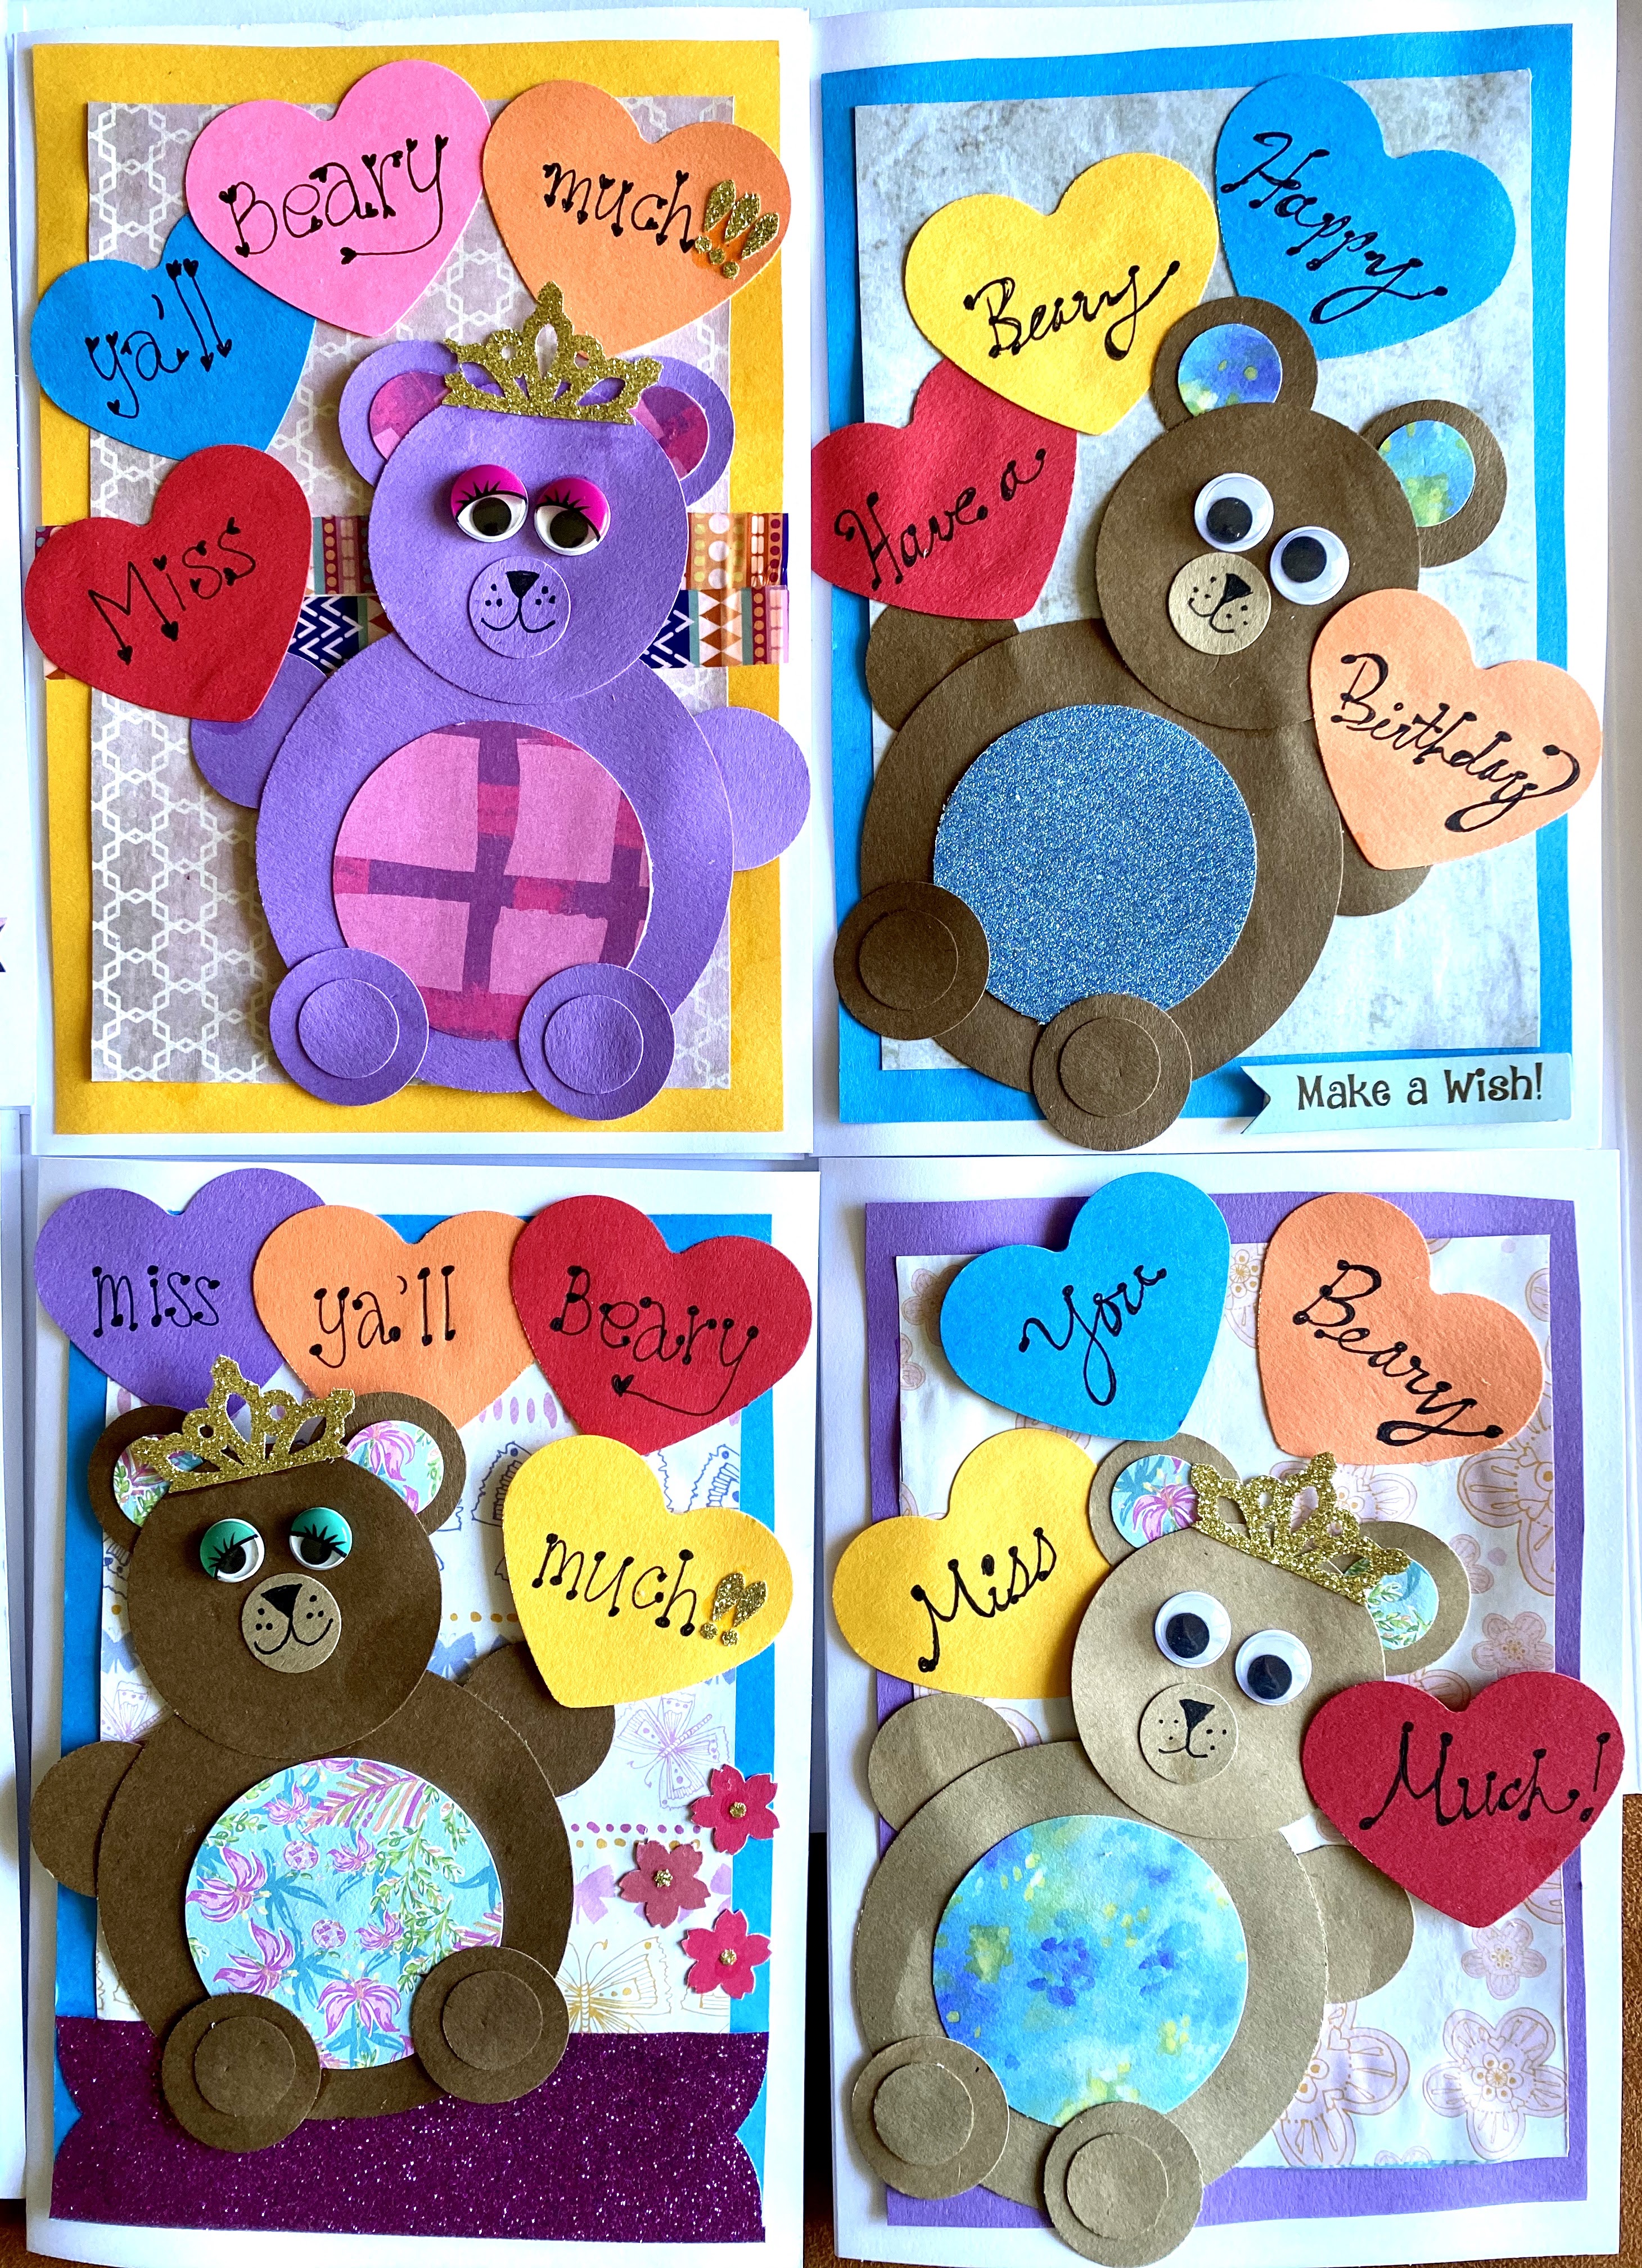
Heart Balloons. We added the words “We’ll Miss You Beary Much” on hearts punched out of cardstock. We just wrote the words out by hand.
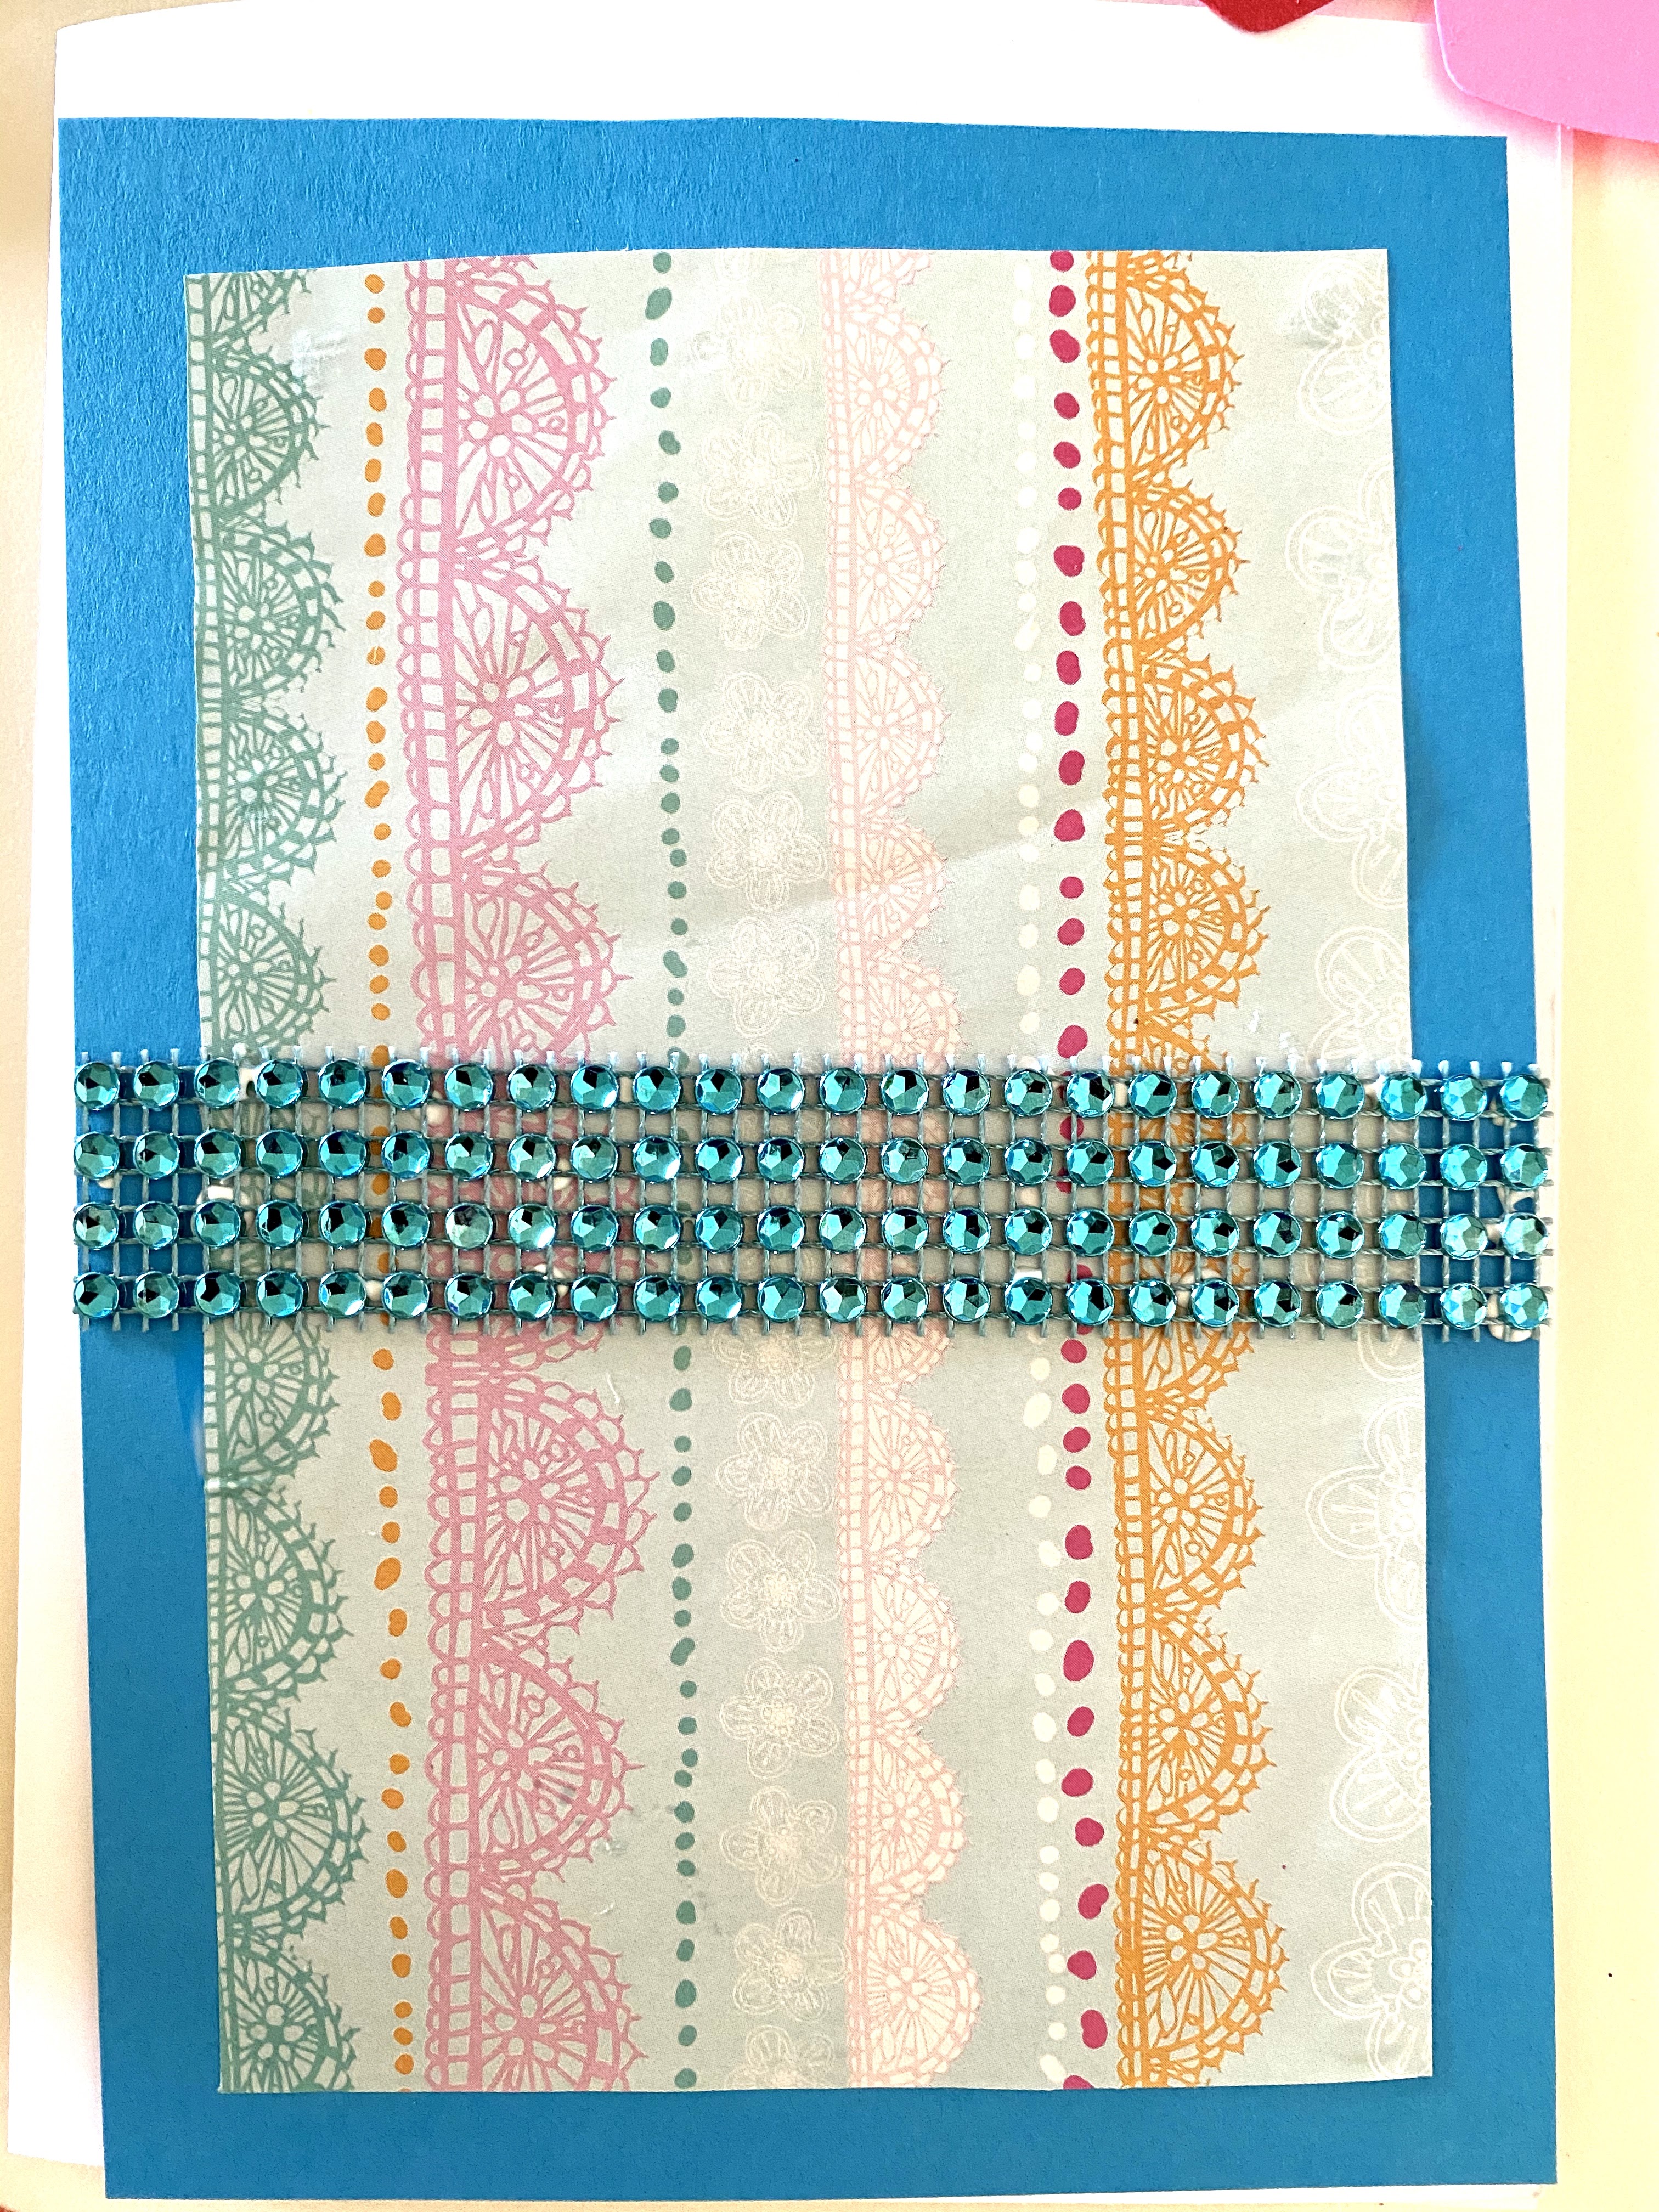
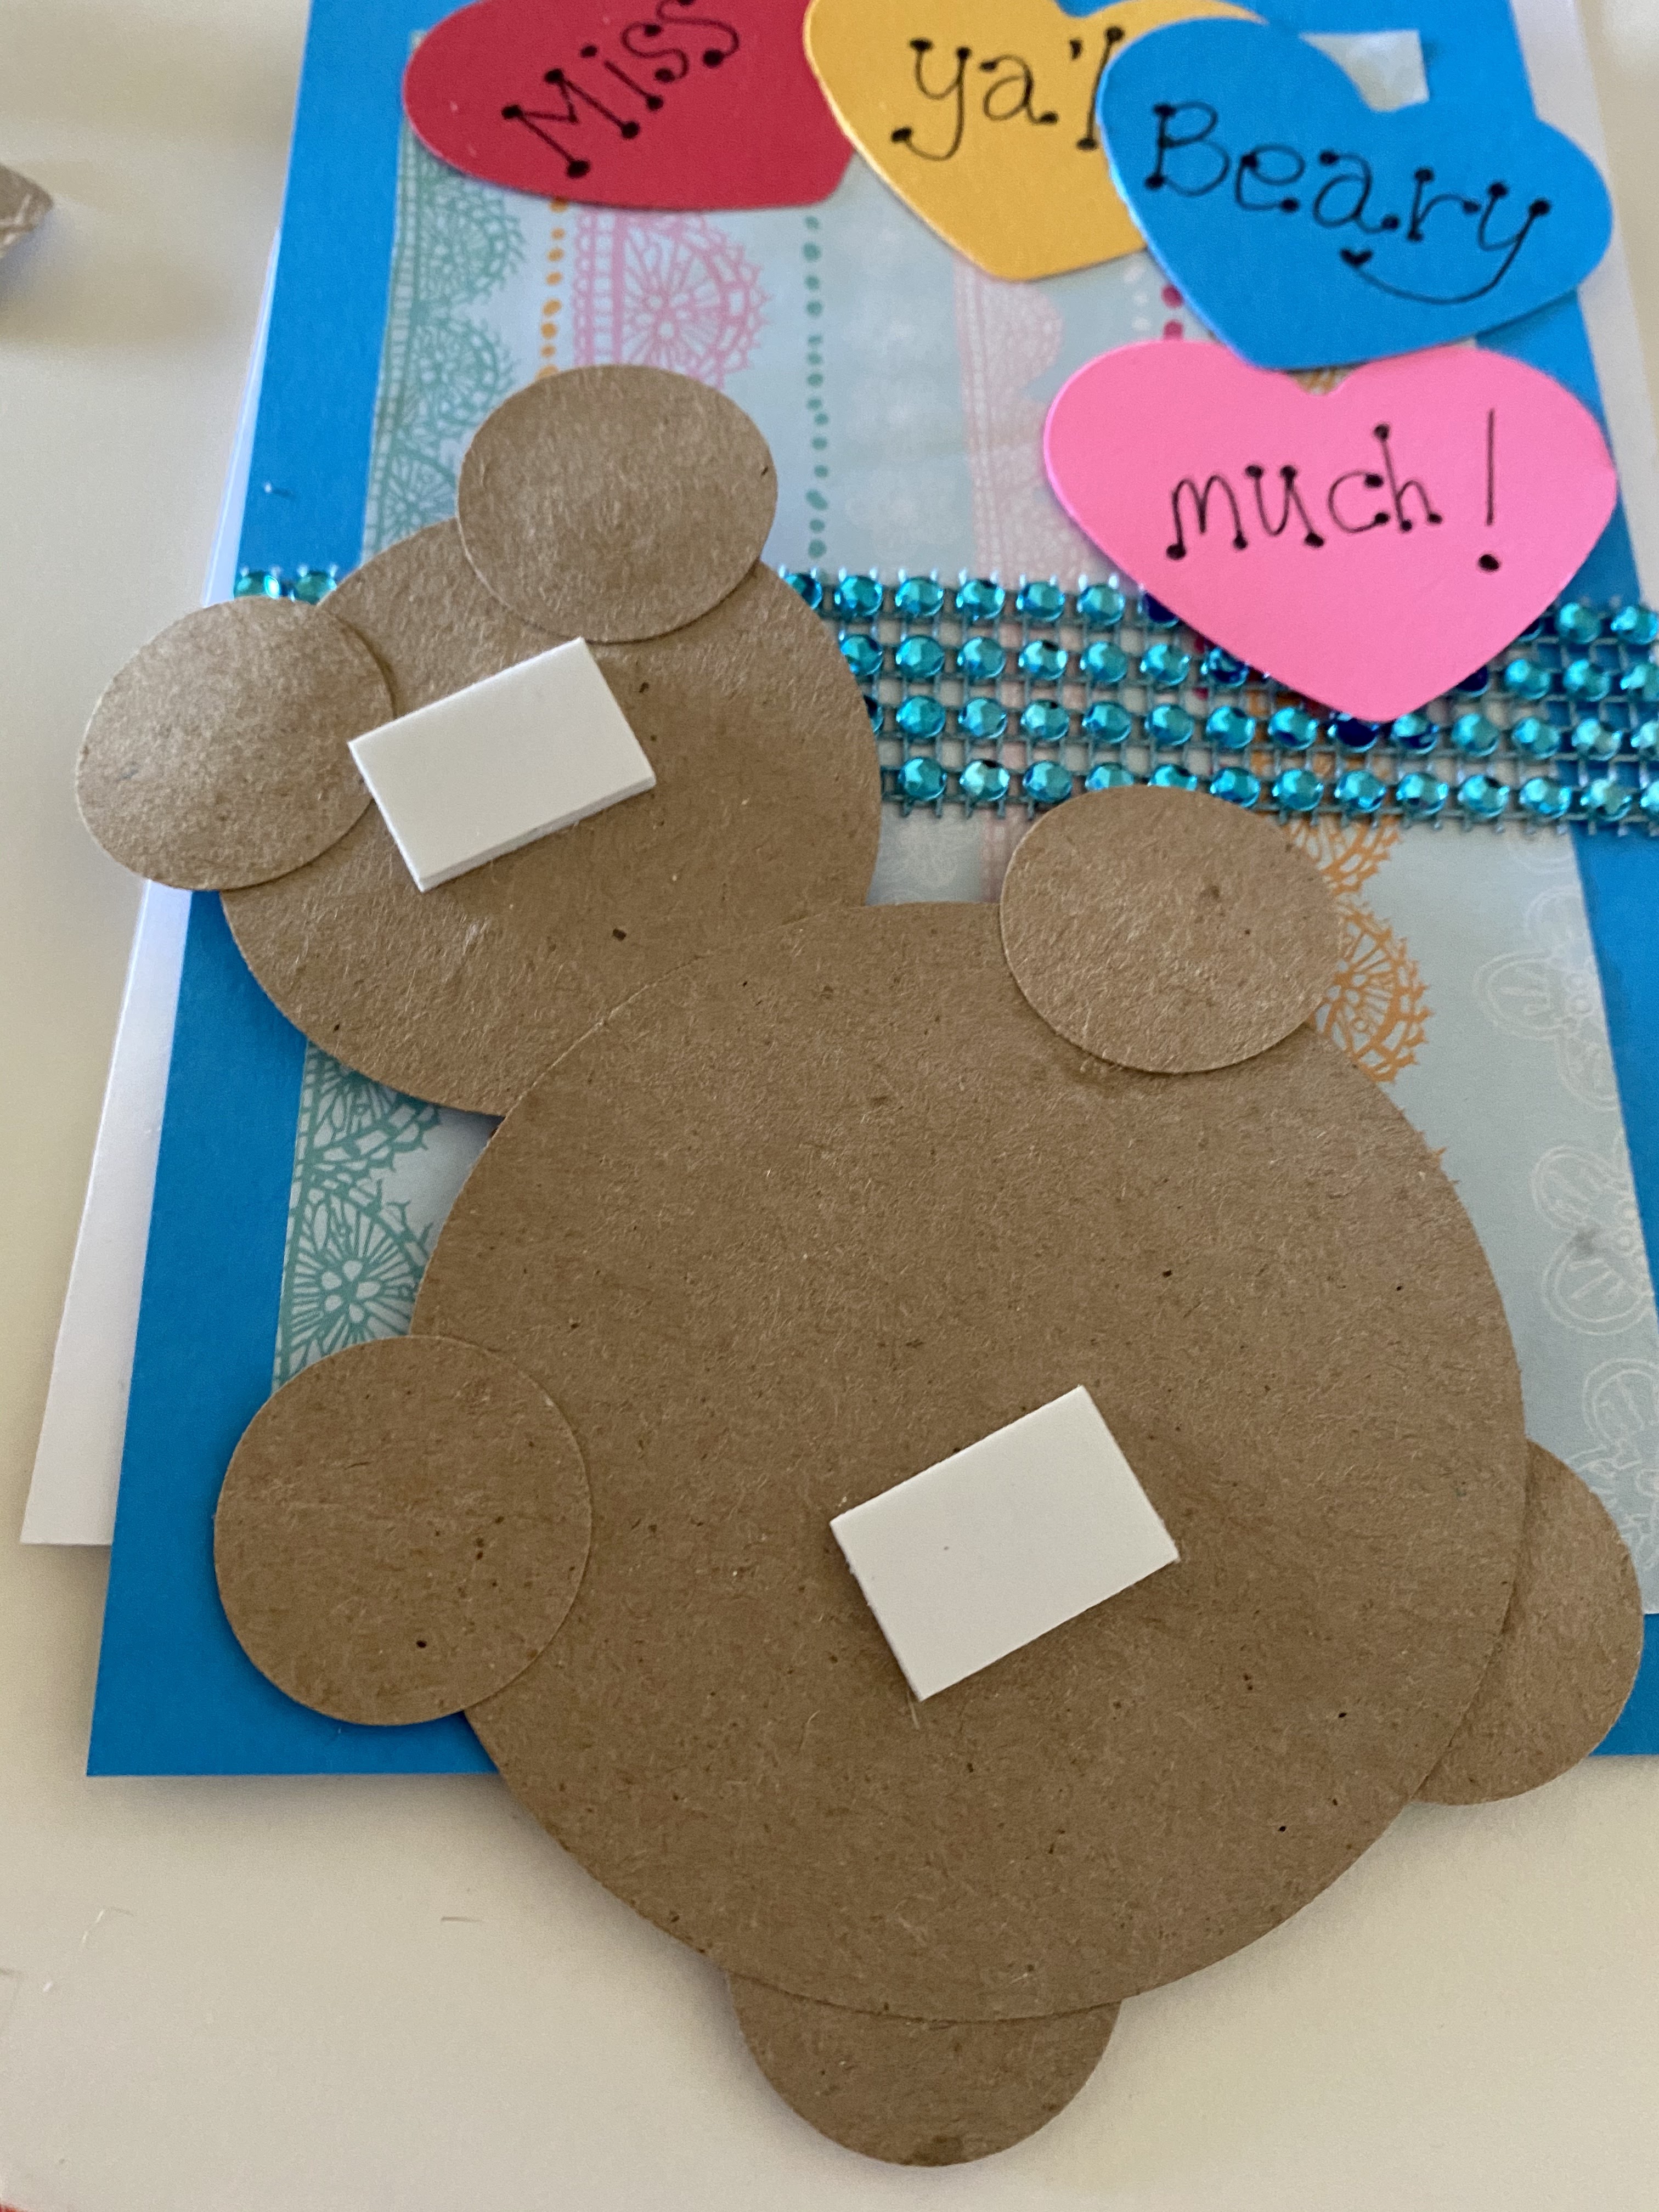
Putting it all together. The following photos show you how we finalized the 5×7 card. We glued on background paper (and other interesting decorations), the heart balloons, and then finally, the bear. We added foam adhesives to the back of the bear and to the back of one or two word hearts. This added height and dimension to the card. As mentioned above, we went crazy and made a bunch of bear cards. Inside the card, we glued on a smaller envelope and packaged unassembled bears for our recipients to make bears when they received it.
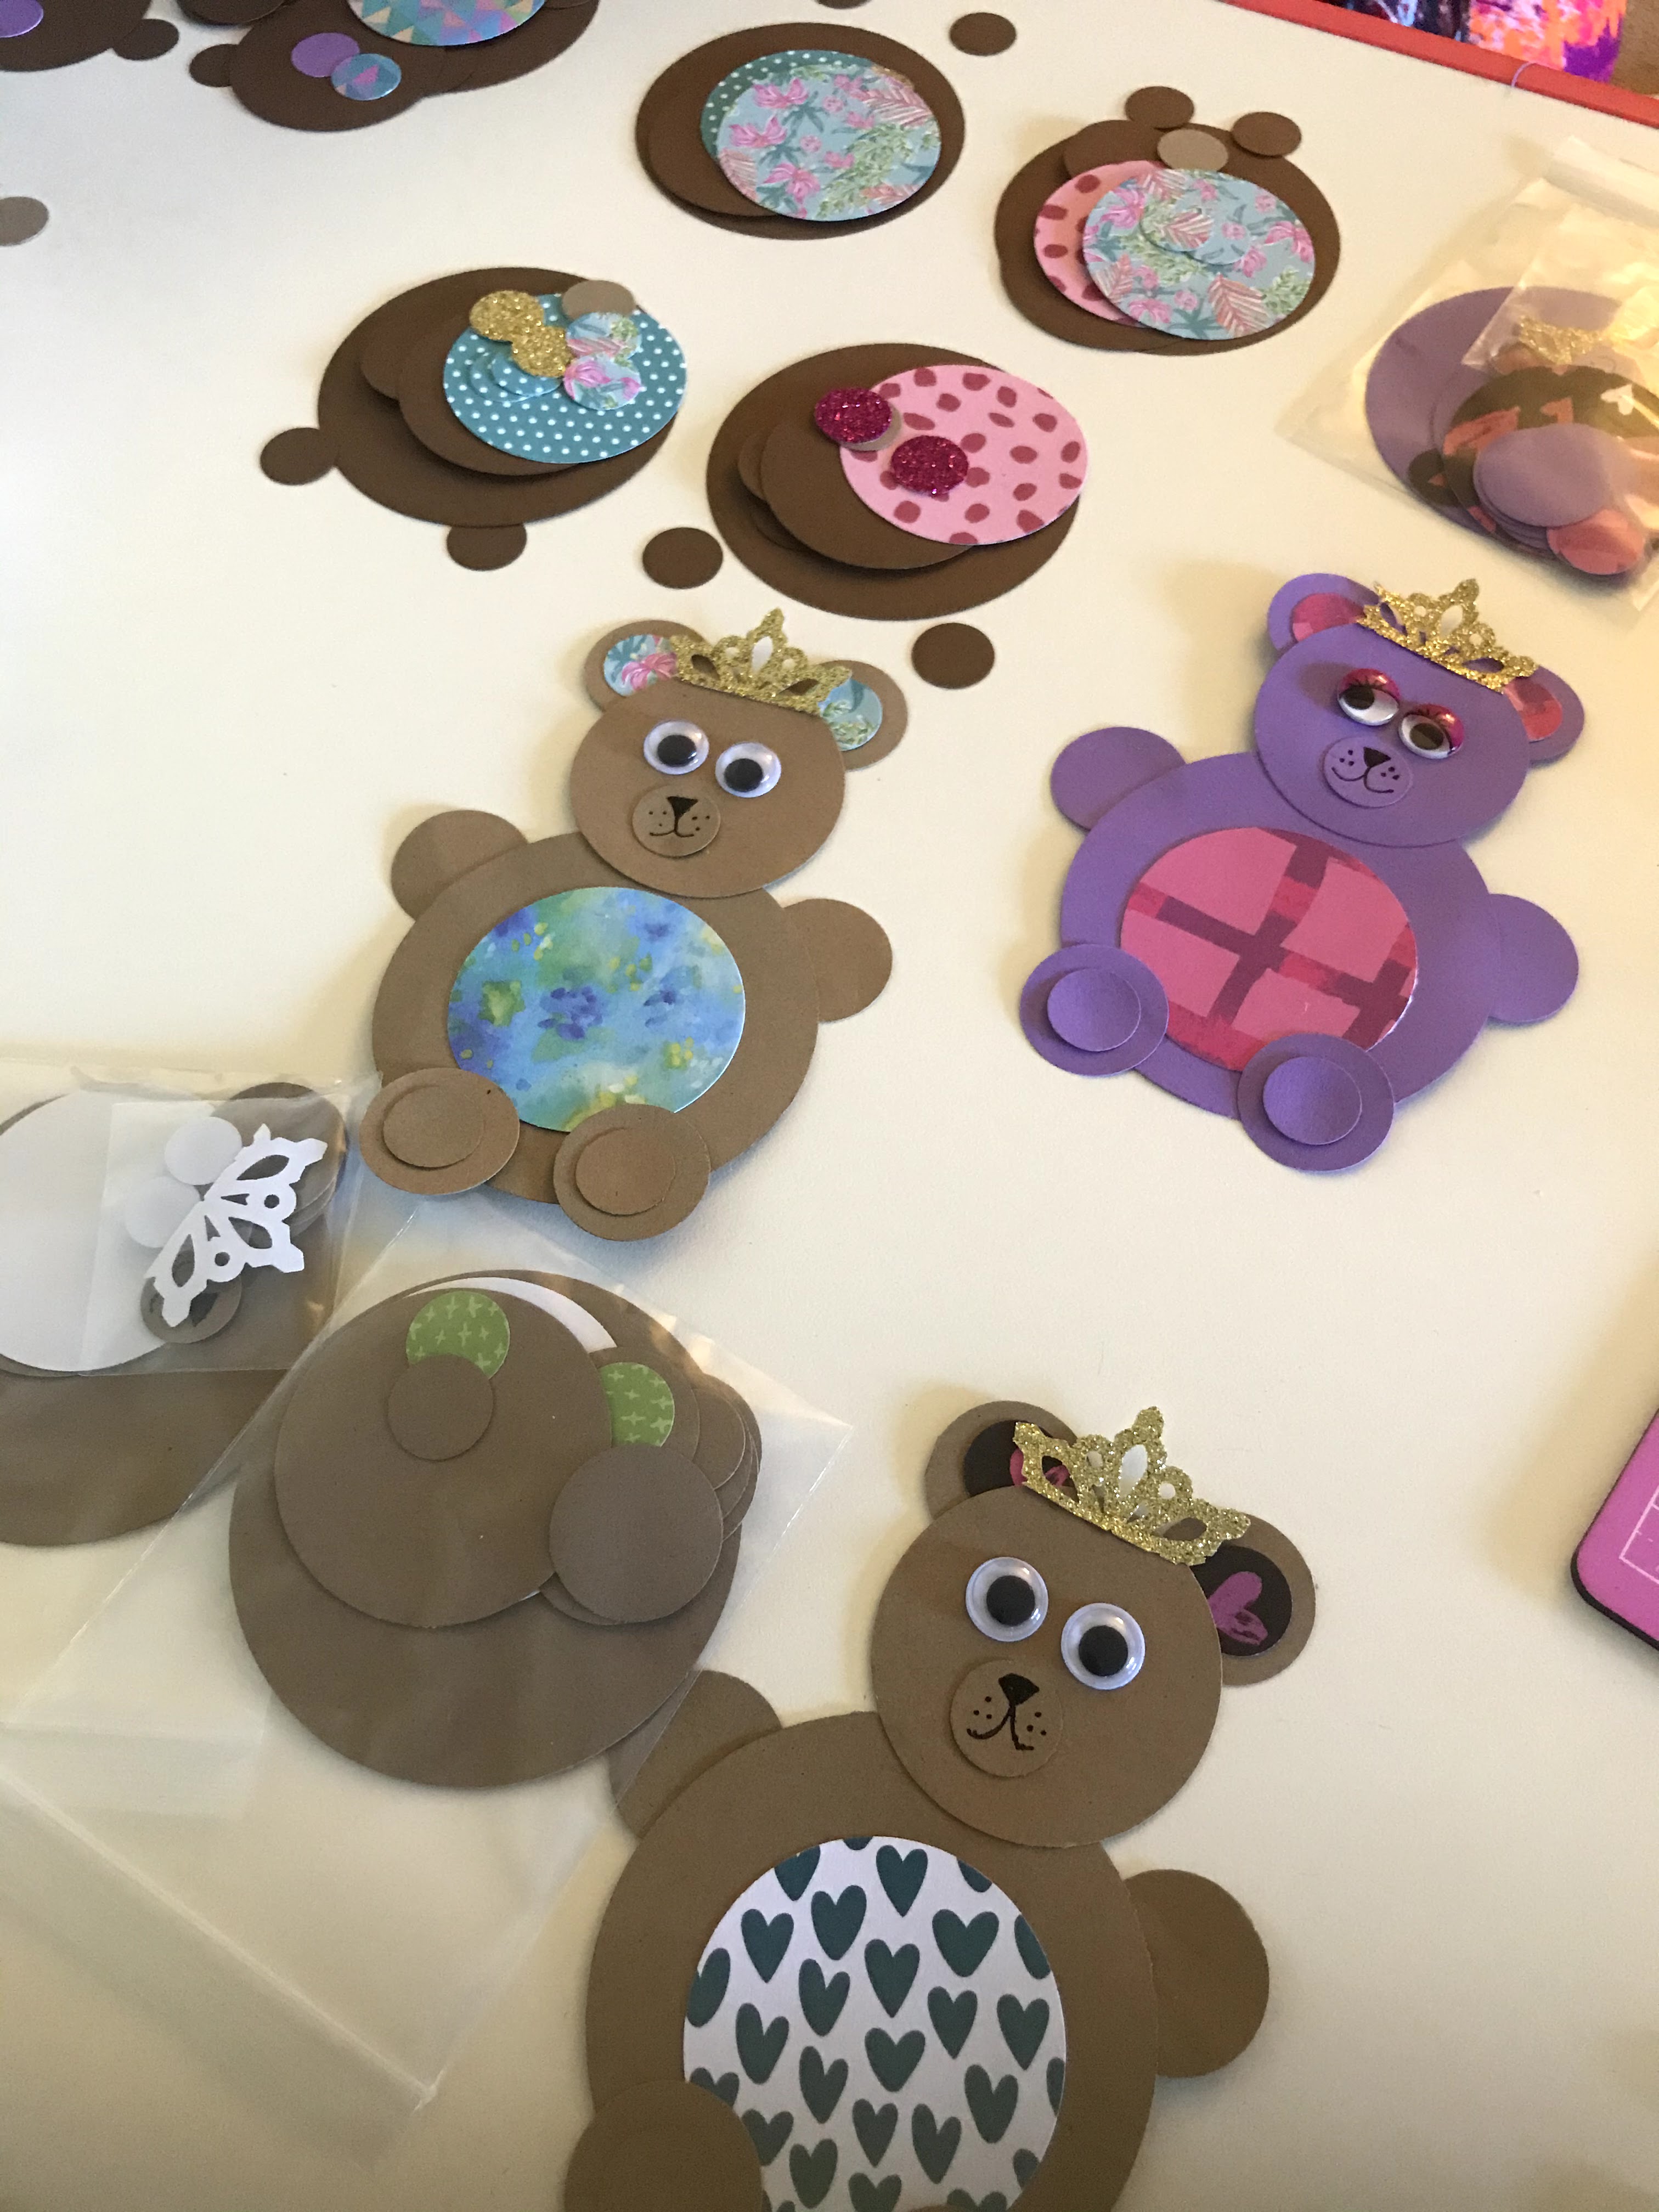
In the end, we wanted this card to be as interactive as possible to spread the joy of paper crafts. We mailed these cards to family members and included unassembled bears so that they can make it at home on their own time. We did not include instructions but instead challenged them to “study the prototype” on the front of the card and assemble. We think this is a great craft activity for kids ages 5-9 (with adult supervision for the younger ones). Why not give it a try?
Thank you for “bearing” with us on this tutorial.
We had a “beary” good time sharing it. 🙂
