

“Creativity takes courage.” – Henri Matisse. Be brave!
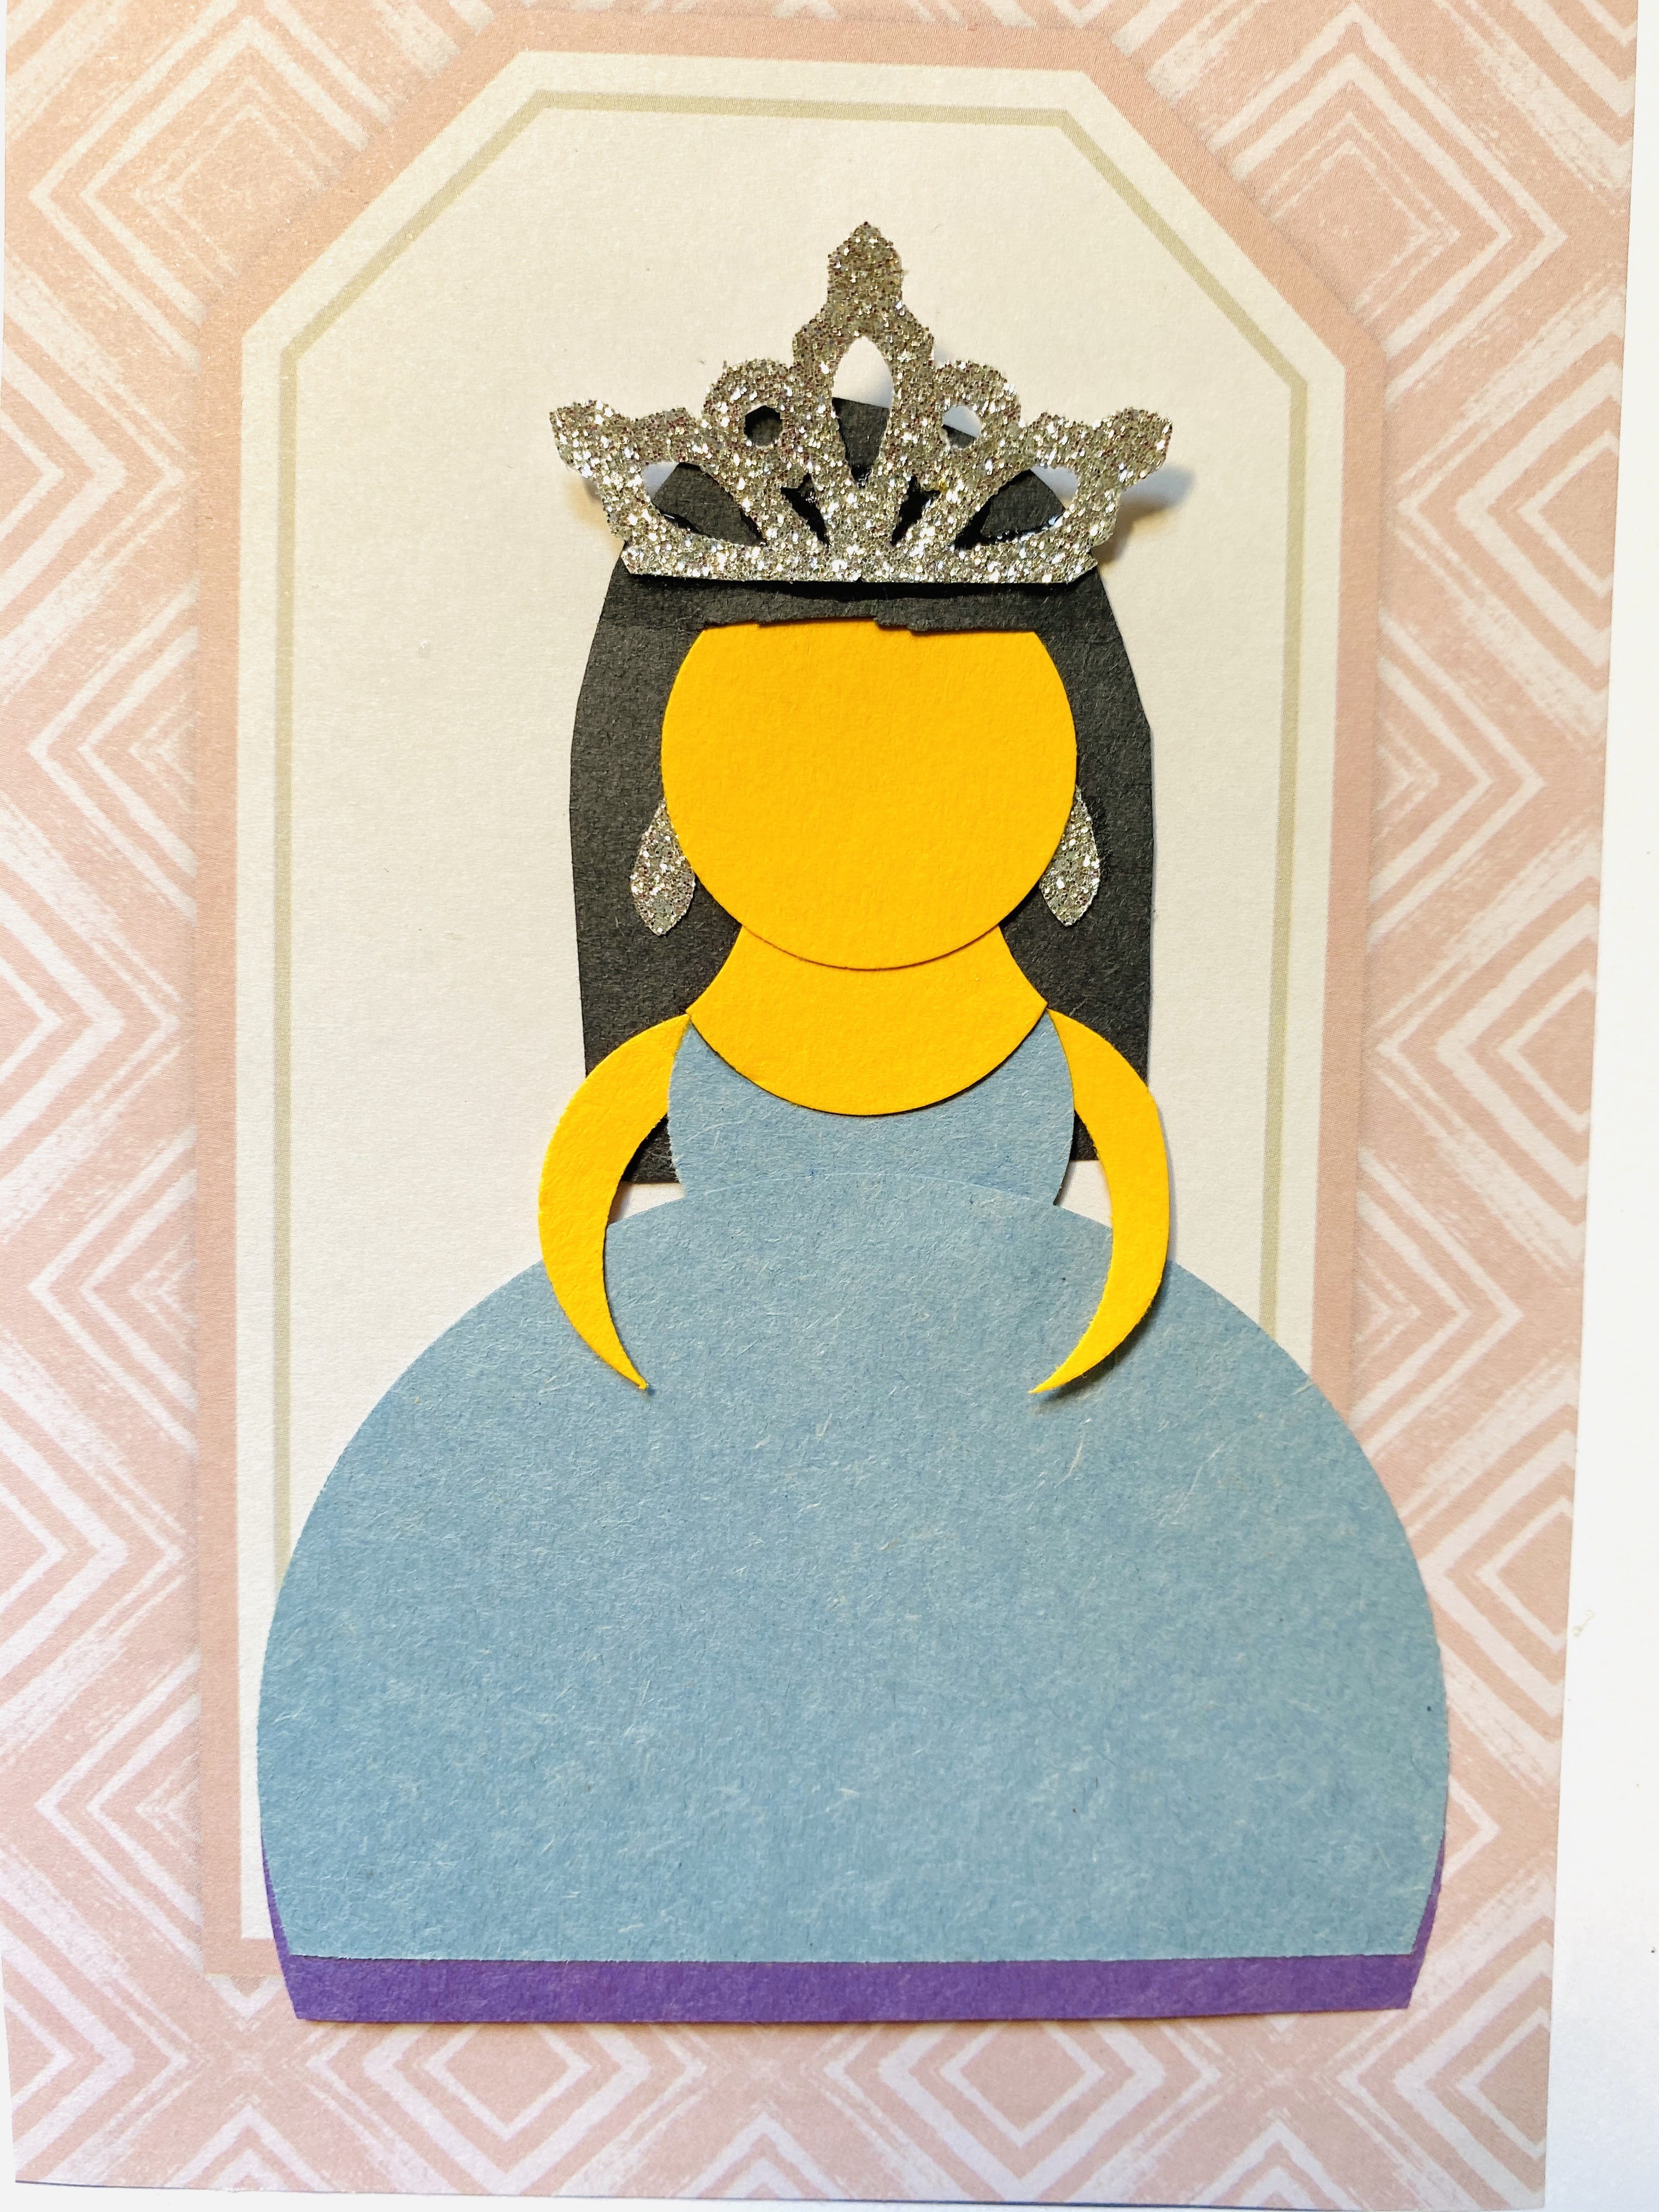
This “Be Brave”” princess card is a dainty gift we mailed to one of our nieces. This niece of ours loves painting, drawing and other forms of mixed media art. We thought it was fitting that we honor that spirit. We also duplicated the working parts of this card and included it in our mailing so she could reproduce the princess at home.
For this homemade card, we used various paper punches, scrapbook paper and card stock paper. All the working parts of the princess was layered and glue together. We used a blank 5×7 greeting card for this project.
Our first step was to sketch the princess. Should we use a crown? A bow? How flowy should the dress be? Sometimes drawing a draft or a layout helps!


Next, we gathered our supplies. We used various sizes of circle punches to create the body and a snowflake punch to make a crown. Sometimes all it takes is to use the design element of shapes to create the subject of your card. Creating animals or people out of various textures of paper and shapes can be very fun and unique for your recipient!
To make a princess’ crown or tiara, punch out a snowflake out of silver or gold paper. Cut it in half so your crown or tiara has three points. Voilà ! Une couronne! (“A crown!”)

Next, we put the princess together using paper cutouts. This princess is made using various sized circles:
Dress and petticoat: Use two different colors of paper. Choose which color will be the petticoat and which color will be the top dress layer. Next, cut or punch out 2 large circles. I believe our circles were approximately 3 inches in diameter. If you do not have a paper punch or stencil, find a circular object in your home to trace. To finish the dresses, cut the bottoms off in a straight line. You can now decorate the top layer of the dress with tiny flowers, gemstones, etc. Or, you can draw on any design you wish!
Bodice or torso: Next, we made the princesses’ torso by punching out a smaller 1 inch circle. Again, if you do not have a paper punch or stencil, use whatever you have at home to trace. To finish, cut off the top of the circle in a straight line. See our pictures for reference.
Neck: Now your princess needs a neck! Cut out a 1 inch circle. Next, cut the top of the circle in a straight line. Hold the circle so that the rounded part is at the bottom. Starting with the left side, slightly cut into the circle, rounding in and tapering off at the top of the neck. Then repeat on the right side. Please refer to the photos above for a better visual.
Arms. For the arms, cut 2 rounded crescent moons. Or, cut or punch out a 1 inch circle. Then slightly cut out crescent shapes. Or use the circle punch to “clip” off sections of the circle. The result are crescent moon shapes! We used the same technique to create fur for our Bruno the Dog Card.
Face. For the face, cut or punch out a 1 inch circle.
Hair. Cut out a hairstyle of your choice. You can have short hair. Or cut out small circles to make hair buns. We decided to go with a medium-length hairstyle and bangs. We cut out a rectangle from black paper and rounded out the top. Next, we cut a small slit so you can insert the face into that opening. Cutting a small slit in the paper is optional. We did this so that our princess had bangs.
Now, for the fun part! Time to put the princess together. Please refer to our photos for a visual on how to put this card together.

1. First, start by layering the dresses and gluing the dresses together.
2.Second, glue the bodice behind the dress.
3.Third, glue the neck on top part of the bodice.
4.Fourth, take the princess’ face and glue the center of the face it to your hairstyle. Do not glue the sides of the face to the hair. We need unglued spaces to attach the face to the neck and for earrings.

5.Fifth, with your hairstyle in place, glue the face so it sits slightly on top the neck.
6.Sixth, glue the top part of the arms behind the princess. Make sure her hands are laying gracefully on top of the dress.

7.Next, add some earrings to our princess. We used teardrop-shape earrings and glued it slightly behind her face (where ears are supposed to be). You can cut out dots or make your own. We used teardrop scraps that were leftovers from the snowflake used to make the crown/tiara.
8.Now it is time to crown our darling princess! Slowly and royally add the crown/tiara to the princess.


The above photo is a closeup of the princess’ dress. We used tiny snowflakes as “flowers” for the dress. This can definitely become a winter princess card!

Finally, add some features to the princess’ face. We added a red heart as lips. Then we added lashes to her eyes. Isn’t she cheerful darling?
We sorted through our craft bin and found a “Be Brave” sentiment on scrapbook paper. We decided to glue it to the princess card so she can offer encouragement to anyone who receives this card. Finally, we glued the princess to patterned scrap book paper before gluing the entire paper image to front of the 5×7 card.

We hope you enjoyed this short description of how we made this encouragement card.
Go forth and be brave. Create and send a similar card!
